Get started with LiveCompare
LiveCompare is an SAP analysis tool that you can use at each stage of the SAP lifecycle. It includes a collection of apps in the areas of Development, Testing, Security, and Operations, which you can run against your SAP systems to analyze their data and produce reports.
If this is a new installation, you’ll need to set up LiveCompare so that users can sign in, connect to SAP, run analyses, and view their results. If you already have a LiveCompare account, you’ll be able to sign in and run your first app.
Install LiveCompare
If you are preparing to install LiveCompare, see the Installation and configuration guide.
First steps
Whether you’re an administrator or user, here’s how to get started:
Sign in as an Administrator
To set up LiveCompare, you’ll need to sign in as a user with Administrator permissions. LiveCompare comes with a built-in Administrator account named admin.
To complete your first sign-in, follow these steps:
-
Open the LiveCompare URL at http://<server name>/livecompare.
-
Enter admin into the Username and Password fields, and then select Login. LiveCompare will prompt you to agree to the Tricentis Data Privacy Policy, and to change the admin password.
-
Fill out the Guided Configuration screen. This screen has a tabbed display which takes you through each of the configuration steps.
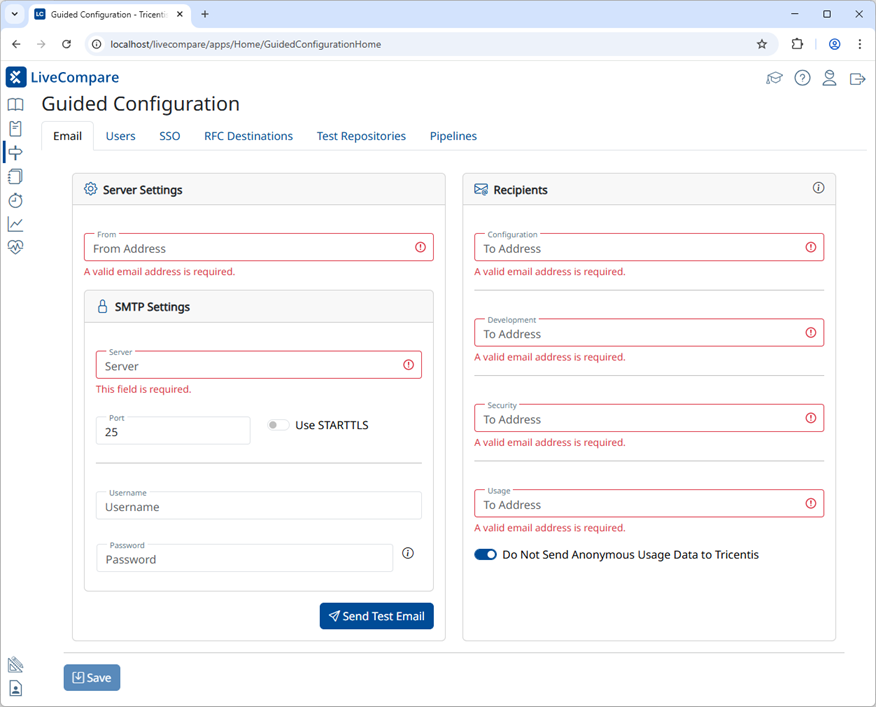
Configure LiveCompare to send emails
The Email tab allows you to configure LiveCompare to send emails. LiveCompare uses emails to send notifications and broadcast messages and to report on analysis results.
To configure LiveCompare to send emails, follow these steps:
-
Complete the screen fields with the settings for your mail server and select Save.
-
Select Send Test Email. Then, enter your email address and select Send.
If everything is working correctly, you’ll receive a test email from the LiveCompare server.
Create users
The Users tab allows you to create LiveCompare user accounts. Each user has a specific role:
-
LiveCompare Editors can develop and run workflows in the studio interface. They can also run apps.
-
LiveCompare Consumers can run apps and view their results.
To create a user, select  to display the User dialog.
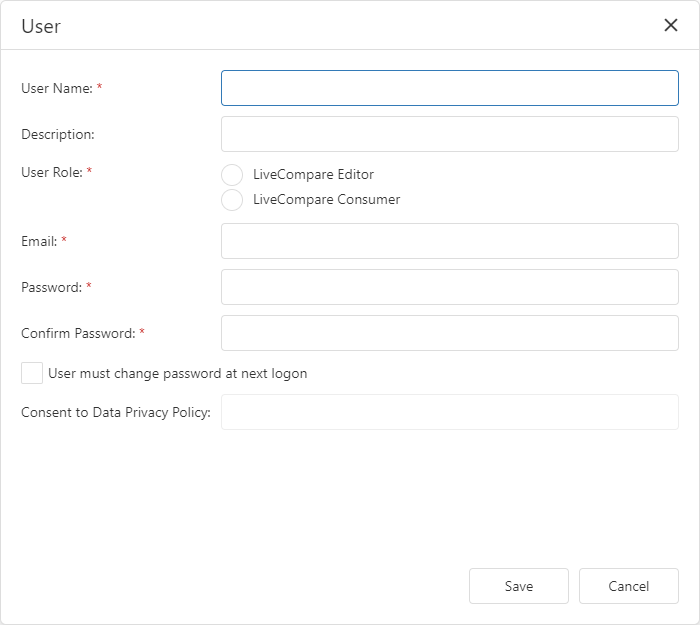
Complete the fields as required and select Save to create the user. Select to create additional users.
Create RFC Destinations
The RFC Destinations tab allows you to create connections to the SAP systems you’ll be using with LiveCompare. To create an RFC Destination, select  to display the RFC Destination dialog.
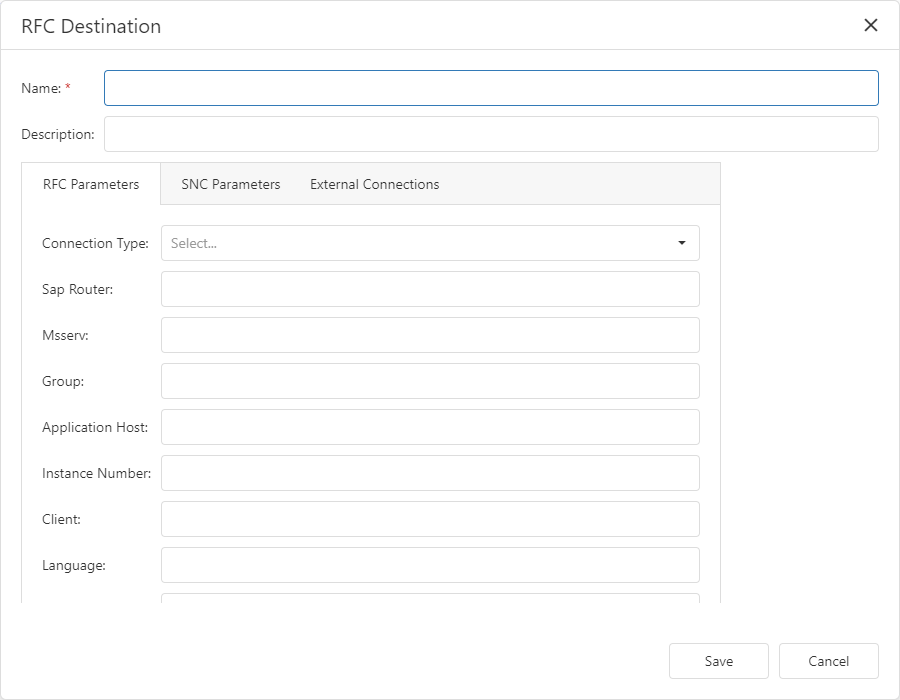
Complete the fields as required to specify the connection parameters for your SAP system, and select Save to create the RFC Destination. Select to create additional RFC Destinations.
Test your RFC Destinations
You can test an RFC Destination to check that it will work as expected when you use it in apps and workflows. In the RFC Destinations tab, select the RFC Destination’s  icon to display the following screen:
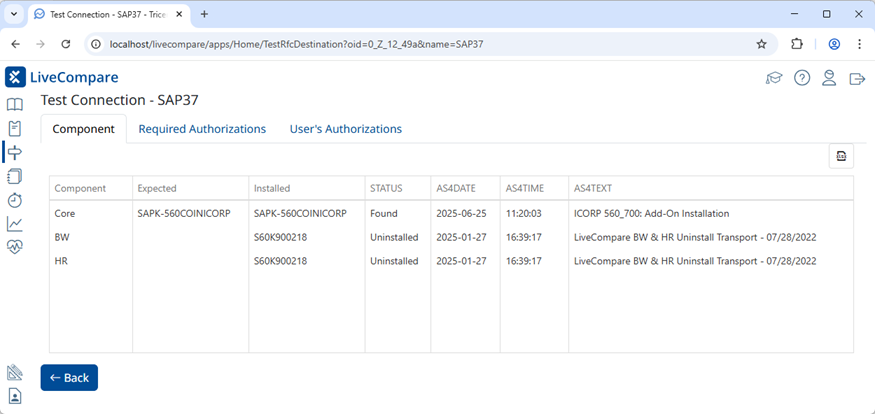
-
In the Components tab, verify that the required SAP components have a status of Found.
-
In the Required Authorizations tab, verify that all the required authorizations have a status of Found. Note that you may not need all the listed authorizations. For example, you don’t need BW authorizations on non-BW systems.
-
In the User’s Authorizations tab, review the authorizations assigned to the SAP user account associated with the RFC Destination you’re testing.
Select Back to return to the Guided Configuration screen. Select to add additional RFC Destinations.
Create Test Repositories
The Test Repositories tab allows you to create connections to the testing tools you will be using with LiveCompare. To create a Test Repository, select to display the Test Repository dialog.
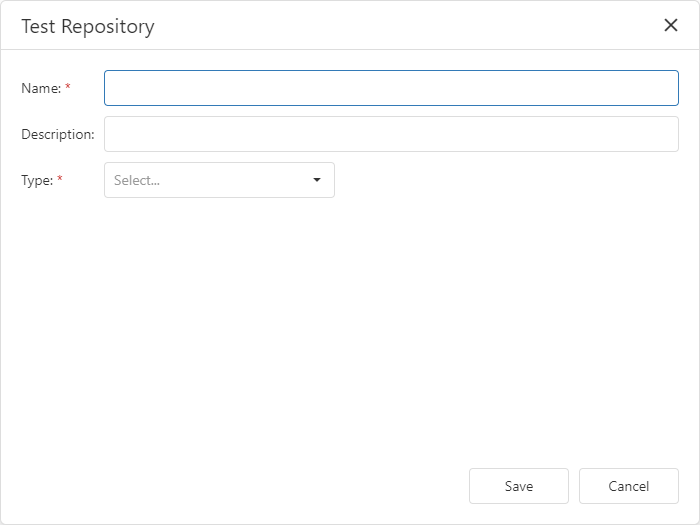
Select the type of Test Repository you’ll be using, complete the connection details, and select Save to create the Test Repository.
Test your Test Repository connections
You can test a Test Repository to check that it will work as expected when you use it in apps and workflows. In the Test Repositories tab, select the Test Repository’s icon to display the following screen:
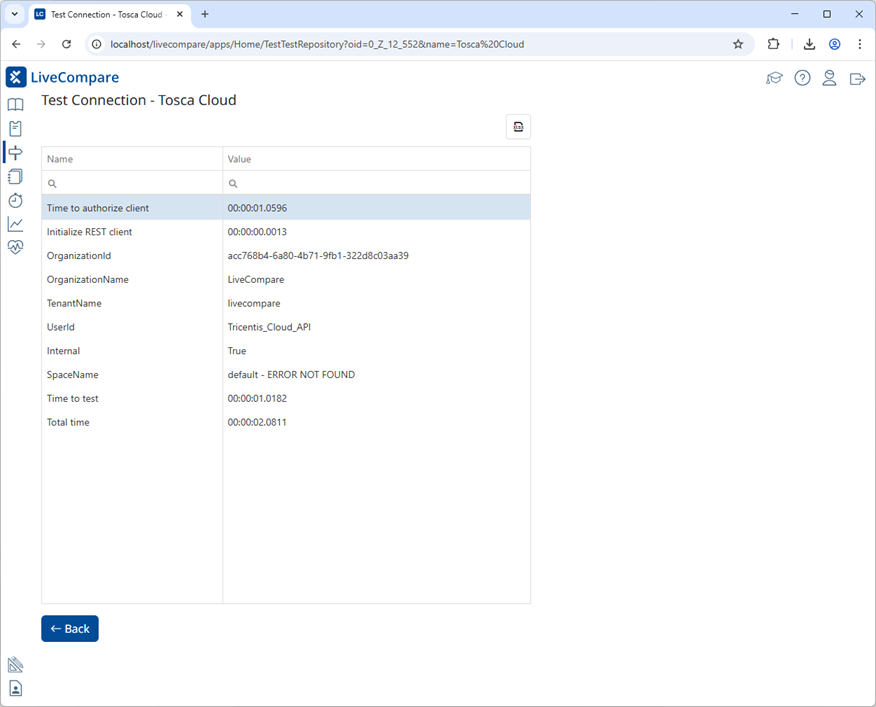
Verify that connection details are displayed for the Test Repository, and that no errors occurred.
Select Back to return to the Guided Configuration screen. Select to add additional Test Repositories
Create a Pipeline
Pipelines store the RFC Destinations and Test Repositories required to perform an impact analysis. To create a Pipeline, select  in the Pipelines tab to display the Pipeline screen.
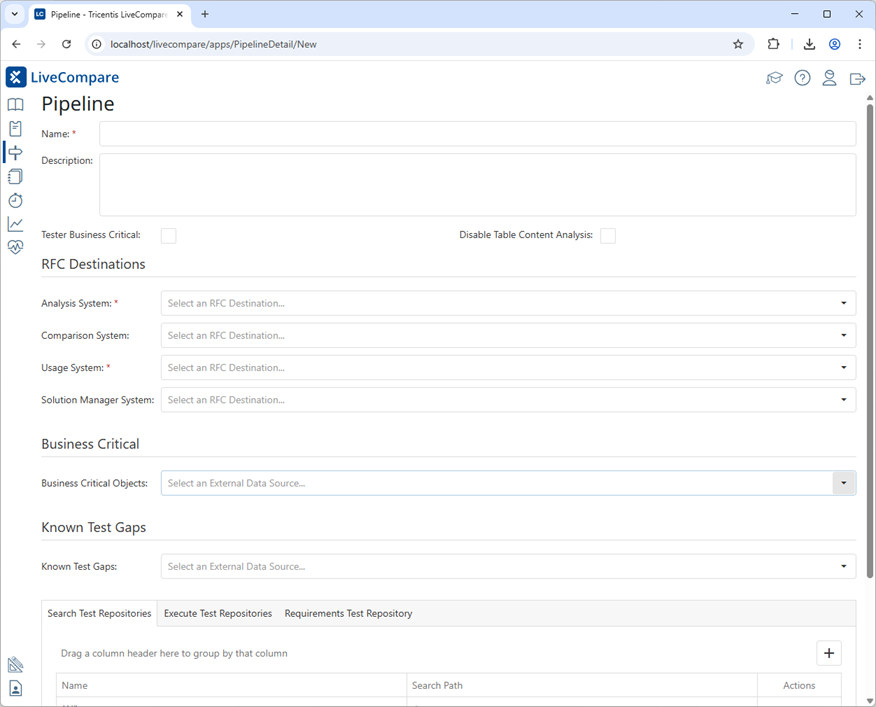
Complete the screen fields as described here, and select Save to create the Pipeline.
Apps allow you to run analyses by submitting values in a simple form-based interface, and they present their results in one or more reports.
This topic describes how to run the Chronograph app, which measures your investment in custom programs by year for the specified SAP instance. You'll create an app variant with your own set of values, run the variant, monitor its progress, and view its result.
Before you start
To complete the steps in this topic, you need to meet the following requirements:
-
A LiveCompare administrator has completed the steps listed here.
-
You know the LiveCompare URL, as well as your LiveCompare username and password.
Sign in to LiveCompare
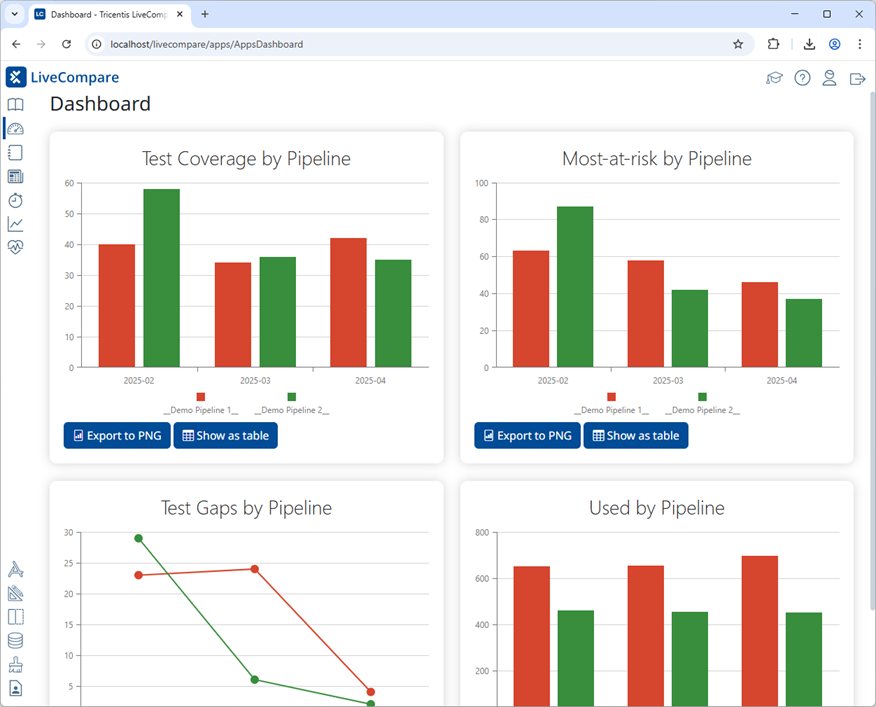
To access LiveCompare, open the LiveCompare URL and sign in with your username and password. LiveCompare will prompt you to agree to the Tricentis Data Privacy Policy, and will ask you to change your password if your Administrator has configured this.
LiveCompare then displays the Dashboard screen:
Select the Chronograph app
Select the  icon in the navigation panel to display the Apps screen.
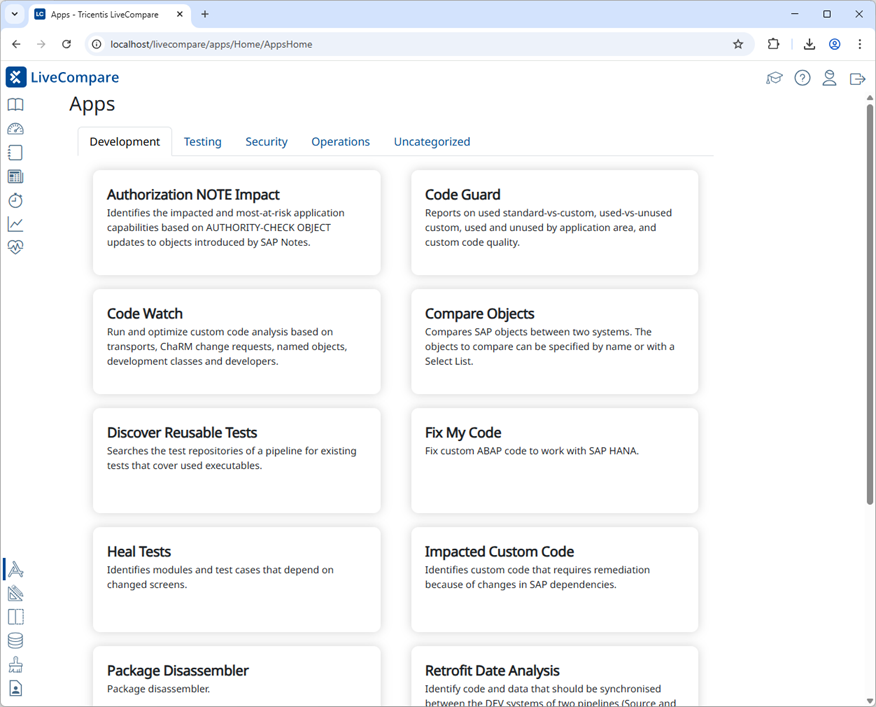
Select the Chronograph app from the Operations tab to display its App Cockpit screen.
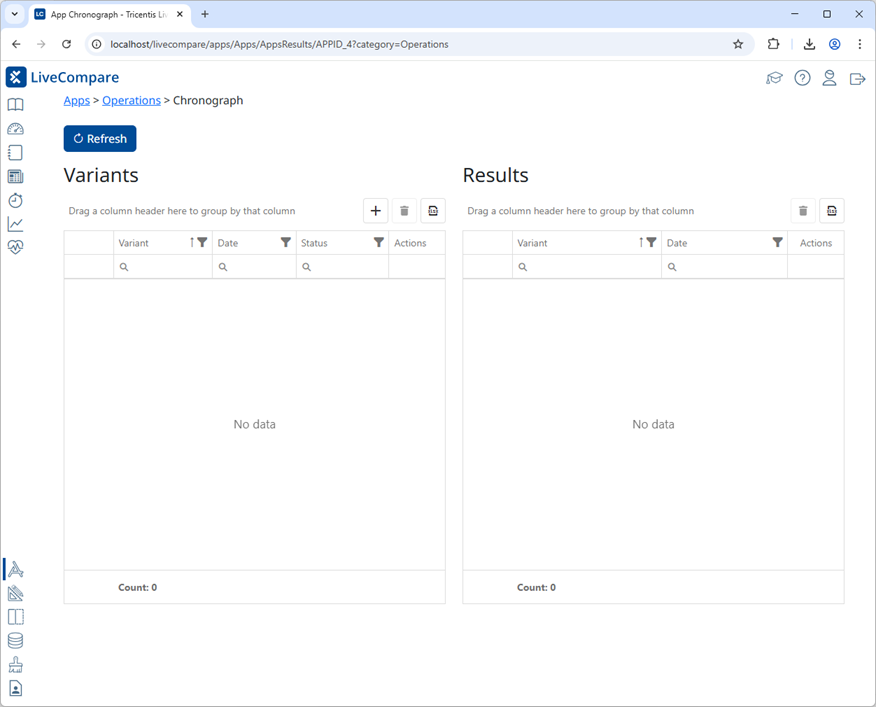
Create a variant
A variant is an instance of an app with set of values. To create a variant of the Chronograph app, select  in the Variants section, enter a name for the Variant, and select Save.
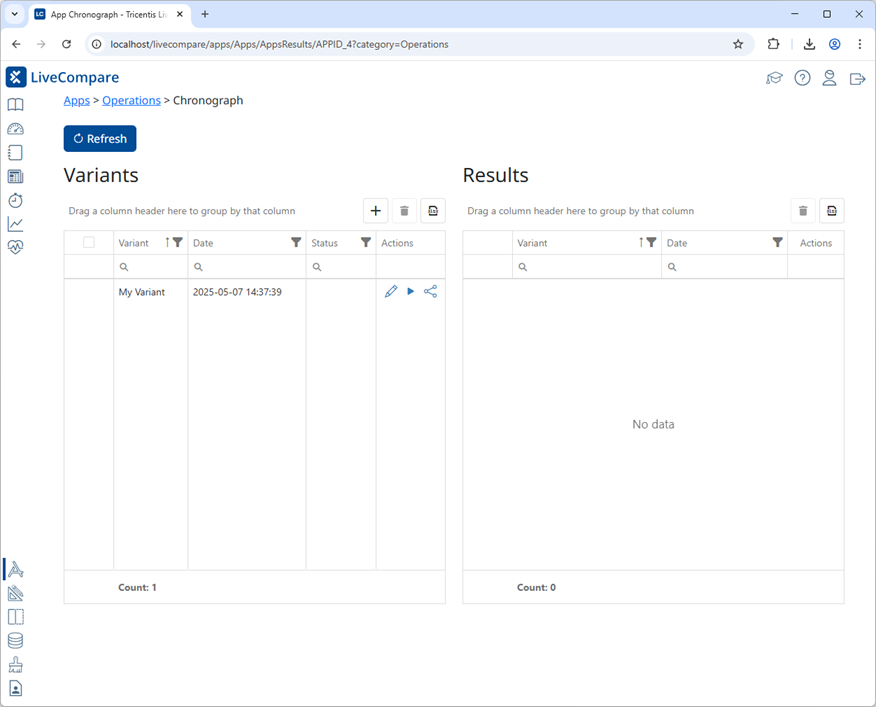
Edit the variant
Select  for your variant in the Variants table’s Actions column to display the Variant screen. Here, you can edit the variant’s values.
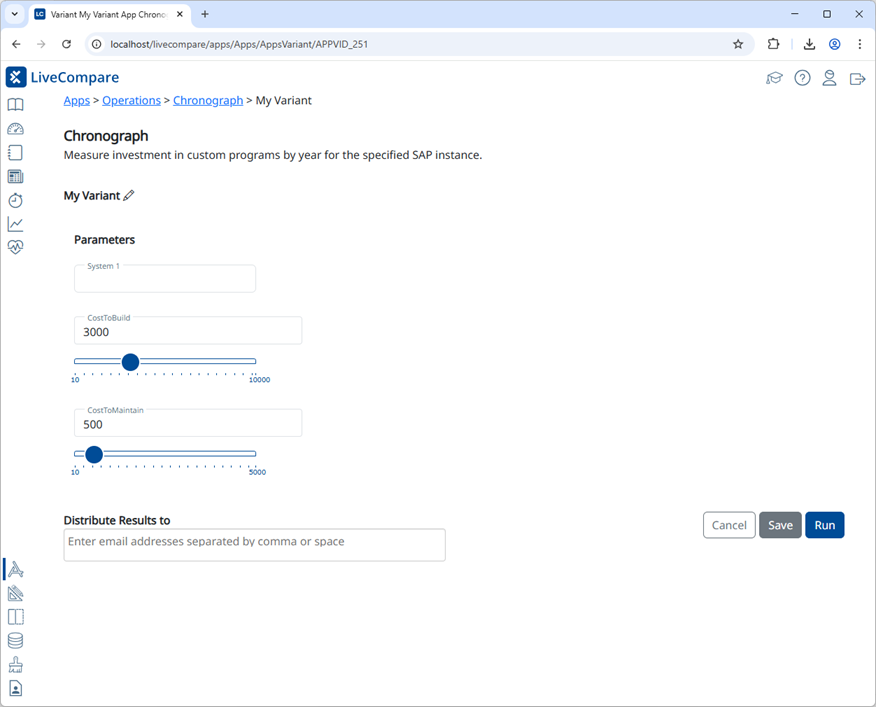
Select an RFC Destination in the System 1 field, and set values for the CostToBuild and CostToMaintain fields.
Run the variant
Select Run to run the variant. The App Cockpit screen displays the variant’s run status.
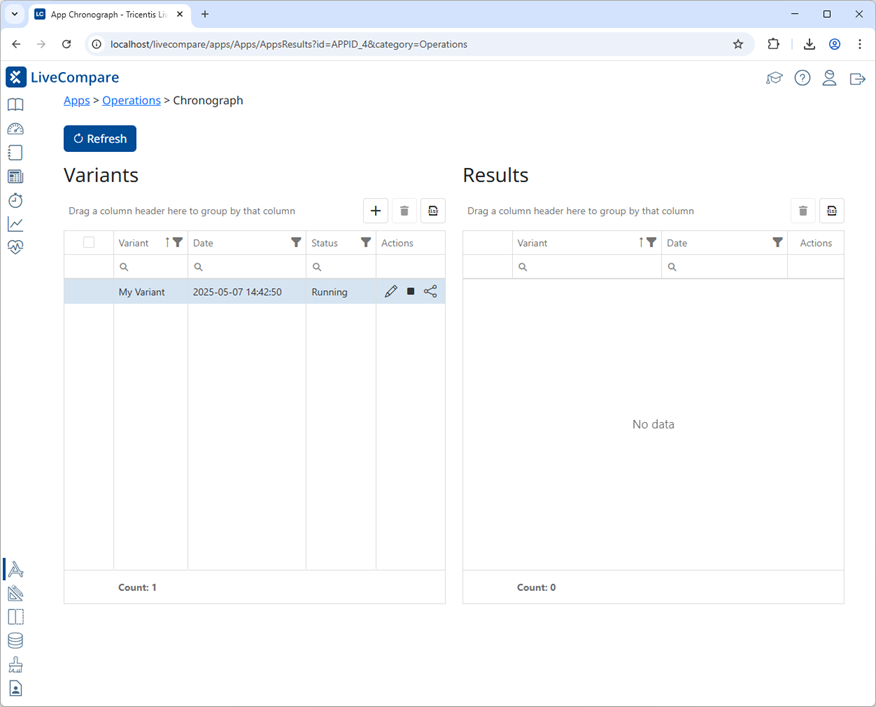
Select Refresh periodically to refresh the display. When the app has completed, you’ll see an entry in the Results table.
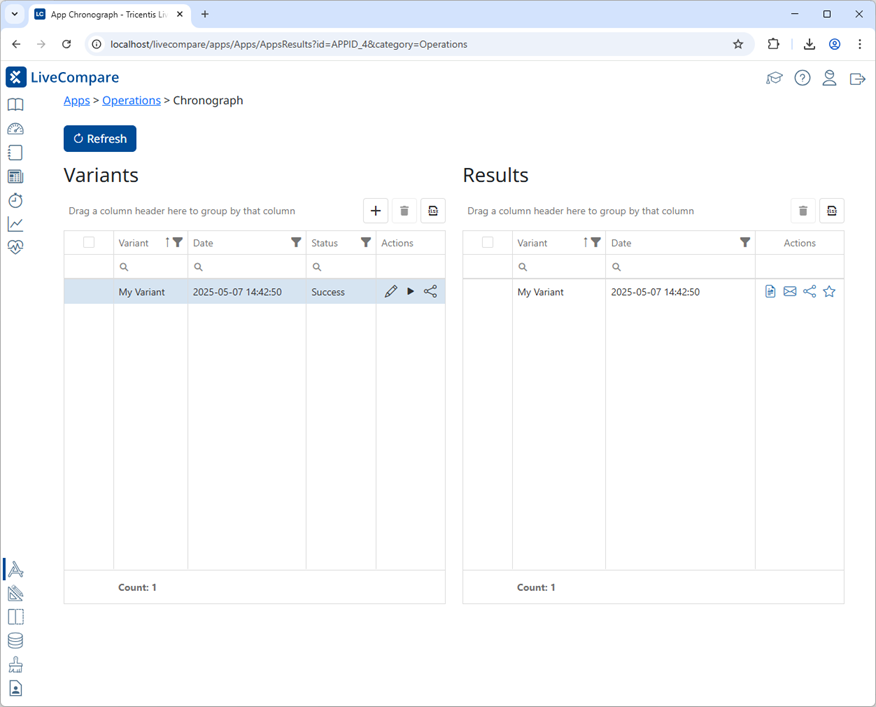
View the results
Select  for your results in the Results table’s Actions column to display the Chronograph app’s report.
The LiveCompare studio allows users with Administrator permissions to manage the resources needed to configure LiveCompare, and users with Editor permissions to create, edit, and run workflows, and view their results. If you have Administrator or Editor permissions, select  in the Dashboard screen to access the studio.
Studio components
The LiveCompare studio has the following components:
Toolbar
The toolbar in the studio’s header allows you to perform the following actions:
| Text or Icon | Description |
|---|---|
| logoff | Sign out of your LiveCompare session. |
|
|
Hide or display the LiveCompare hierarchy. |
|
|
Start the Quick Compare Wizard. |
|
|
Display the LiveCompare help. |

|
Display the Search screen. |

|
Display the Guided Configuration screen for Administrators, or the Dashboard screen for Editors. |
|
|
Display the About screen, which includes the LiveCompare version and build number. |
Signed-in user
The toolbar displays the username of the user who is currently signed in.
Selected Resource Group
If an Administrator has created one or more Resource Groups, the toolbar for Editors includes a dropdown, which allows them to select a Resource Group. If you have Editor permissions, you can only access workspaces, RFC Destinations, Salesforce Orgs, External Data Sources, Pipelines, Test Repositories, ServiceNows, and LUXes in the currently-selected Resource Group.
LiveCompare hierarchy
The LiveCompare hierarchy in the studio’s left-hand pane has the following folders:
| Folder | Description |
|---|---|
| Administration | Allows Administrators to maintain the users, Import Specifications, Resource Groups, RFC Destinations, ServiceNows, Test Repositories and Pipelines available in LiveCompare. It also allows users to change their password and set their user preferences. |
| Process Runs | Select this folder to display the Process Runs screen, which allows Administrators to monitor each workflow’s run status, and Editors to run workflows, schedule them, and monitor their run status. |
| App Store | The App Store screen lists the apps available to the current user. |
| App Store > App Results | The App Results screen lists any results generated by the apps available to the current user. |
| App Store > Apps Monitor | Select a subfolder or the Apps Monitor folder to view a list of apps that are currently running, have run recently, or have failed. |
| Data > Masked Fields | LiveCompare’s data masking functionality uses this folder, however it doesn't display anything for the user. |
| Data > External Data Sources | This folder lists the External Data Sources defined in LiveCompare. |
| Data > Impact Analyses | This folder lists the impact analysis runs created by the Create Impact Analysis action. |
| Data > Luxes | This folder lists the As-Is and To-Be SAP data extracts available to the current user. |
| Data > Vaults | This folder lists the Vaults available in LiveCompare. |
| Data > Report Templates | Select a subfolder of the Report Templates folder to display the Access, Excel, or PowerPoint report templates available on the LiveCompare server, or to upload new report templates. |
| Data > Web Services | Select this folder to view all workflows registered as Web Services. |
| Data > API Tokens | If you have Administrator permissions, select this folder to list the API tokens that an Administrator has created for External Data Source REST APIs and Web Services. |
| Data > Templates | This folder lists the workflow templates installed with LiveCompare. You can’t run or modify workflows in this folder, however you can copy them to a workspace. |
| Data > Templates > Shared Templates | This folder lists the shared workflow templates available in LiveCompare. You can use the Run Workflow action in a workflow to call a shared template directly. |
| Data > Workflow Library | This folder lists workflows that users have exported to the LiveCompare server as XML files. You can’t run or modify workflows in this folder, but you can copy them to a workspace. |
| Data > Workflow Library > Shared Workflows | This folder lists shared workflows that users have copied there using drag and drop. You can’t run or modify workflows in this folder, but you can copy them to a workspace. |
| Workspaces | This folder lists the workspaces available to the current user. If LiveCompare is Resource Group-controlled, the folder only lists workflows from the currently-selected Resource Group. |
Use  or
or  to expand or collapse branches of the hierarchy. Each hierarchy object has a context menu that lists the actions that are available for the item.
Details pane
The Details pane displays details for the currently selected component in the LiveCompare hierarchy. For example, if an Editor selects a user in the hierarchy, the Details pane displays their user details.
Administrator tasks
If you have Administrator permissions, you can use the studio to perform the following tasks:
Administrators can also manage API Tokens, configuration settings, External Data Sources, ServiceNows and Vaults in the LiveCompare hierarchy.
Workflow tasks
A workflow is a flowchart diagram that performs a series of actions in sequence. If you have Editor permissions, you can use the studio to perform the following workflow tasks:
-
Export workflows to XML files.
Editors can also manage External Data Sources, Access, Excel and PowerPoint Report Templates, RFC Destinations, Pipelines, ServiceNows, Test Repositories and Vaults in the LiveCompare hierarchy. An Administrator may disallow some of these tasks in the Configuration - Security screen or during the installation of LiveCompare.
App tasks
An app is a form-based interface that allows you to run a workflow and view its results. If you have Editor permissions. you can use the studio to perform the following app tasks:
If you have Administrator permissions, you can configure LiveCompare to purge reports and app results that are older than a specified number of days.