Manage Requirements
Requirements describe in detail what development goals you want to achieve in order for your application under test to meet its objectives. Once you have requirements, you can attach them to releases, builds, and test cases. This helps you always keep an eye on the final goal, throughout your testing process.
To work with requirements, go to the Requirements tab in qTest Manager. From here, you can create, edit, import, and delete requirements.
You have two ways to create requirements:
-
Create requirements from scratch in Manager
-
Import existing requirements from a different program
Requirements set the expectations for your final product.
Before you start
After you've created a test plan and set up modules, you're ready to work with requirements.
Create a requirement
To create a requirement, follow these steps:
-
In the tree panel, select the module you want to add a requirement to, then select
 New Requirement from the toolbar.
 -
Specify a name for your requirement.
-
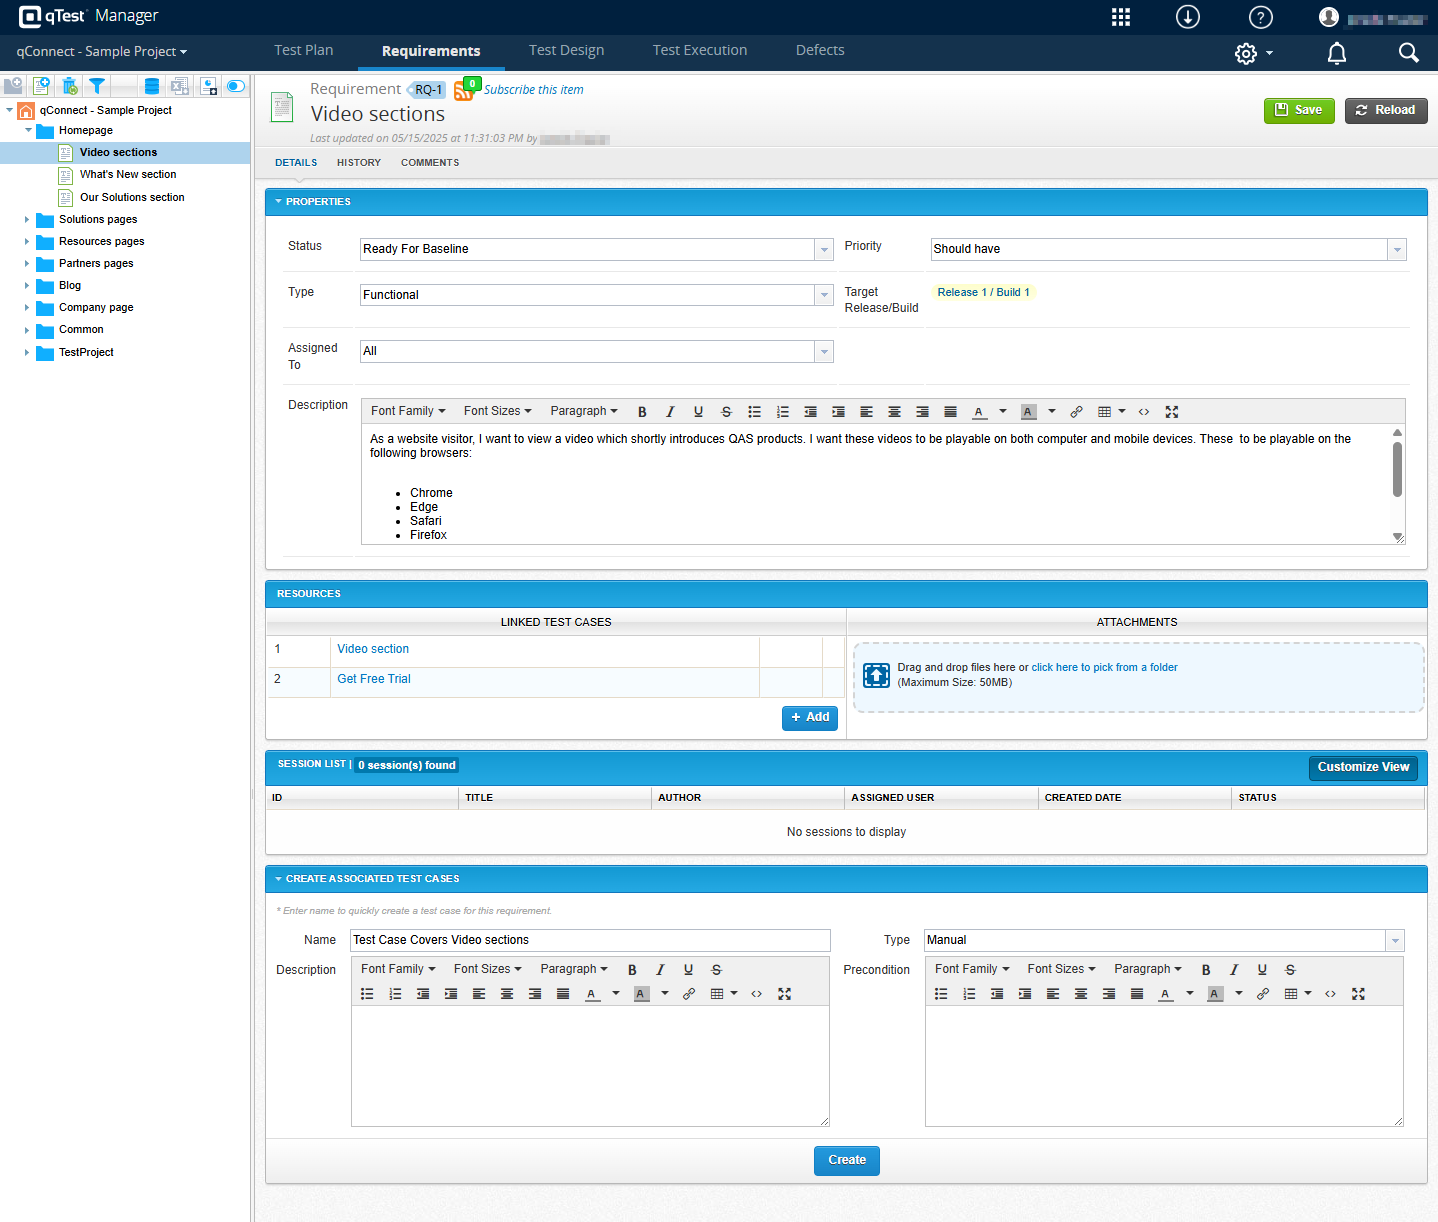
As applicable, add information to the following fields in the Properties section:
- Status: Select the status of your release. The default is New, but you can change the status to In Progress, Ready for Baseline, or Baseline as your testing progresses.
-
Priority: Select the priority of the requirement. The default is Must have, but you can change the priority to Should have or Nice to have.
-
Type: Define whether this requirement is Functional or Non-functional.
-
Assigned To: Select the user to assign the requirement to.
-
Description: Describe the goals of the requirement.
The Target Release/Build field displays which releases and builds the requirement is attached to.
-
Select Save. Once you have a requirement, you can edit the details at any time.
Note that you can create custom fields or modify any existing system fields. If you want to do this for an individual project, refer to Field Settings. If you want to create fields that can be used across projects and included in Insights reporting, refer to Site Fields.
Add resources to a requirement
In the Resources section of your requirement, you can add the following:
-
Attachments, which are files that will be helpful to include with your release. For example, screenshots or images from your UX designer. To add an attachment, go to the Attachments section and drag and drop files, or use File Explorer.
-
Test cases, which define the necessary test actions for this requirement. To add test cases, select Add under the Linked Test Cases section and select the test cases you want to add. You can add test cases to more than one requirement at a time.
Remember to Save after you add resources.
Delete a Requirement
To delete a requirement, right-click the requirement you want to delete in the tree panel and select Delete from the context menu. This doesn't affect any test cases linked to the deleted requirement.
You can restore a deleted requirement from the Recycle Bin.
What's next
Have a test plan and requirements? Start creating your test cases in Test Design.