Create a test plan
Once an administrator has created a project, you can define the high-level milestones and test objectives for that project within the Test Plan tab.
The test plan is comprised of releases and builds, which define your deadlines and testing goals. While release and build are the qTest terms, these objects can be used for other time periods, such as sprints for Agile projects or different phases of testing for Waterfall projects.
For example, if your team uses an external Application Lifecycle Management (ALM) software, such as Jira, Rally, or VersionOne, then you may have already established a release plan there. If that's the case, you can still use the release feature as a container for your testing as it relates to your established release plan from the external ALM software or system.
Create a Release
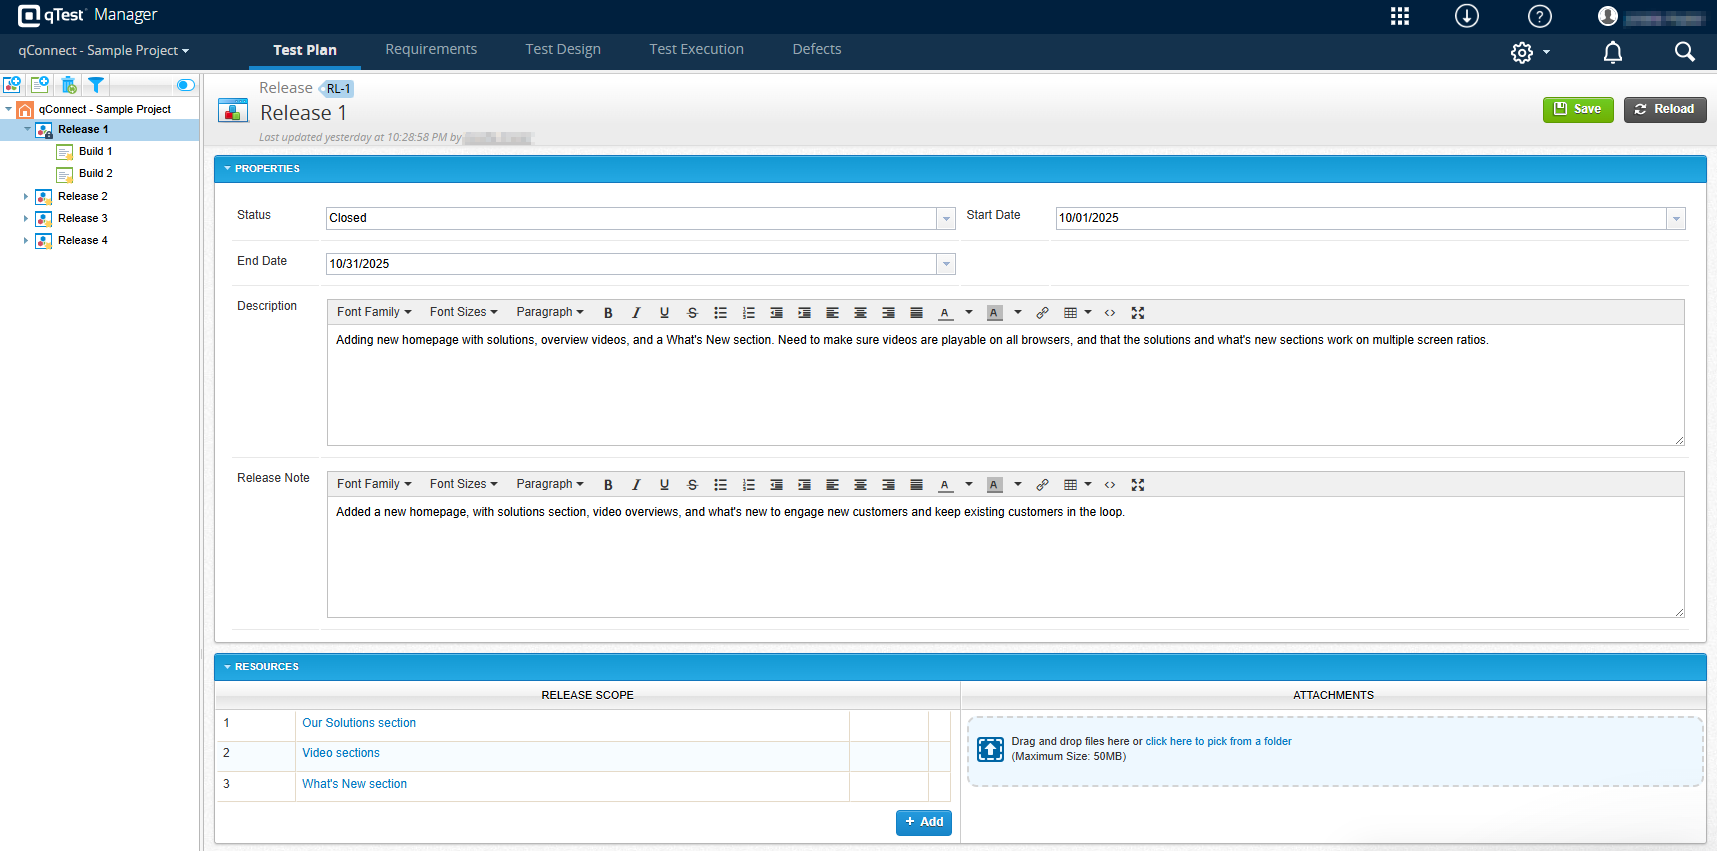
The first item you should add to your test plan is a Release. This release should focus on high-level milestones and answer some of the big questions What do you want the customer experience to be on release? What is your overarching goal? When all your testing is finished, what should the end result be?
Releases are broad overviews of the program you want to produce.
To create a release, follow the steps below:
-
Select the
 New Release icon in the left panel to create a new Untitled release.
 -
Enter a name for your release in the Untitled field.
-
Add information to the following fields, as applicable:
- Status: Select the status of your release from the dropdown. This is automatically set to Planned, but you can update it to In Progress, Completed, or Closed as your release progresses.
To create custom fields or modify any existing system fields, refer to Field Settings.
-
Start Date and End Date: Select the planned start and end dates of your release.
-
Description: Enter the internal description for your release.
-
Release Note: Enter information about what your release includes. This is a good place to enter the new features are in development for this release.
- Status: Select the status of your release from the dropdown. This is automatically set to Planned, but you can update it to In Progress, Completed, or Closed as your release progresses.
-
Select Save to save your new release.
Create a Build
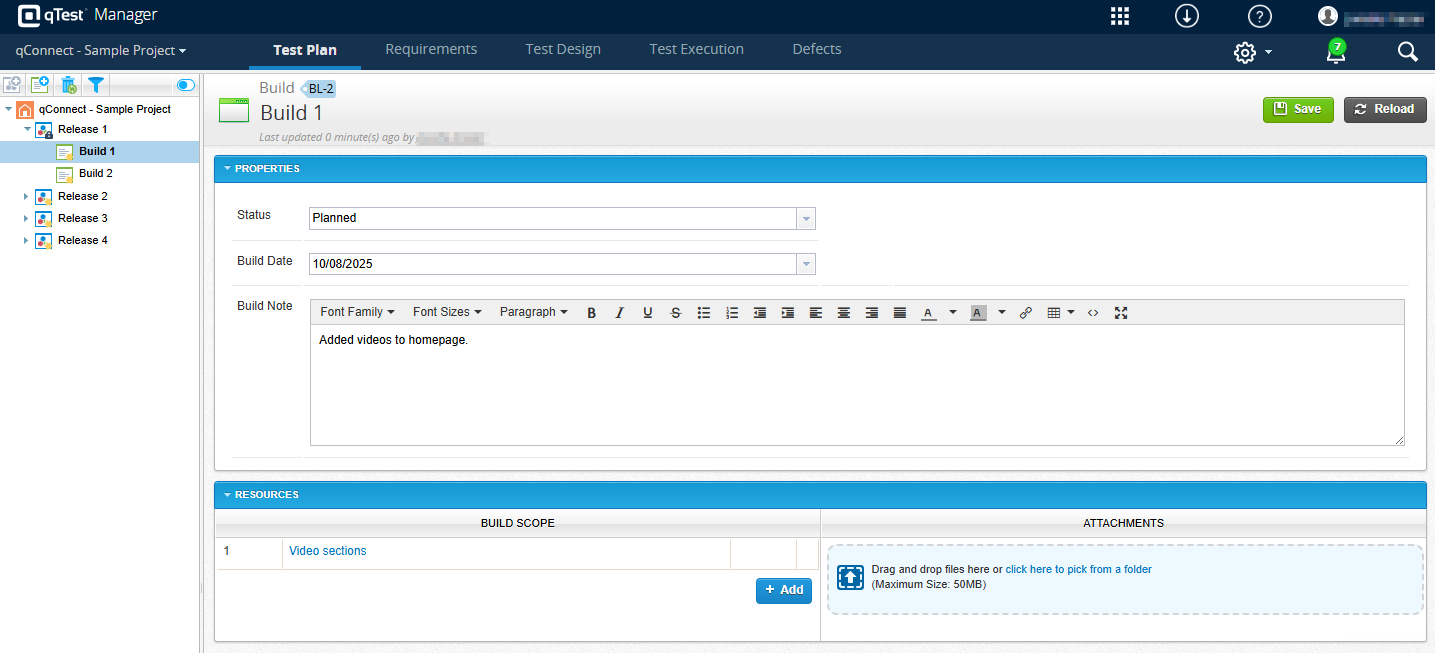
Once you have a release, you can create smaller milestones inside the release using builds. One release can have multiple builds, which you can use to iterate as you construct your release.
Once you have a release, you can add as many builds to it as is applicable.
To create a new build, follow these steps:
-
Select the Release you want to add your build to, then select the
 New Build icon on the toolbar to create a new Untitled build.
 -
Enter a name for your build in the Untitled field.
-
Add information to the following fields, as applicable:'
- Build Date: Select the date of the build. You can only select build dates within the Start Date and End Date of the associated release.
-
Build Note: Enter any information associated with the build in the text box. This is a flexible field, so you can use it as best meets your organization needs.
-
Select Save to save your new build.
Add resources to your release or build
In the Resources section of your release or build, you can add the following:
-
Attachments, which are files that will be helpful to include with your release. For example, screenshots or images from your UX designer. To add an attachment, go to the Attachments section and drag and drop files, or use File Explorer.
-
Requirements, which define the scope of the release or build. To add requirements, select Add under the Release Scope or Build Scope section and select the requirements you want to add. You can add requirements to more than one object at a time. If you are adding requirements to a build, you can only add requirements that are already attached to the release associated with the build.
Remember to Save after you add resources.
What's next
Take your organization a step further by creating modules.