Add and edit Panels
To start display and analyze as many graphs as required for a Test Result, you need to create a Dashboard. You will then be able to add panels to it so that it can display curves and tables from your tests metrics as well as text as comments.
You can add data panels and text panels, and you can rename panels.
Prerequisites
To be able to trace graphs and tables, you need to have at least one Dashboard. For more information, see Create a Dashboard.
Add a data panel
To start the analysis of your Test Results and be able to trace graphs and tables from your tests metrics, you can add one or several data panels to your Dashboards.
To add a data panel, follow these steps:
-
Select a Workspace as described in Workspace selector.
-
In the left navigation panel, select the Dashboards view.
The table lists the Dashboards in your Workspace.
-
Locate the Dashboard where you want to add a data panel and select it by clicking on its name in green.
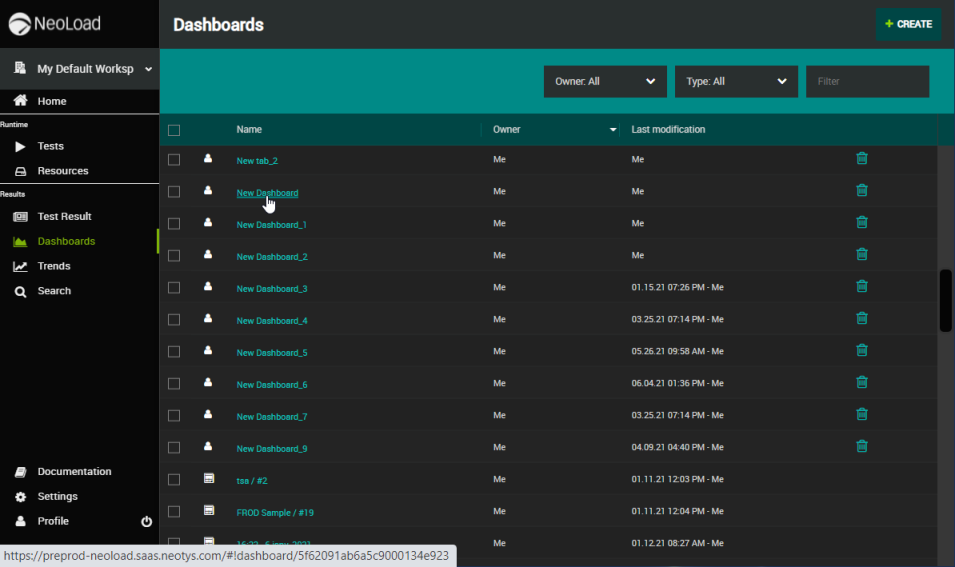
The view changes to display the selected Dashboard.
-
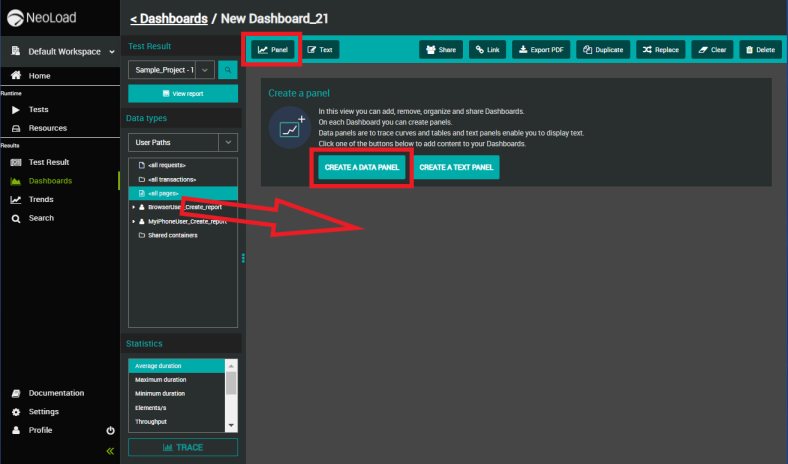
To add a data panel:
-
click the CREATE A DATA PANEL button in the center of the Dashboards view when still empty, or,
-
click the Panel button in the Dashboard header, or,
-
drag and drop into the Dashboard a data type or a statistic from a Test Result
-
-
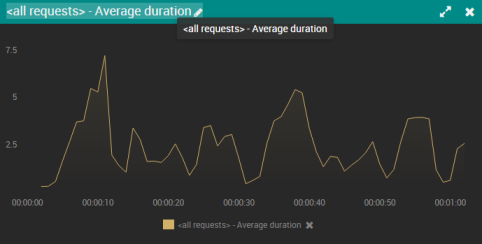
Click the header of the newly created data panel to rename it. For more information, see Rename a panel.
-
You can now add graphs and data tables to your Dashboard.
Add a text panel
To be able to add text (reports, etc.) to the analysis of your Test Results, you can add one or several text panels to your Dashboards.
To add a text panel, follow these steps:
-
Select a Workspace as described in Workspace selector.
-
In the left navigation panel, select the Dashboards view.
The table lists the Dashboards in your Workspace.
-
Locate the Dashboard where you want to add a text panel and select it by clicking on its name in green.
The view changes to display the selected Dashboard.
-
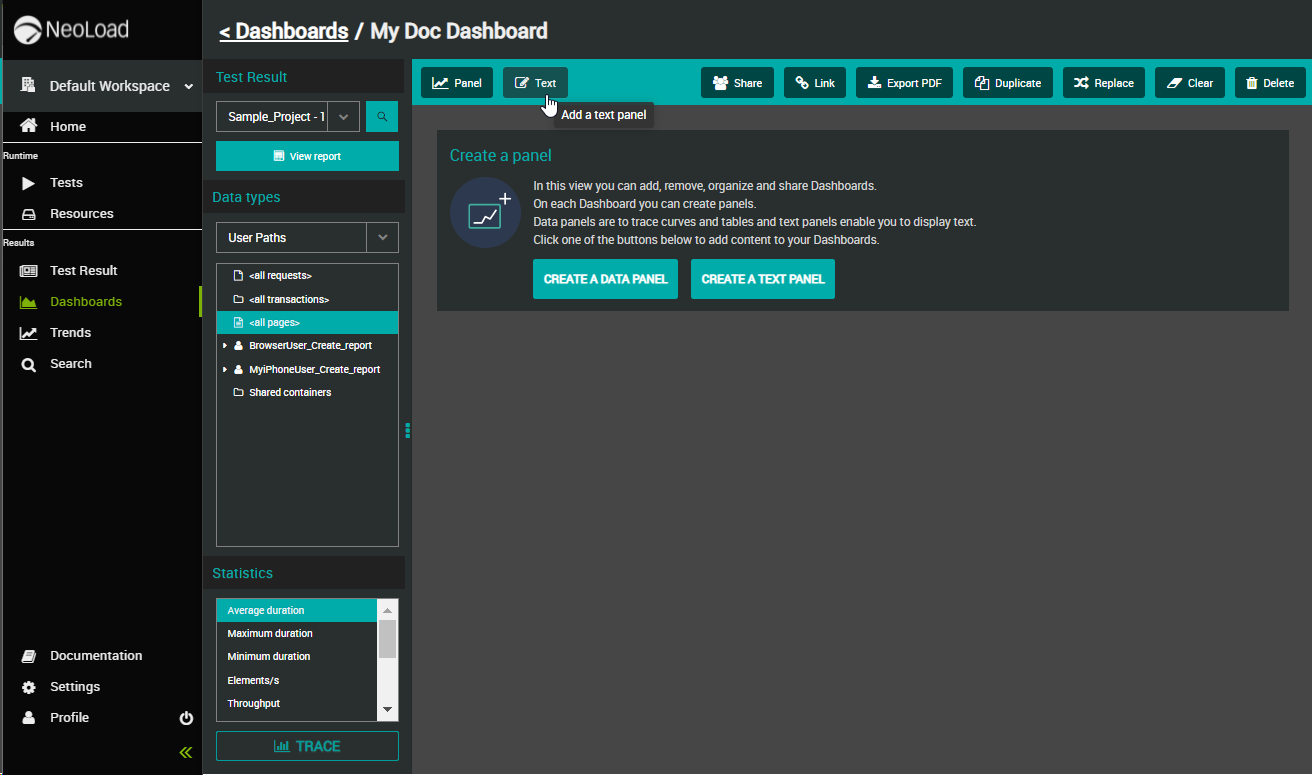
To add a text panel:
-
click the CREATE A TEXT PANEL button in the center of the Dashboards view when still empty, or,
-
click the Text button in the Dashboard header
-
-
Click the pencil icon at the top right of the text panel to start writing and editing your text.
Edit a text panel
Once you have added a text panel to a Dashboard, you can edit it.
To edit a text panel, follow these steps:
-
Select a Workspace as described in Workspace selector.
-
In the left navigation panel, select the Dashboards view.
The table lists the Dashboards in your Workspace.
-
Locate the Dashboard where you want to edit a text panel and select it by clicking on its name in green.
The view changes to display the selected Dashboard.
-
In the text panel, click the pencil Edit button in the panel header.

-
You can directly write in the panel and/or copy and paste text and edit it with the editing bar. Each edit you make is saved automatically.
-
Click the Minimize button
 to come back to the Dashboards view.
Rename a panel
Panels are named automatically when created.
To rename a panel, follow these steps:
-
Select a Workspace as described in Workspace selector.
-
In the left navigation panel, select the Dashboards view.
The table lists the Dashboards in your Workspace.
-
Locate the Dashboard where you want to rename a panel and select it by clicking on its name in green.
The view changes to display the selected Dashboard.
-
Locate the panel for which you want to modify the name.
-
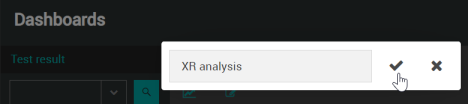
Double-click the panel name in the panel header.
-
Enter the desired name in the edition field and press ENTER or click the validating icon.
The name of the panel is changed accordingly.