Trace a data table
A data table enables you to analyze a Test Result through the lenses of specific data types.
Values are calculated in real time during the test or after a test is finished. When a live statistic is put in a table, the table is updated as soon as new values are available.
To be able to trace data tables, you need to have at least one Dashboard. For more information, see Create a Dashboard.
To trace a data table, follow these steps:
-
Select a Workspace as described in Workspace selector.
-
You can either:
-
Start from the Home or Search view and open a Test Result and once in the Test Result view, click the Select in Dashboard link. In this case, go directly to step 3.
-
Start from the Dashboards view.
-
-
In the Dashboards view, select a Test Result.
You can either:-
Select a Test Result from the Test Result drop-down list.
-
The Test Result drop-down list contains all Test Results (running and finished) started on the Account.
-
Running tests are identified with a spinning icon.
-
-
Search a Test Result with the
 icon which opens the Search panel: Apply your search criteria and click the desired Test Result to have it selected in the Dashboards view.
-
-
Click the Panel button.
-
In the Data types tree, select the source from where you want to trace your table: Preset analysis. For more information, please refer to Preset analysis.
-
In the Preset analysis tree structure, select the element you want to visualize.
-
Click the TRACE button.
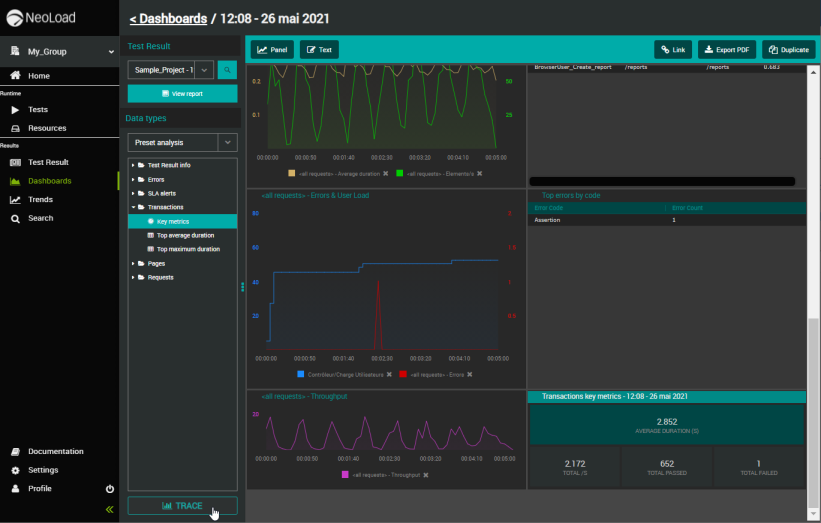
The table is plotted accordingly. The default name of the table is "<Name of the element to display> - <Name of the test result>".