Record messages
With the OSV Web UI, you can record the traffic between your system under test (SUT) and a real service.
OSV records the requests and responses they exchange and allows you to work with these messages. For example, you can export them to Tricentis Tosca or use them to create Scenarios.
Access the Recording tab
To record and work with recorded messages, you have to access the Recording tab.
To do so, follow the steps below:
-
On the Environment tile, click Open.
-
Click the Recording tab.
Alternatively, click anywhere on the Environment tile to open it and then click the Recording tab.
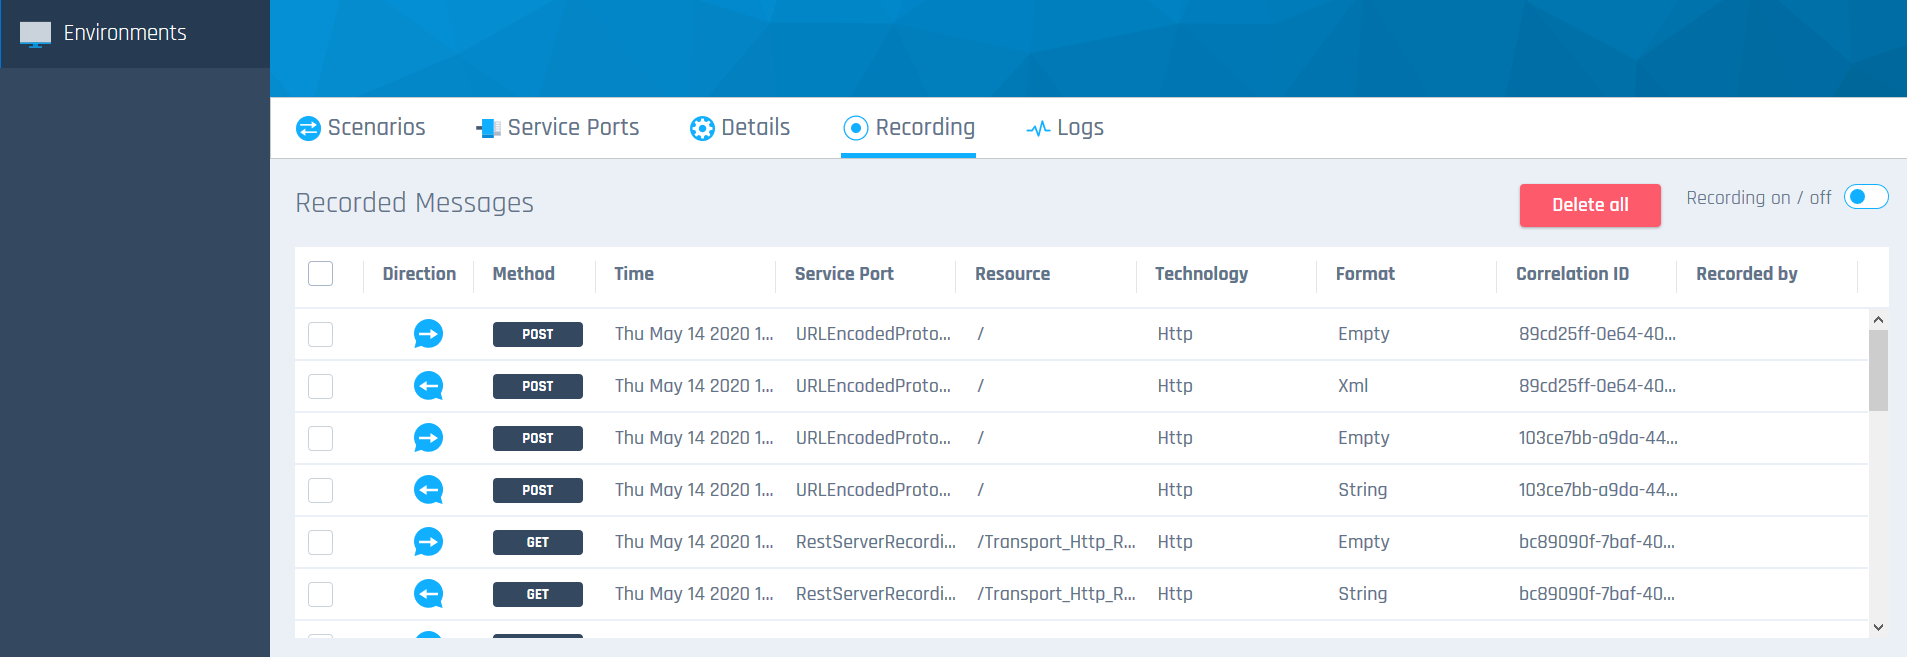
Recording tab
Record messages
You record the traffic between your SUT and a real service. Make sure that you have configured a service port for the real service before you start recording.
To record messages in the OSV Web UI, follow the steps below:
-
To start recording, click the Recording on/off toggle in the upper right corner.
-
Send the messages you that want to record from the SUT to the OSV service port. OSV records the traffic.
-
To stop recording, click the Recording on/off toggle again.
The Recording tab displays a log of all recorded messages and message details, such as the time stamp and service port name. You can now work with these messages.
Work with recorded messages
To specify what you want to do with the recorded message(s), follow the steps below:
-
Select the message(s) you want to work with.
-
Use the action bar to perform the following actions:
-
Click
 Delete selected messages to delete your selection. If you want to delete all messages from the Recording tab, click Delete all.
 -
Click
 Export selected messages to Tosca to export. OSV exports your messages to a new Tosca ComponentFolder called OSV_Import_<current date>_<current time>.
 -
Click
 Convert selected messages to Scenario to create a new Scenario. You can find your new Scenario in the Scenarios tab.
-
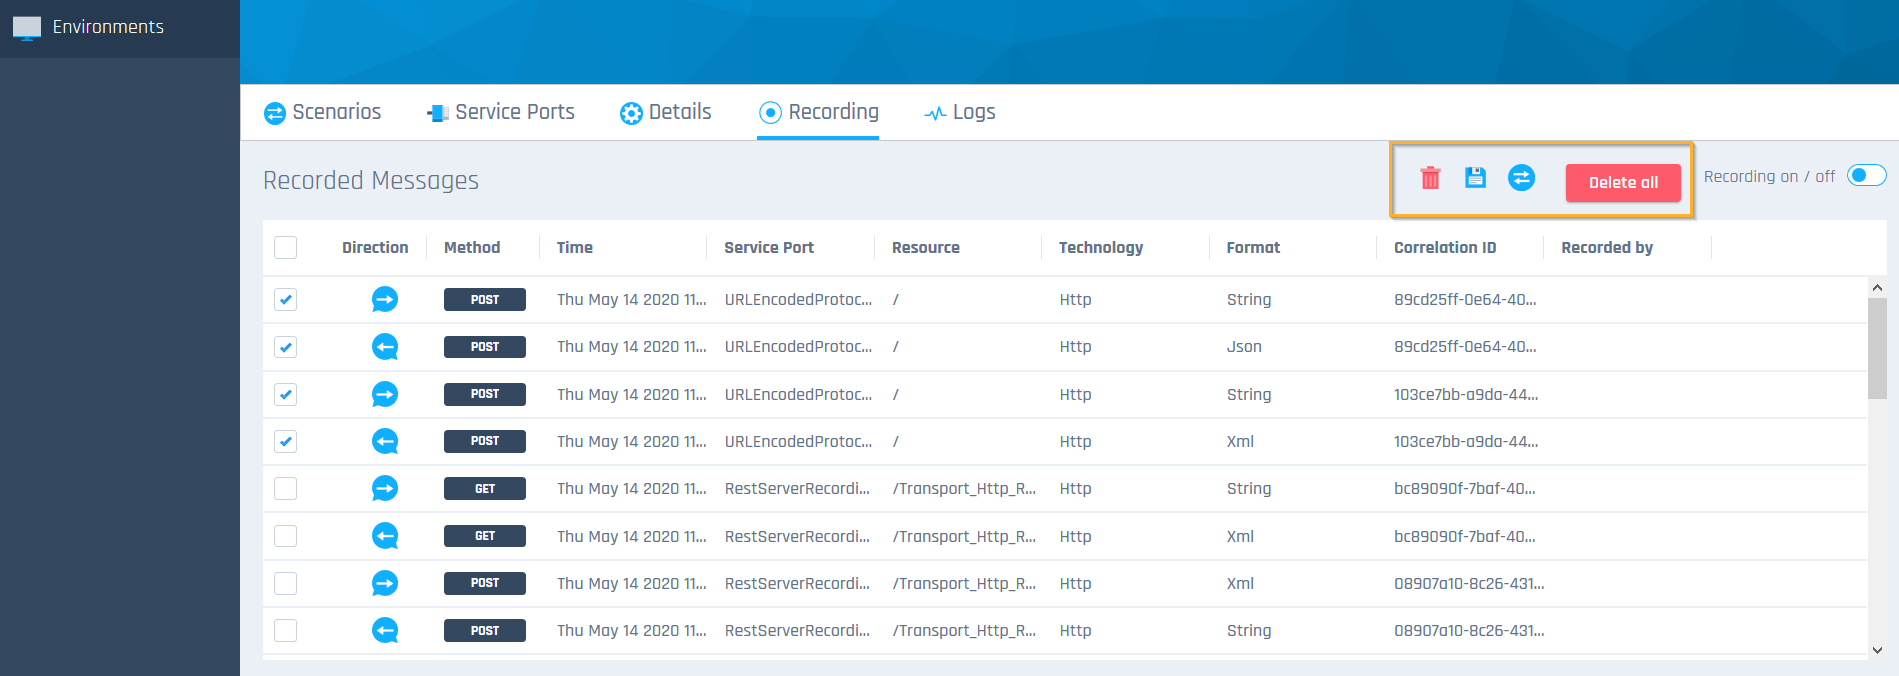
Action bar in the Recording tab