Add LiveCompare authorizations to a custom role
If the LiveCompare SAP account uses a custom role rather than the supplied /ICORP/LC_CORE_AUTHS3 role, you will need to add the required LiveCompare authorizations to the custom role by carrying out the following steps.
-
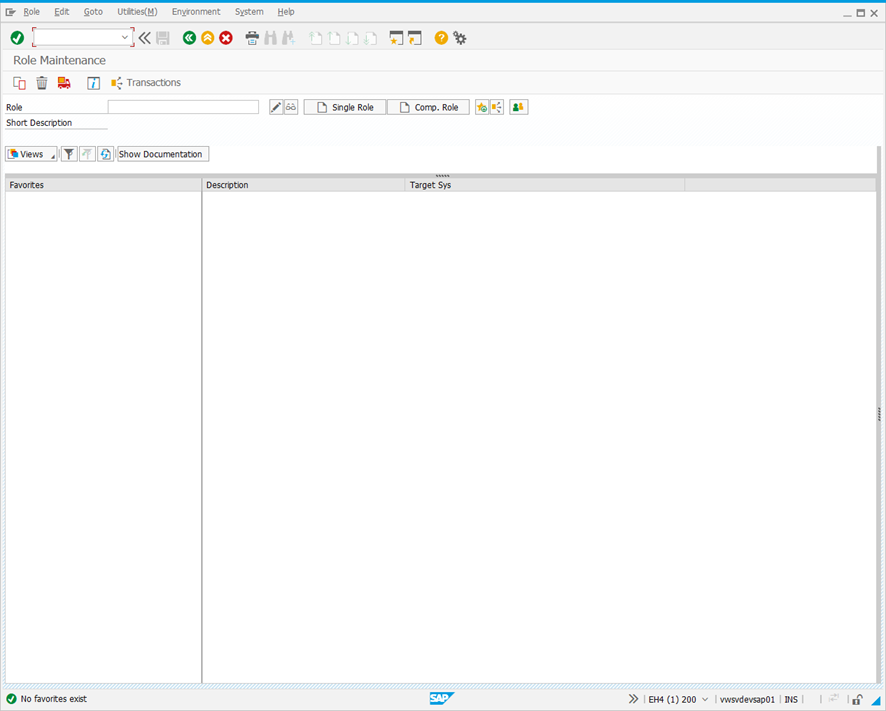
Run transaction PFCG to display the Role Maintenance screen.
-
Enter the name of your custom role and click
 .
.
-
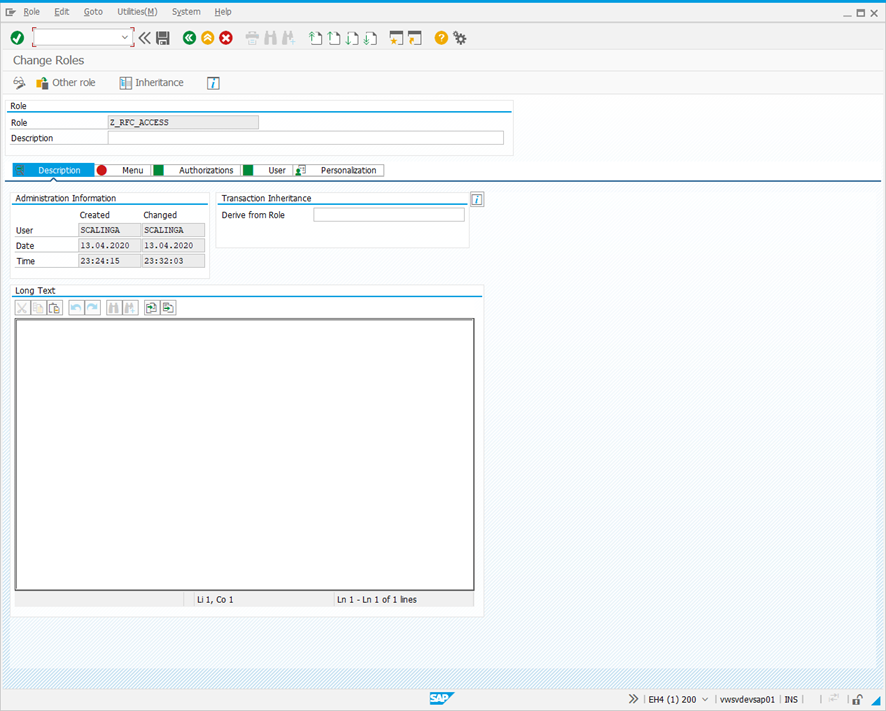
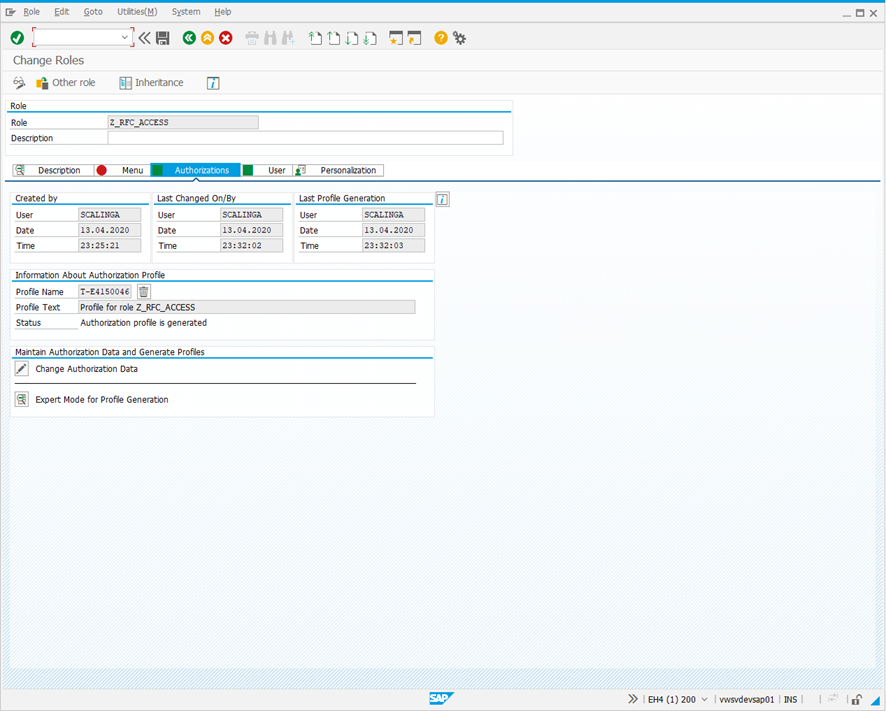
Select the Authorizations tab.
-
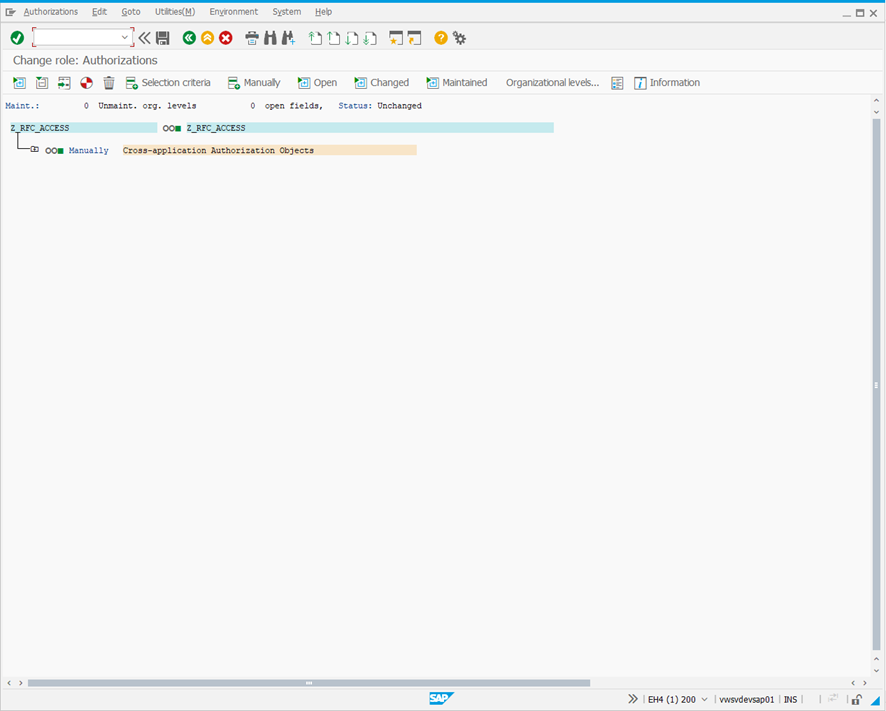
Click
next to ‘Change Authorization Data’ to display the Change role: Authorizations screen.
-
Select
 or choose Edit > Insert authorization(s) > Manual input from the menu. The following dialog is displayed.
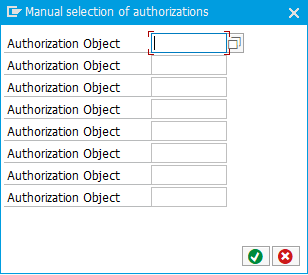
-
Enter /ICORP/OBJ in the first Authorization Object field and click
 . The screen changes to the following.
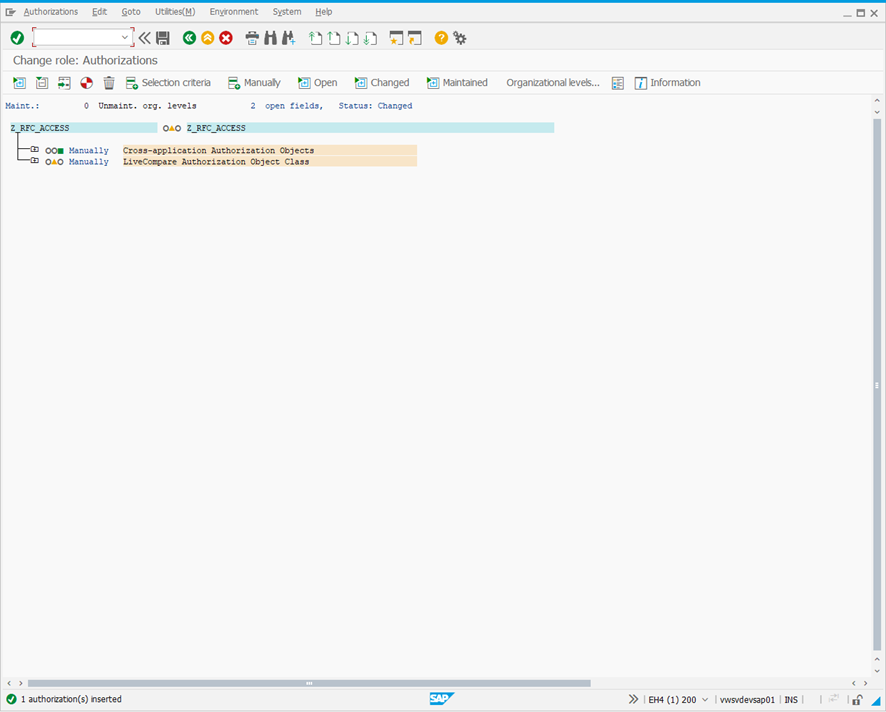
-
Expand the LiveCompare Authorization Object Class branch until the LiveCompare Components and Activity fields are displayed.
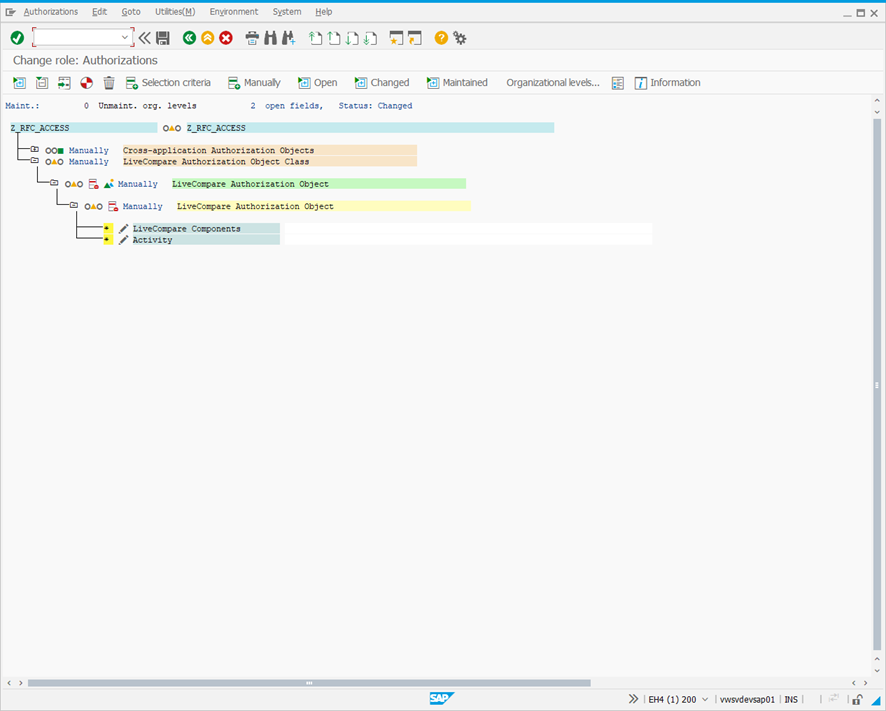
-
Click the Change icon next to the LiveCompare components field. The following dialog is displayed.
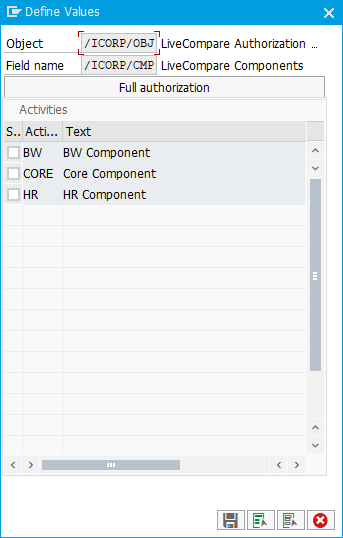
-
Select the CORE component and any other LiveCompare components that have been installed and click
 .
.
-
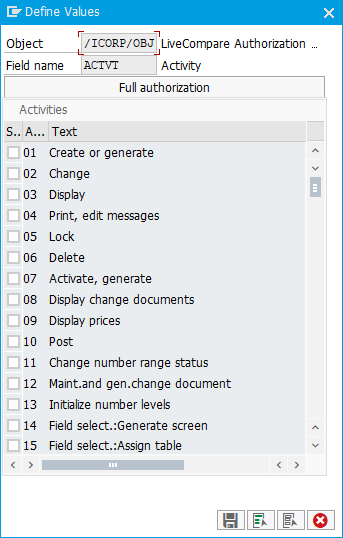
Click the Change icon next to the Activity field. The following dialog is displayed.

-
Select Activity 16 - Execute and click
. -
In the Change role: Authorizations screen, click
 to save your changes. Alternatively, choose Save from the Authorizations menu.
 -
Click the
 icon or choose Generate from the Authorizations menu to update existing profiles associated with this custom role.