Use Cloud Scanner
This topic explains how to use Cloud Scanner to add test steps to a web application test case.
Add test steps
To add test steps with Cloud Scanner, follow these steps:
-
Start the scan. To do so, select the
 icon next to Modules, or select
  > Scan application in the test case editor. Then, select Web browser from the context menu.
 -
Enter the URL of the page you want to scan. This takes you to the split-screen view:
-
On the left is your test case editor, with your very first test step: Browser: Open URL
-
On the right is a cloud-based browser session that shows your page.
-
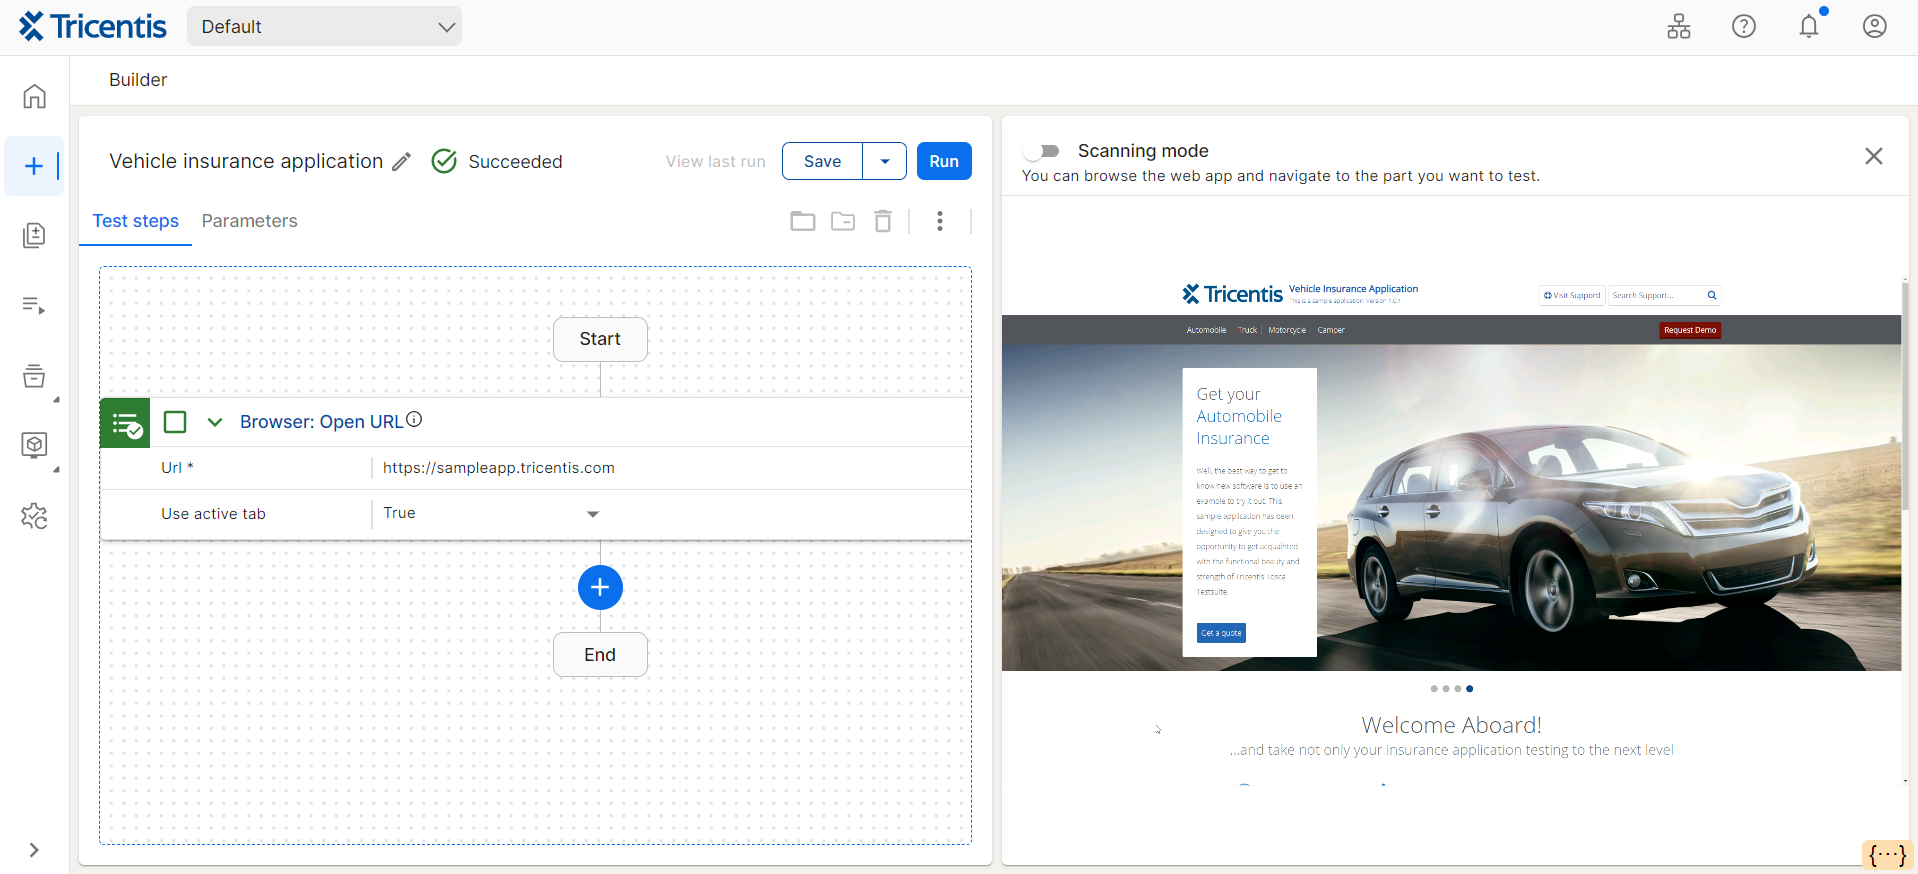
Split-screen view in Cloud Scanner
-
By default, Scanning mode is off. This means you can still navigate the page in the browser session. For example, to close an unexpected pop-up window. Once you're ready, turn on Scanning mode.
-
In the browser session, select the controls you want to test.
-
In your test case editor, build your test:
-
To tell Tosca Cloud what to do at runtime, populate your test steps.
-
To define important run criteria for your test case, add parameters.
-
To reduce test maintenance effort, create reusable test steps. Cloud Scanner has some limitations: you can only create reusable test steps from existing steps in your test case. To add reusable test steps to your test case—or edit reusable test steps—you need to leave the split-screen view.
-
To keep large test cases easier to read, select related steps and
 Group them.
-
What's next
Perform trial runs, so you can make your test case as stable and reliable as possible.
Alternatively, you can leave the split-screen view and add other elements that help you build a good test case: standard test steps, existing reusable test steps, or logic elements like if statements.