Set up Simulator agents
The Simulator agent hosts simulations that you can run in your local environment on any machine. These simulations send messages, receive requests, or respond like real services.
Use the Simulator agent interface to create, edit, and organize your simulations, or connect your agent to Tosca Cloud.
Before you start
-
Simulator agents are copyable files, so you don’t have to install anything specific for it.
-
The machines on which you run your Simulator agents must meet the minimum system requirements.
Set up your Simulator agent
You can set up your Simulator agent through the setup wizard during the download process. If you are a Tosca Cloud administrator, you can also set it up through the appsettings.yml file.
You only need to do this once. When you restart a registered Simulator agent, it automatically connects to Tosca Cloud.
Choose this option if you haven't yet downloaded a Simulator agent. The wizard starts automatically during the download process:
-
Open
 Downloads from the top menu.
 -
Download the Simulator agent for your operating system. This starts a setup dialog during the download process.
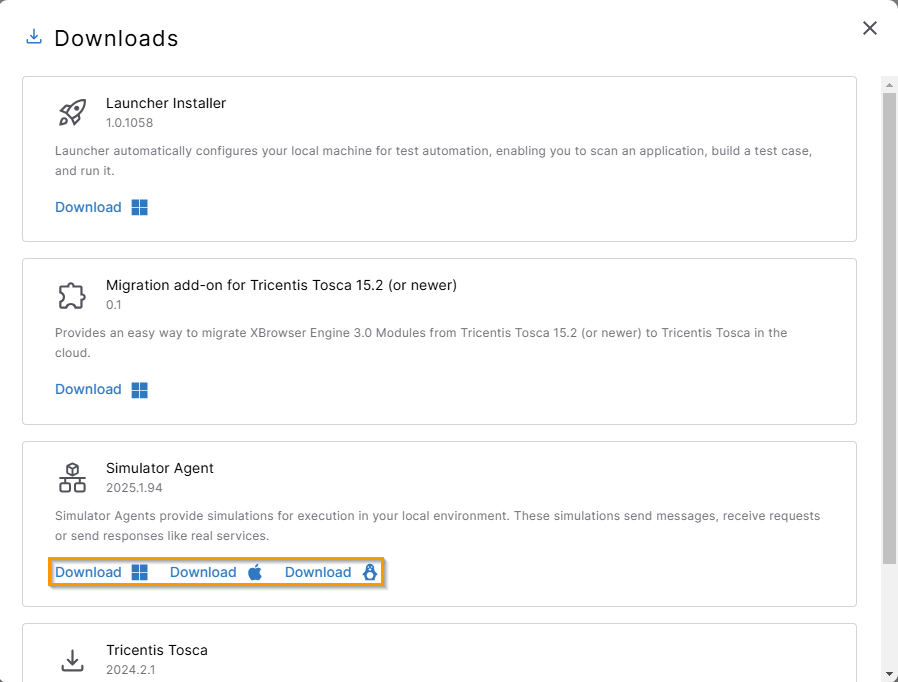
Download the Simulator agent
-
Copy the link with your tenant and workspace connection details from the dialog to the clipboard and close the dialog.
-
Double-click the executable file that you've downloaded.
-
In the next dialog, you have the following options:
-
Select Connect Simulator agent if you want to organize your simulations with Tosca Cloud.
-
To use the local Simulator agent interface, select the link. The Simulator agent opens and you can start exploring right away. You don't need to do the next step.
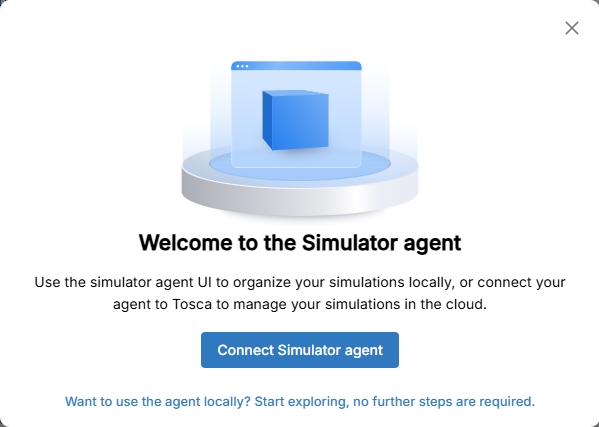
Simulator agent welcome screen
-
-
Paste the link you copied to the clipboard, and follow the on-screen instructions.
Your Simulator agent is now active and listed on the Simulator agents page.
As an administrator, and if you have already downloaded a Simulator agent, you can connect it to Tosca Cloud using the Simulator agent details dialog and the appsettings.yml file:
-
Go to
 API simulation > Simulator agent and select Get agent details.
 -
In the default installation folder %LOCALAPPDATA%\Tricentis\Simulation, open the appsettings.yml file.
-
In the Simulator agent details dialog, copy the values Tenant, Workspace, and Client secret, then paste them into the respective entries in the appsettings.yml file.
Alternatively, you can use the API to get the client secret and store it in a file.
-
Close the Simulator agent details dialog.
-
Save and close the appsettings.yml file.
Your Simulator agent is now active and listed on the Simulator agents page.
Simulator agent files and directories
The default location for Simulator agent files is %LOCALAPPDATA%\Tricentis\Simulation. It includes the following folders and files:
|
Folder or file |
Description |
|---|---|
|
Log |
Storage for your Simulator agent log files. |
|
Workspace |
Store your simulation files in this folder. Create folders to organize them. When you start the Simulator agent, it loads all simulation files that are in this folder. Note: you can only reference files in the same workspace folder in a simulation file. |
|
appsettings.yml |
This is the Simulator agent configuration file. You can use this file to integrate the Simulator agent to Tosca Cloud. |
Start the Simulator agent
To start the Simulator agent, double-click the Tricentis.Simulator.Agent.exe file that you've downloaded.
When the Simulator agent is set up, the console window opens and shows all logs. It's now connected to Tosca Cloud.
Mac users: Start the Simulator agent from the command line
The Mac version of the Simulator agent comes as a bundled application, allowing Mac users to launch it easily. To run it in a console or pass command line parameters, start the Simulator agent manually using this method: ./Simulator.app/Contents/Resources/Tricentis.Simulator.Agent.
What's next
Deploy simulations to your Simulator agent.