Review in Session Editor
Access Session Editor
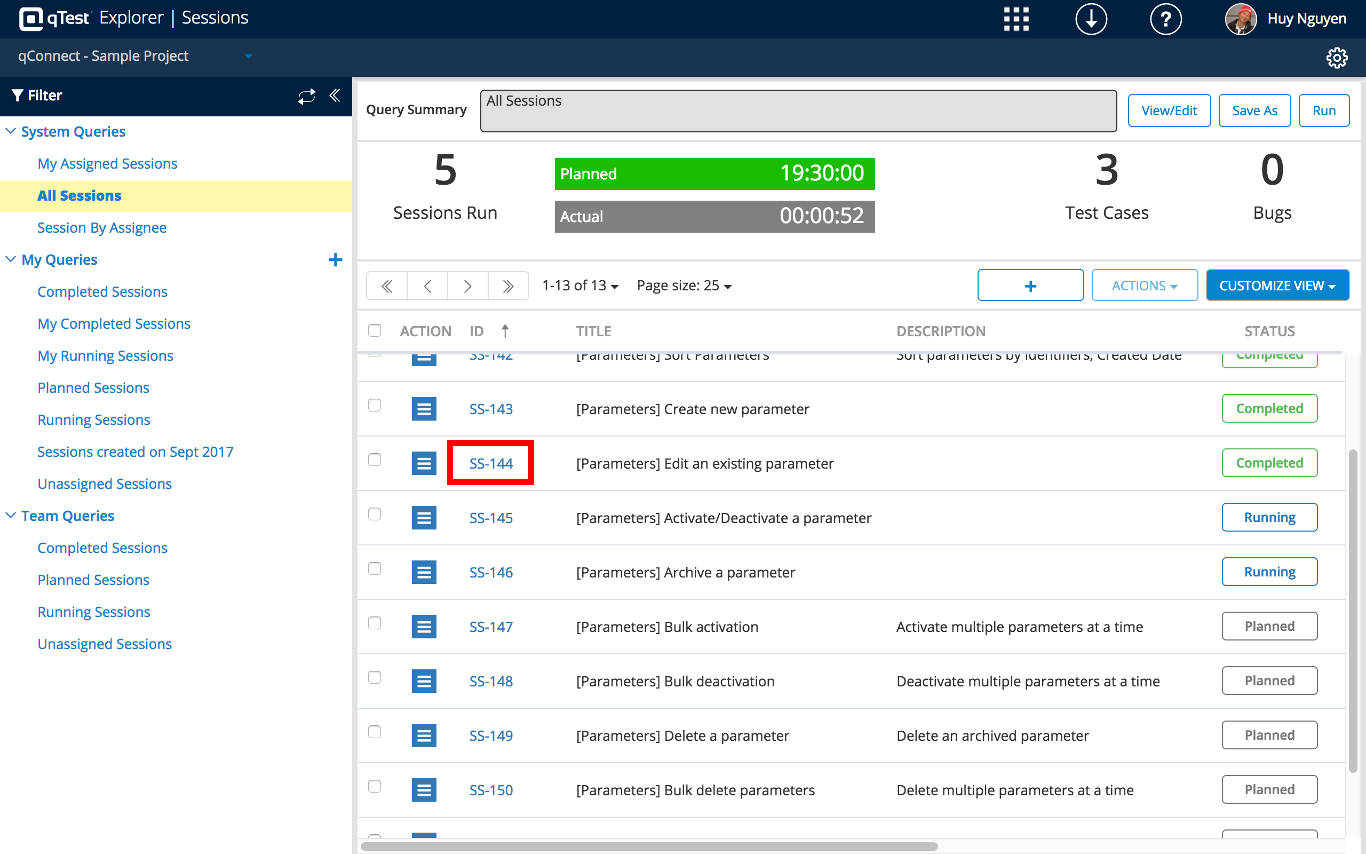
In the sessions grid, you can review a Completed session by click on the session ID link. This will bring you to the session editor that contains all recorded data from your test session.
Session Editor Overview
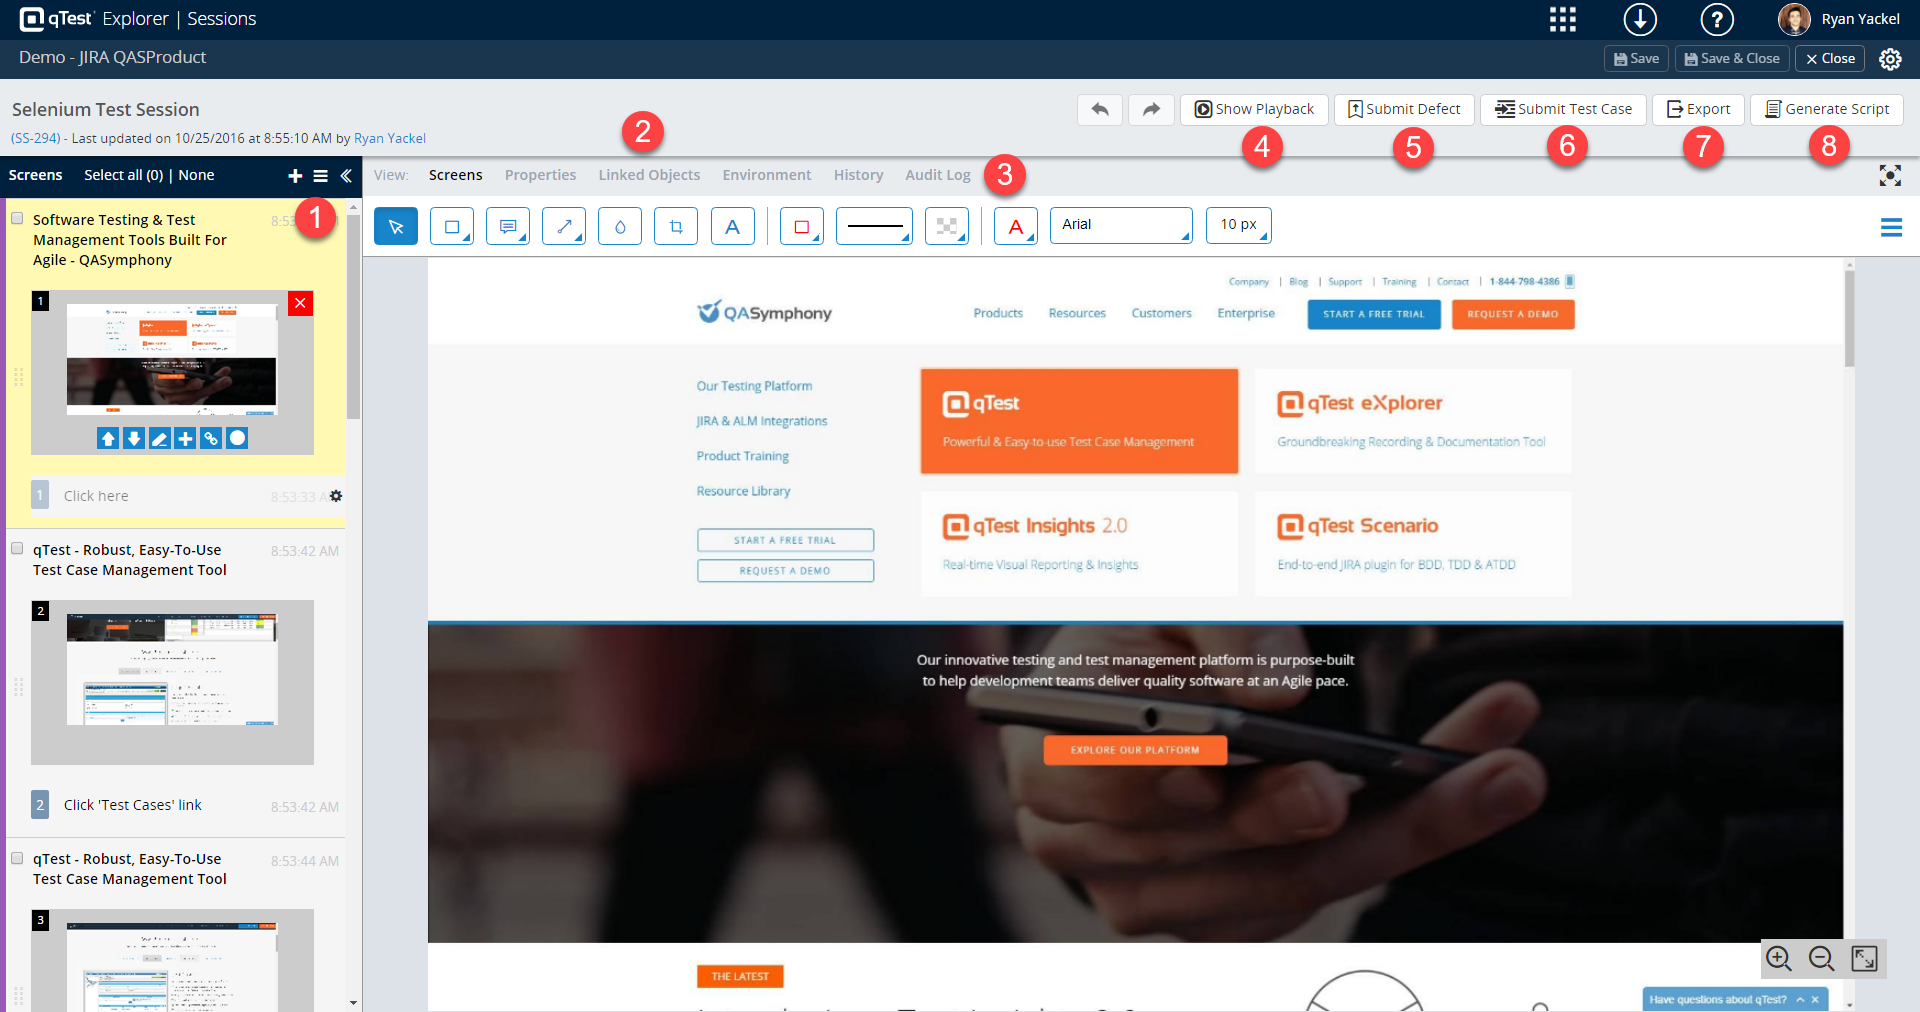
The session editor provides a place to debrief and share all testing data with your team. From here, you can do the below:
-
Edit screens and steps
-
Link Objects
-
Annotate screens
-
Playback recording
-
Submit defects
-
Create test cases in qTest Manager
-
Export data
-
Generate automated Test Scripts
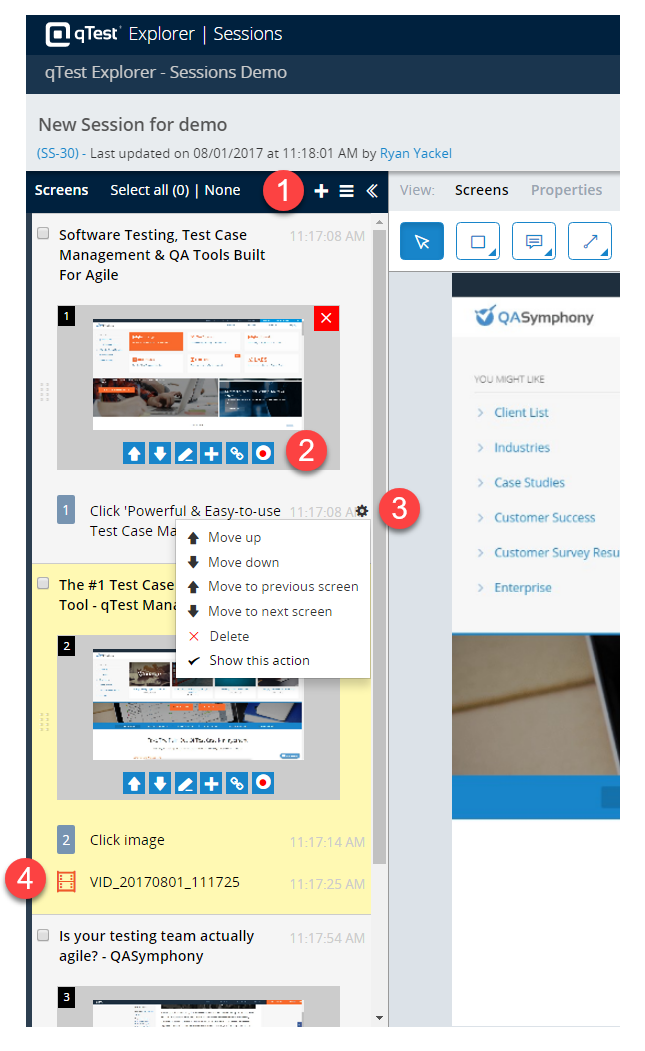
Edit Screens and Steps
Edit
-
Add Screens
-
Edit Screens
-
Edit Test Steps
-
Watch Video Recording
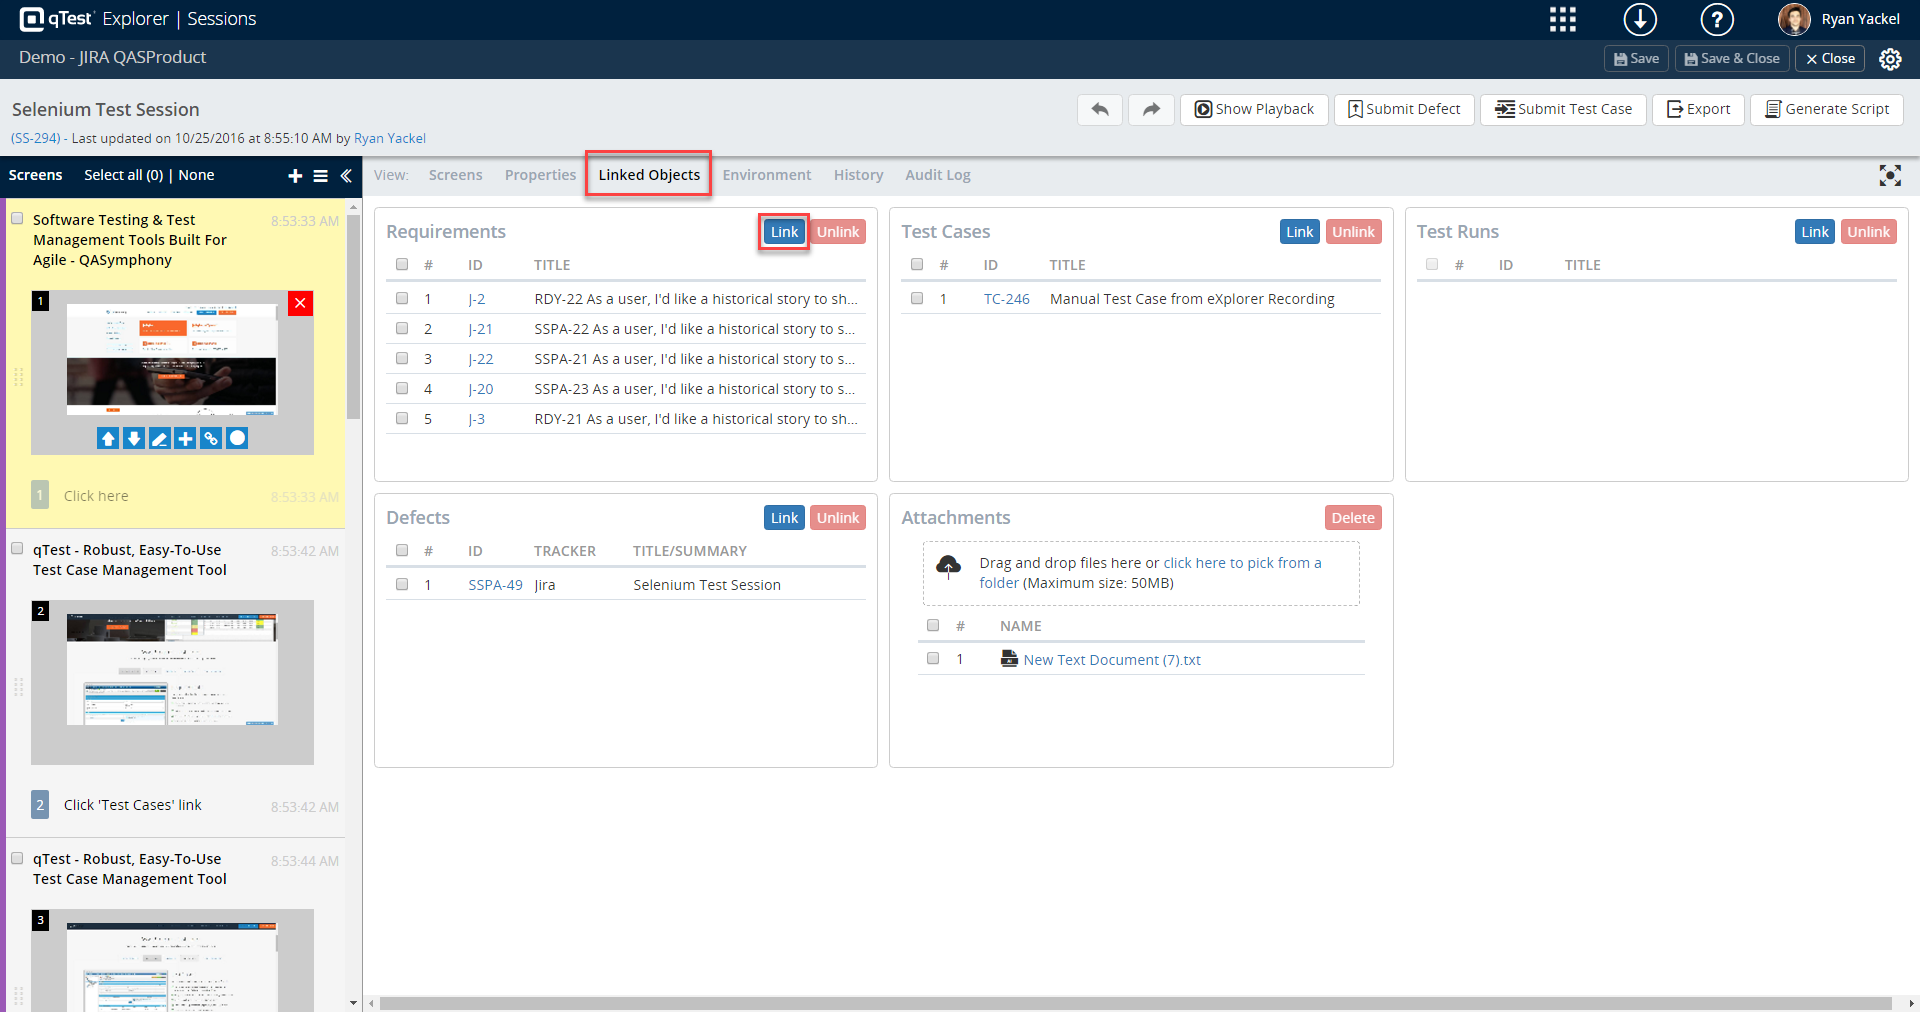
Link Objects
Linking objects is a great way to show test coverage for test cases, requirements, Test Runs, and defects from qTest Manager. Below is an example on how to link you test session to a requirement.
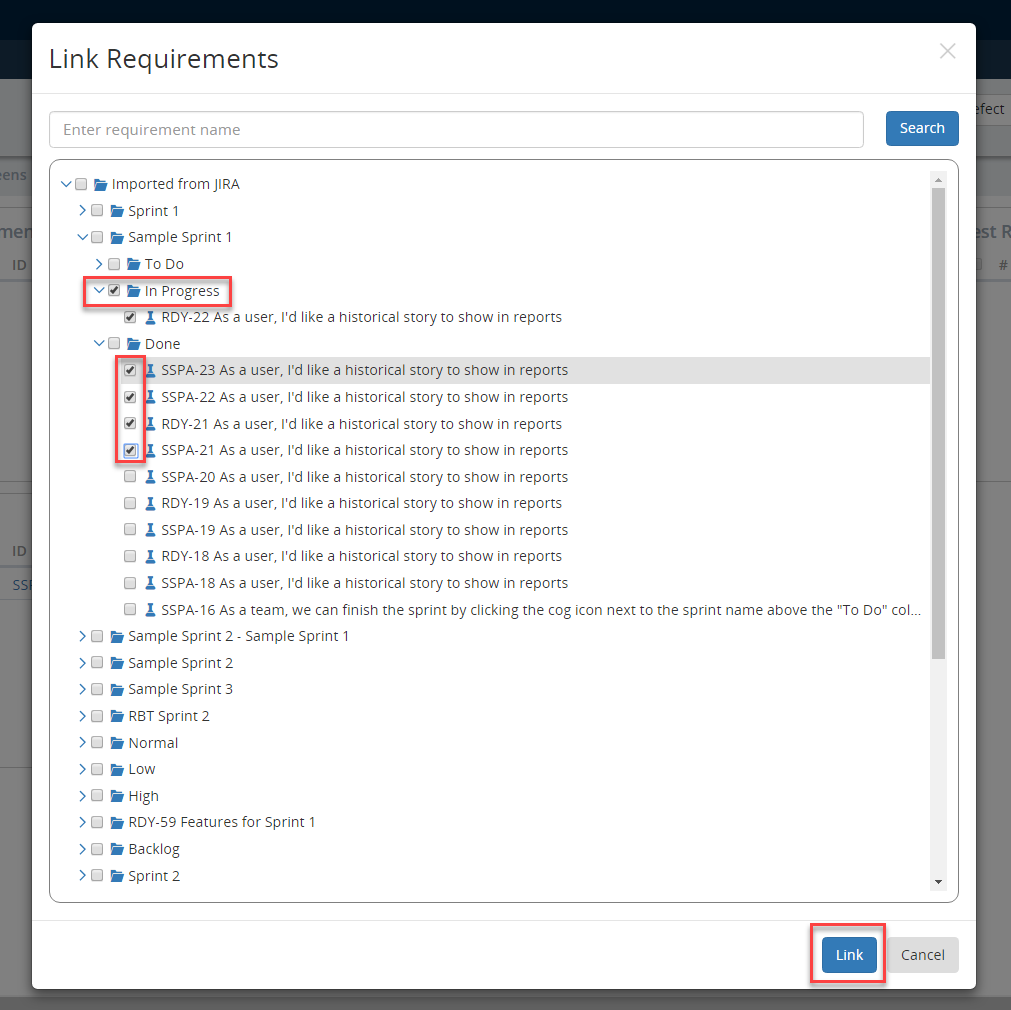
Link Requirements dialog will be shown for you to browse or search for requirements that are associated with the current project.
The system will show a dialog for you to confirm the action, select OK to unlink the selected requirements.
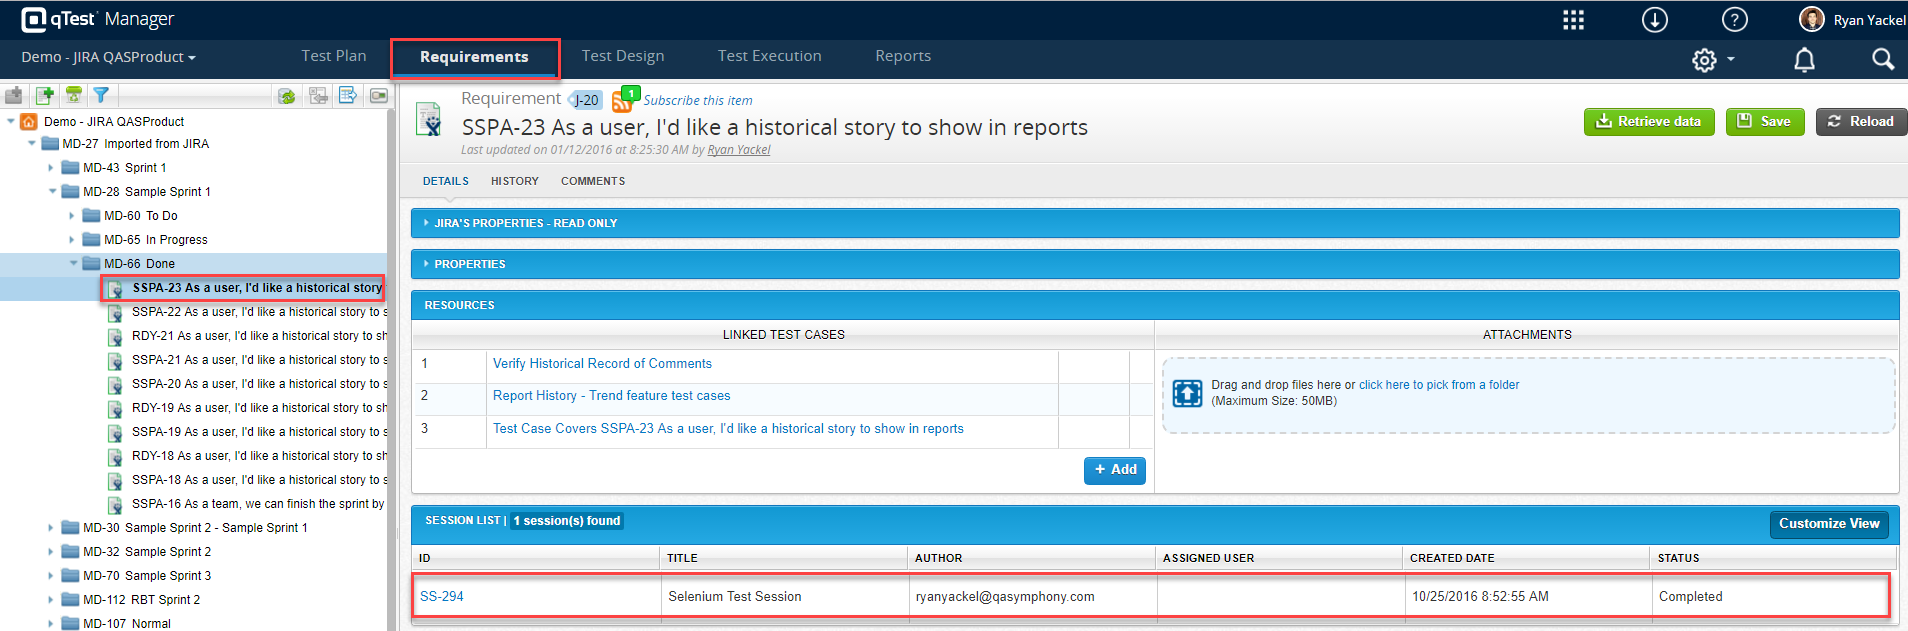
View in qTest Manager
Now that you have linked your objects, you can see each session in qTest Manager. In this example, we linked our session to multiple requirements.
Once I click on the requirement in qTest Manager, I can see a link back to my test session under the Resource tab.
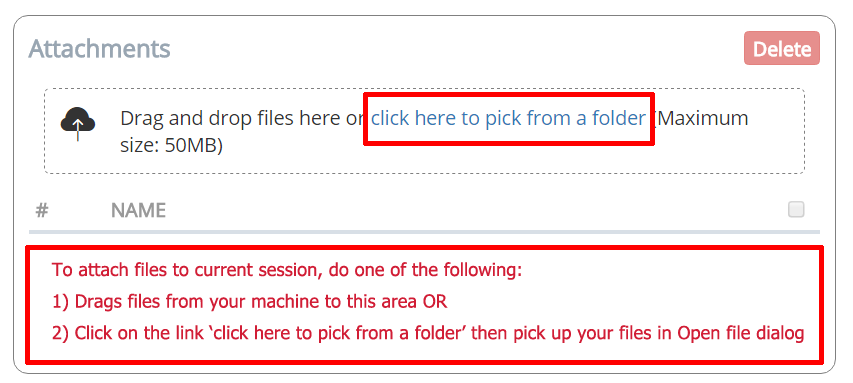
Attach Files to Session
To attach files to current editing session, you can do one of the following:
-
Drag files from your local machine to Attachments group OR
-
Click the Click here to pick from a folder link in Attachments group
Annotate screens
During your Explorer test session, you probably logged a few notes using Desktop or Web Explorer. However, now that you have completed your test session, there might be more annotations that need to be added.
Using the annotation toolbar, you can mark up previously captured screen in order to communicate more details during your debrief time.
-
Basic shapes: Use this tool to draw a Rectangle or Ellipse to the screenshot.
-
Callouts: Use this tool to draw various kinds of callouts to the screenshot.
-
Lines: This tool allows you to select a Pencil or Arrow to draw to the screenshot.
-
Blur: Allows you to blur sensitive information to the screenshot.
-
Crop: Allows you to crop the screenshot.
-
Text: Use this tool to add text to the screenshot.
-
Select border color: Use this tool to change the border color of shapes, callouts, lines, etc.
-
Select border size: Use this tool to change border size of shapes, callouts, lines, etc.
-
Background color: Use this tool to change background of shapes or callouts.
-
Select text color: Use this tool to select text color for text tool or text inside callouts.
-
Select font: Use this tool to select font name for text tool or text inside callouts.
-
Select font size: Use this tool to apply font size for text tool or text inside callouts.

Playback Recording
Playback is a fun way to watch your test session through a movie experience. This helps testers explain what they found to their teams, while the video plays automatically.
-
Select playback
-
View timeline
-
Control timeline
-
Time line actions

Submit Defects
For more information on how to submit new defects from the Sessions Module, refer to Submitting Defect.
Submit Test Cases
For more information on how to submit new test cases from the Sessions Module, refer to Submitting Test Case.
Export Data
All data will be stored in the Sessions Module; however, you can download your data locally in different file formats, such as a .pdf file.
-
Select the screens that you want to export.
-
Click Export.
-
Select the exported file format, verify the screen selections, add a description for the export, and select the image quality.

-
Click Export.
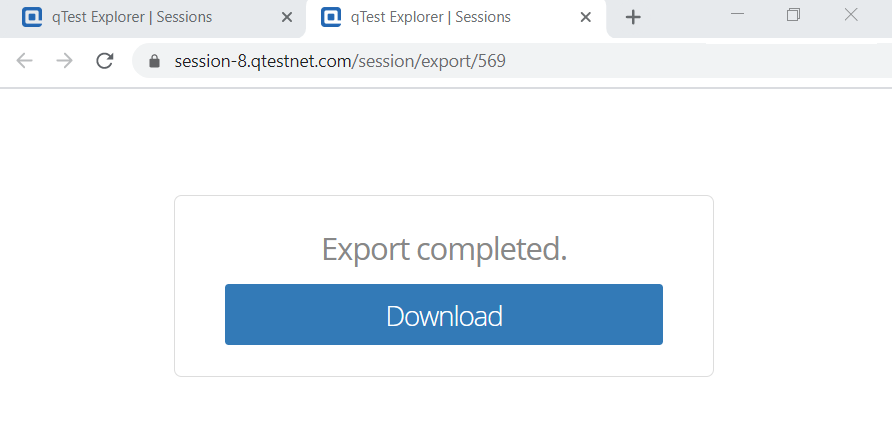
A new tab on your web browser will open, where the exported files can be downloaded.
-
Click Download to download the files to your computer.
The new tab may be blocked by a pop-up blocker if one is enabled on your browser. Allow pop-ups for the Sessions site.
Generate Automated Test Scripts
Refer to Automated Script Generator for more information about generating automated test scripts.