Configure LiveCompare to run using HTTPS/SSL
HTTPS is a secure communications channel that uses Secure Sockets Layer (SSL). We recommend that LiveCompare is set up to run in this configuration. To configure LiveCompare to run using HTTPS/SSL, carry out the following steps:
Configure your web server for HTTPS/SSL
To enable SSL in IIS on the LiveCompare server, you must first obtain and install a certificate that is used to encrypt and decrypt the information that is transferred over the network. This can be done as follows. Note that the steps in this section should be skipped if you have already obtained and installed a certificate for your LiveCompare server.
Obtain a certificate
To obtain an SSL certificate, follow these steps.
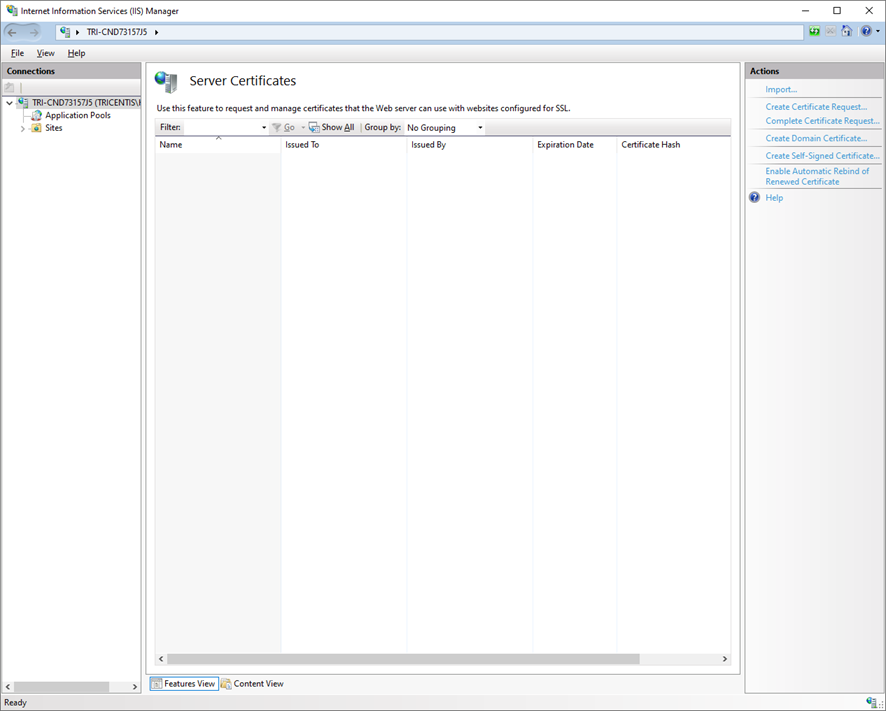
- Start Internet Information Services Manager, and select the server in the Connections pane.
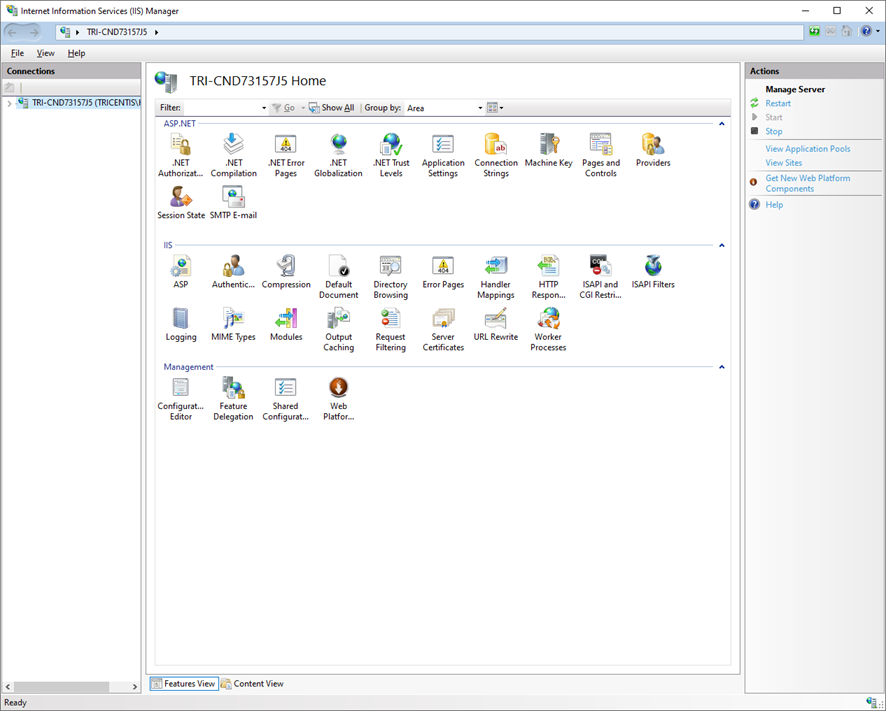
- Double-click Server Certificates in the IIS section of the server home page.

- Click Create Certificate Request… in the Actions pane. The following dialog is displayed.
- Complete the dialog fields as follows:
| Field | Description |
|---|---|
| Common name | The fully qualified domain name (for example, www.yourdomain.com). |
| Organization | Your company’s registered name. |
| Organizational unit | Your department name. |
| City/locality | The city where your company is legally located. |
| State/province | The state or province where your company is legally located. |
| Country/region | The country or region where your company is located. |
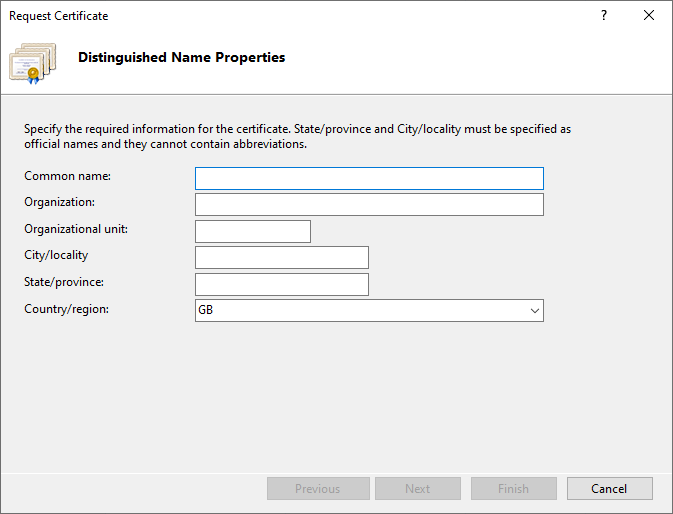
- Click Next to display the following dialog.
- Complete the dialog fields as follows:
| Field | Description |
|---|---|
| Cryptographic service provider | Select ‘Microsoft RSA SChannel Cryptographic Provider’ (unless you have a specific cryptographic provider). |
| Bit length | Select 2048 (unless you have a specific reason for using a larger bit length). |
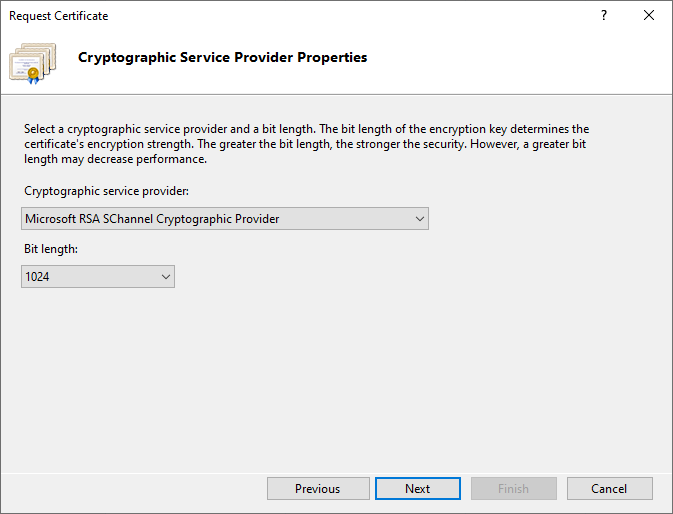
- Click Next to display the following dialog.
- Click
 and specify the directory location and filename for the certificate signing request. The filename should have a .txt extension, for example, csr.txt.
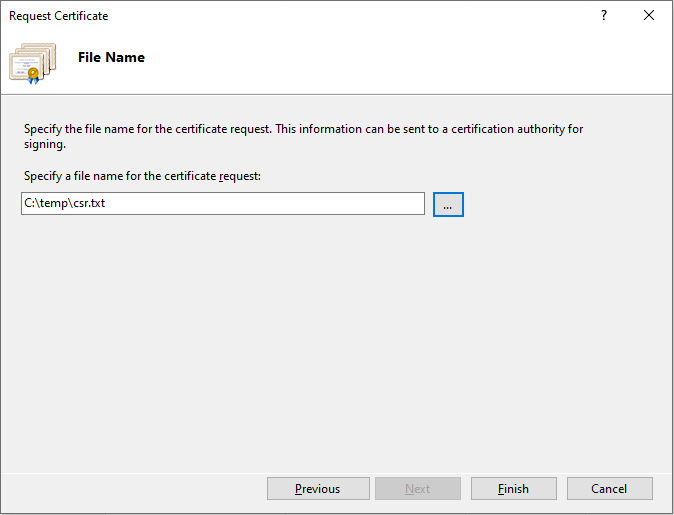
- Click Finish and use the certificate request to obtain a certificate from a signing authority.
Install the certificate
Once you have obtained a certificate, follow these steps to install it on the server on which the certificate signing request file was created.
- Start Internet Information Services Manager, select the server in the Connections pane, and double-click Server Certificates in the IIS section of the server home page.
- Click Complete Certificate Request… in the Actions pane. The following dialog is displayed.
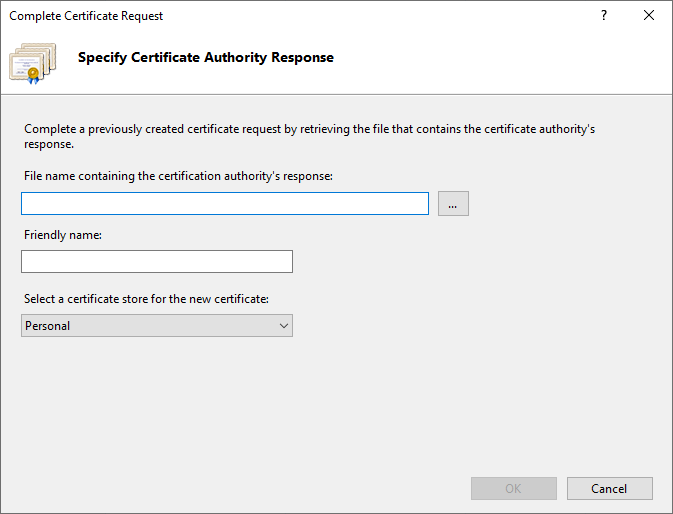
- Complete the dialog fields as follows:
| Field | Description |
|---|---|
| File name containing the certification authority’s response | Click and browse for the certificate file provided by the certificate provider. |
| Friendly name | Enter a descriptive name used to identify the certificate, for example, yourdomain.com. |
- Click OK to install the certificate.
Create an HTTPS binding
To create an HTTPS binding and assign the certificate to the binding, follow these steps.
-
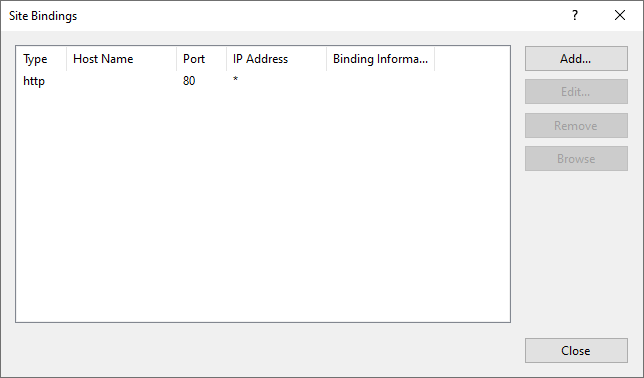
In the Connections pane, select the web site that hosts the LiveCompare application, for example, ‘Default Web Site’.
-
Click Bindings… in the Actions pane. The following dialog is displayed.
-
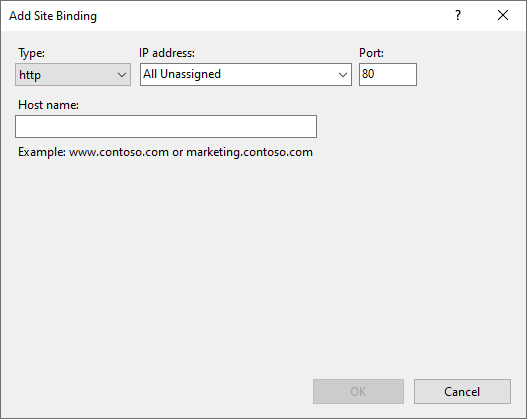
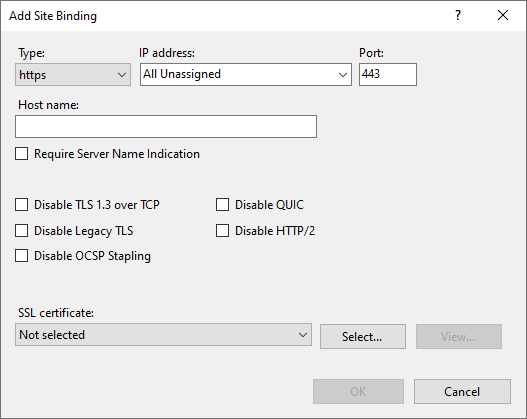
Click Add. The following dialog is displayed.
-
Select https in the Type dropdown list. The screen changes to the following.
-
Complete the dialog fields as follows:
| Field | What to do |
|---|---|
| IP address | Select ‘All unassigned’. However if your server has multiple IP address, select the one that applies. |
| Port | Enter 443 unless you are using a non-standard port for SSL traffic. |
| Host name | If you are using Server Name Indication (SNI), enter the host name that you are securing. |
| Require Server Name Indication | If you are using Server Name Indication (SNI), select this checkbox. |
| SSL certificate | Select the installed SSL certificate from the dropdown list. |
-
Click OK to save your changes, and then close the Site Bindings dialog.
Configure the LiveCompare web site to use HTTPS/SSL
To configure the LiveCompare web site to use HTTPS/SSL, follow these steps.
- In the Connections pane, expand the Sites folder and select the site you wish to secure using the SSL certificate.
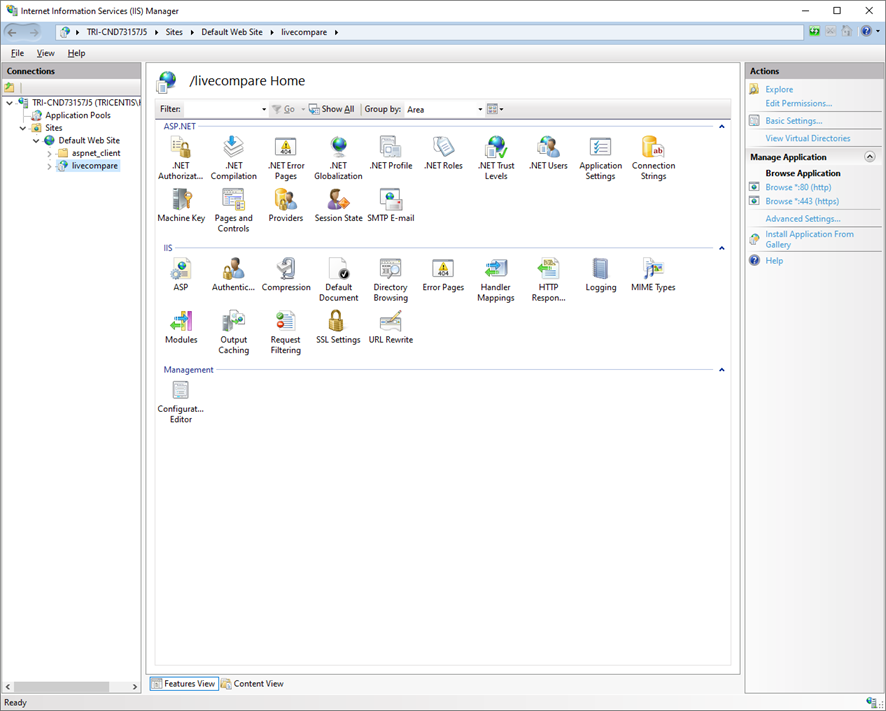
- Double-click SSL Settings in the IIS section of the server home page.
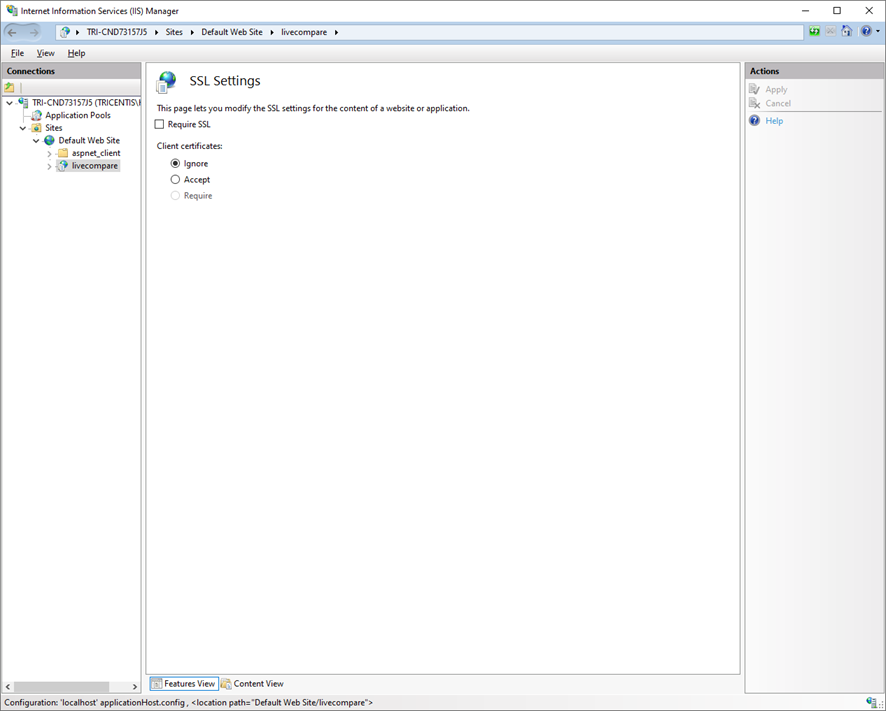
- Select the Require SSL checkbox, and then select ‘Ignore’ to allow users to connect to the LiveCompare web site without supplying their own certificate.
- Click Apply to save your changes.
Create secure session cookies
To set the secure attribute on the ASP.NET_SessionId cookie, follow these steps:
- Edit the <LiveCompare install dir>\web\apps\Web.config file using a text editor.
- Change the line that reads:
<httpCookies httpOnlyCookies="true" />
to:
<httpCookies httpOnlyCookies="true" requireSSL="true" />