Uninstall the LiveCompare server software
To uninstall LiveCompare from the server machine, confirm that no users are currently logged in to LiveCompare, and that no workflows or apps are currently running or scheduled, then carry out the following steps:
-
Log on to the LiveCompare server using an account with local administrator privileges.
-
Right click the Start menu icon and choose ‘Programs and Features’ from the context menu.
-
Select LiveCompare 2024.1 Patch 4 from the list of installed programs and click ‘Uninstall’.
The following screens are displayed.
-
The Installation Status screen. Click ‘Next >’ to confirm the deconfiguration of LiveCompare at the location indicated.
-
The Completing LiveCompare Deconfiguration screen.

Click ‘Finish’ to complete the deconfiguration, or ‘< Back’ to modify the settings on previous screens. After you have clicked ‘Finish’, the deconfiguration process will continue, notifying you when it is complete.
The LiveCompare Deconfiguration screen provides a log of the configuration steps. Click ‘Done’ to close the screen, or ‘Save...’ to save the configuration log to a text file. If necessary, the log file may be sent to Tricentis Technical support for analysis.
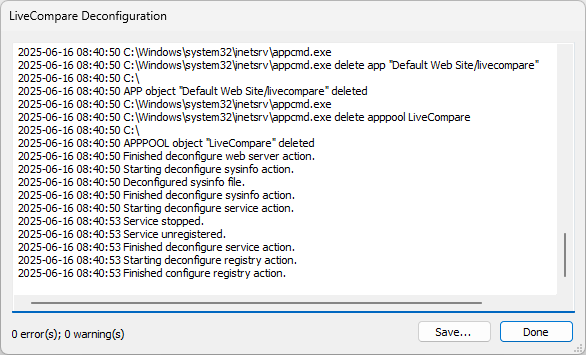
If any errors are or warnings are reported, the Deconfiguration Wizard must be rerun after these issues have been resolved.
When the deconfiguration process is complete, the following dialog is displayed.
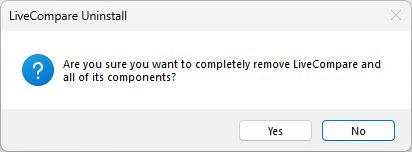
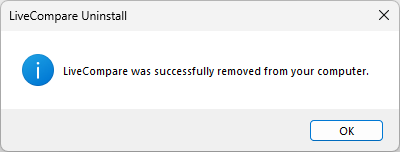
Click ‘Yes’ to continue with the uninstall. The following message box is displayed when the uninstallation process is complete.
To uninstall LiveCompare separately after running the Deconfiguration Wizard, choose Uninstall a program from the Windows Control Panel. Select LiveCompare 2024.1 Patch 4 in the Uninstall or change a program screen, and choose ‘Uninstall’.