Tosca settings for Tosca integration
Note: This is the recommended setup using https. If your organization does not wish to use https, please contact Tricentis support.
To enable Vera integration, you need to do these changes in Tosca:
Follow the instructions provided on Tricentis Support to create a new common repository.
To create a new project for the workspace using Tosca Server, follow these steps:
-
Open the Tricentis Tosca Server page in the web browser. This is configurable, but the default is
http://localhost. -
Navigate to the Administration Console and sign in with admin credentials.
-
Click the Add Project button.
-
In the Project details dialog:
-
Fill in with the appropriate information.
-
Click Test Connection to confirm the connection is valid.
-
Click Save.
The new project will now appear in the list of projects in the Project Overview.
-
To access Tosca Commander, you first need to create a service account for Vera:
-
From the Tricentis Tosca Server page in the web browser, navigate to User Administration. If needed, authenticate again using admin credentials.
-
Navigate to the Users tab and click Invite Users.
-
In the Invite Users dialog:
-
Enter the email address that will be used by the service account. This will also be used as username in Tosca Commander. Click the Add button.
-
In the textbox next to the user icon, specify a name for the service account. Note that this name will be displayed in Tricentis Server based Administration only. As mentioned above, the username shown in Tosca Commander will be automatically set to the email address of the service account.
-
To create a group used to lock Tosca test cases, follow these steps:
-
From User Administration, go to the Groups tab.
-
Click the Create group button.
-
Provide a name and optional description for the lock group. We recommend using ALM_Lock.
-
Click Create.
The new group will now be shown in the list of user groups.
Note: Server based user administration will allow two groups to have the same name. Avoid naming the lock group the same as a local group or creating a local user group with the same name as the lock group. This can break the process of requesting approval from Tosca.
To add the service account to the locking group, follow these steps:
-
Click on the tile for the newly created lock group and once inside the group summary, select Edit.
-
In the Select user(s) window:
-
Select the service account checkbox.
-
Click the Assign button.
-
-
Save your changes.
The service account will now be a member of the lock group.
Note: Make sure that the service account is the only member of the locking group. Do not add other users to this group as it will bypass the controls in place for the approval process.
-
Navigate to Project Administration > Projects. The project that was created will be shown in the list of projects. Navigate to the project details page by selecting the Details icon.
-
In project details, click on the + (plus) icon to open the Select Groups window:
-
Select the previously created locking group.
-
Click the Assign Groups button.
-
Click Save.
The Lock group will now appear in the list of groups for the project.
-
To create the workspace, follow these steps:
-
Open Tosca Commander and click on the Create New button to create a new workspace.
-
In the Create new workspace window, select Tricentis Server Repository as the type of repository and click the button to log in to Tricentis Server.
Note: A Tricentis Server Repository is required for this integration.
-
In the next window, authenticate with admin credentials.
-
After authenticating, enter workspace information:
-
Select the appropriate project from the Project name dropdown.
-
Enter a name for the local workspace.
-
-
Click OK.
-
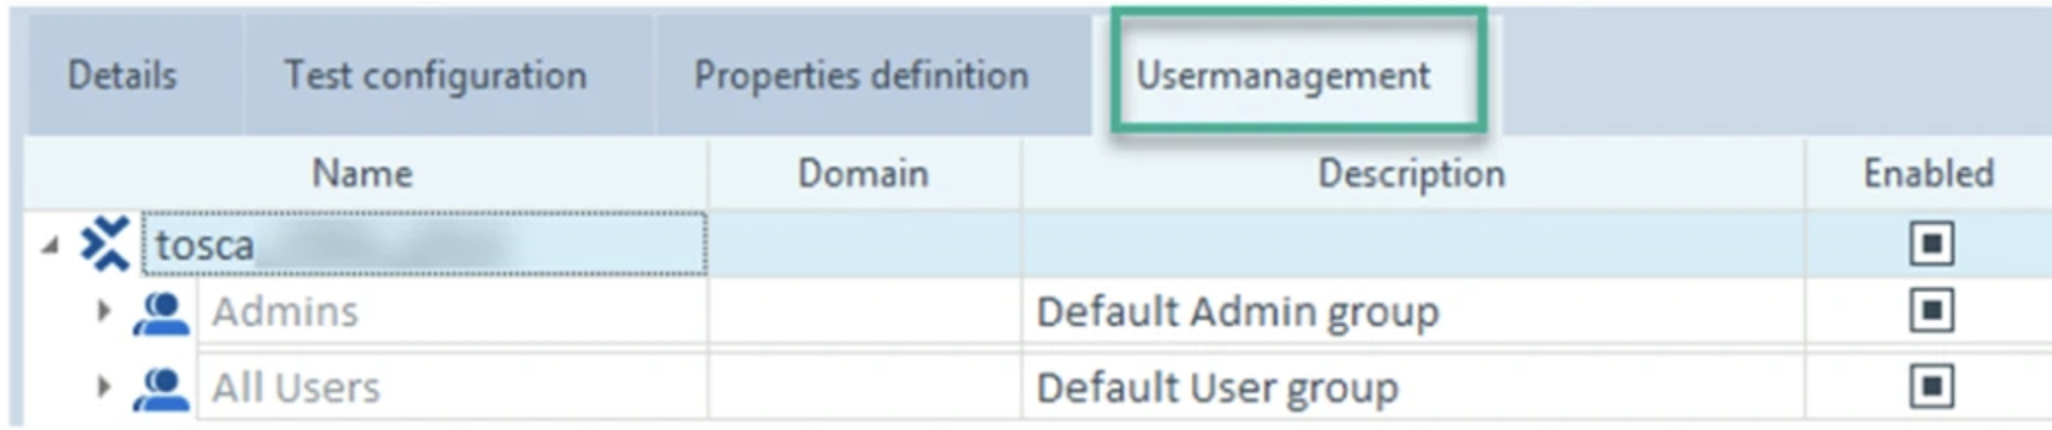
Once inside the new workspace, navigate to the Usermanagement tab and checkout the project root.
-
While focused on the project root, right-click and select Sync Users from Tosca Server from the context menu.
After the sync is completed, the locking group will be present in the list of groups and the service account will be a member of this group.
Note: There are two groups named Admins. This is expected and necessary for Usermanagement to function properly.
File Service is required for the integration between Tosca, qTest, and Vera. It must be configured correctly based on the following types of projects:
-
New projects when you create a new Tosca workspace.
-
File Service is enabled by default.
-
Auto removal is also enabled by default but must be disabled to prevent loss of test data before Vera retrieves it.
-
-
Upgraded projects if you upgrade an existing Tosca workspace. Note that only administrators can enable File Service after the upgrade.
-
File Service must be manually enabled if it wasn't activated during the upgrade.
-
Auto removal must be disabled.
-
If you wish to view Tosca run reports in Vera, you must enable the Dokusnapper functionality in Tosca, which is disabled by default. To enable Dokusnapper, follow these steps:
-
In Tosca Commander, navigate to Project > Settings > TBox > Dokusnapper.
-
Change these settings:
-
Set the value of Enable Snapper to Yes.
-
Set the value of Storage Location Type to Tosca.
Note: If Dokusnapper is enabled, but the Storage Location Type is Local, only a local copy of the test run report will be saved. Vera will not be able to retrieve a copy of the Dokusnapper report from the database and therefore the report will not appear in the Vera record.
-
-
Perform a Checkin All action to save the changes to the common repository.
To synchronize the test case workstate between Tosca and qTest, you must enable Tosca to send test case workstate to qTest:
-
In Tosca Commander, navigate to Project > Settings > Commander > Advanced.
-
Right-click on the folder Advanced and select Create… > Setting from the context menu.
-
Enter the information for the new setting:
-
Name: SendTestCaseWorkStateToQTest.
-
Value: True.
-
-
Close Settings and perform a Checkin All to save the changes to the common repository.
To include screenshots of failed TestSteps in the Tosca Execution Report sent to qTest, update the Tosca settings:
-
In Tosca Commander, go to Project > Settings.
-
Navigate to Tricentis Services > qTest Integration.
-
Set Send screenshots of failed TestSteps to True.
Tosca will now attach a report to qTest Execution Log with all TestSteps and screenshots
Note: This setting will send a DokuSnapper report with all the steps and screenshots.
Set Vera environment variable VERA_DISABLE_TOSCA_INFORMATION_FOR_RUN to True to disable Vera from getting Tosca execution data.
Tosca DokuSnapper generates detailed test execution reports. To capture all available properties with DokuSnapper, update the Tosca settings:
-
In Tosca Commander, go to Project > Settings.
-
Navigate to TBox > DokuSnapper.
-
Set Make all properties available to True.
Tosca will now expose all DokuSnapper properties during execution and logging.
To enable the pre-execution approval Add-In, follow these steps:
-
Enable the Add-In in Tosca Commander (client-side) by adding the following setting to
C:\Program Files (x86)\Tricentis\Tosca Testsuite\ToscaCommander\TOSCACOMMANDER.dll.configCopy<configuration>
<configSections>
<sectionGroup name="applicationSettings" type="System.Configuration.ApplicationSettingsGroup, System, Version=4.0.0.0, Culture=neutral, PublicKeyToken=b77a5c561934e089" >
<section name="Tricentis.TCAddIns.ExecutionApprovalAddIn.Properties.Settings" type="System.Configuration.ClientSettingsSection, System, Version=4.0.0.0, Culture=neutral, PublicKeyToken=b77a5c561934e089" requirePermission="false" />
</sectionGroup>
</configSections>
<applicationSettings>
<Tricentis.TCAddIns.ExecutionApprovalAddIn.Properties.Settings>
<setting name="ExecutionApprovalEnabled" serializeAs="String">
<value>True</value>
</setting>
</Tricentis.TCAddIns.ExecutionApprovalAddIn.Properties.Settings>
</applicationSettings>
</configuration> -
Enable the Add-In in the Rest API (server-side) by adding the following setting to
C:\Program Files (x86)\Tricentis\Tosca Server\RestApiService\TCAPIRestServiceStandalone.exe.configCopy<configuration>
<configSections>
<sectionGroup name="applicationSettings" type="System.Configuration.ApplicationSettingsGroup, System, Version=4.0.0.0, Culture=neutral, PublicKeyToken=b77a5c561934e089" >
<section name="Tricentis.TCAddIns.ExecutionApprovalAddIn.Properties.Settings" type="System.Configuration.ClientSettingsSection, System, Version=4.0.0.0, Culture=neutral, PublicKeyToken=b77a5c561934e089" requirePermission="false" />
</sectionGroup>
</configSections>
<applicationSettings>
<Tricentis.TCAddIns.ExecutionApprovalAddIn.Properties.Settings>
<setting name="ExecutionApprovalEnabled" serializeAs="String">
<value>True</value>
</setting>
</Tricentis.TCAddIns.ExecutionApprovalAddIn.Properties.Settings>
</applicationSettings>
</configuration>
To enable execution approval from the Tosca workspace, follow these steps:
-
From the Tosca workspace, checkout the project root.
-
Right-click the project root and select Enable execution approval from the context menu.
Pre-execution approval is now enabled. Tosca Commander will display a message once the feature has been enabled.
To create a temporary file storage location for Dokusnapper reports, follow these steps:
-
Create a new folder in the file system and make sure you take note of its name and location for later.
-
Open
C:\Program Files (x86)\Tricentis\Tosca Server\RestApiService\TCAPIRestServiceStandalone.exe.config. -
Modify the setting
AttachmentPathto reflect the location of the new folder like in the following example.Copy<setting name="AttachmentPath" serializeAs="String">
<value>C:\Dokusnapper_Reports</value>
</setting>
To add test configuration parameters (TCPs) to the Execution section, follow these steps:
-
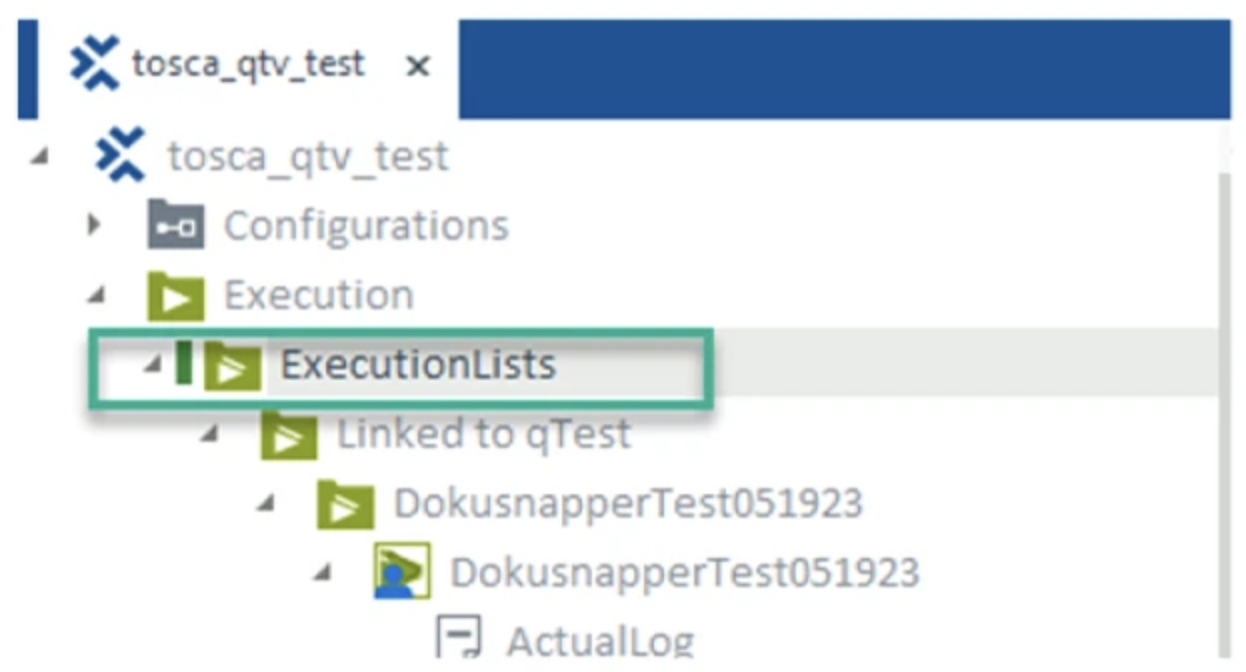
Check out the top-level ExecutionLists folder.
-
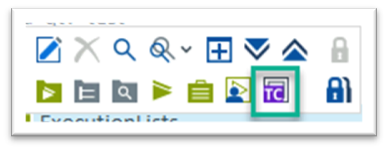
Right-click on the folder and from the mini-tool bar select the option to add a TCP.
-
Create two TCPs with the following names:
-
TBox_DokuSnapper_EnableSnapper
-
TBox_DokuSnapper_StorageLocationType
-
-
Perform a CheckinAll.