Recording and editing videos
Tosca allows videos to be recorded upon manual test execution, to document your tests or found errors.
Recording videos
Follow the steps below to start video recording in the Manual Test Case Manager.
-
Click on the Video
 icon in the Manual Test Case Manager.
The dialog box Recording Options opens:
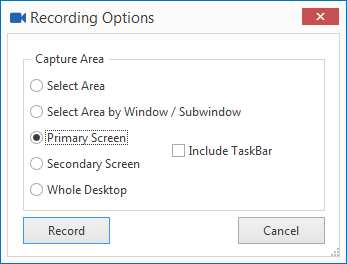
Recording Options
-
Select your preferred capture area from the dialog box and click on Record.
Video recording starts and the following icons are displayed at the lower edge of the captured area: Stop
 , Pause/Resume
 , Recording
 .
. Recording is in progress as long as the Recording icon flashes.
-
Click on Stop to stop recording.
The Video Editor window opens (see chapter "Editing videos").

|
Please make sure to enable the option Smaller - 100% (default) at Start->Control Panel->Display so that your interactions can be recorded on the entire screen. |
Editing videos
The Video Editor allows you to add annotations (comments, shapes) on a video and to cut videos. The Video Editor opens as soon as video recording has finished.
You can also open and edit existing videos via the Video Editor.
To edit an existing video click onto the Play and Edit![]() icon in the Video tab of the Media view in the Manual Test Case Manager. Alternatively, you can click the attachments
icon in the Video tab of the Media view in the Manual Test Case Manager. Alternatively, you can click the attachments ![]() icon of a step and double-click the video you would like to edit (see chapter "Managing recorded TestCases").
icon of a step and double-click the video you would like to edit (see chapter "Managing recorded TestCases").
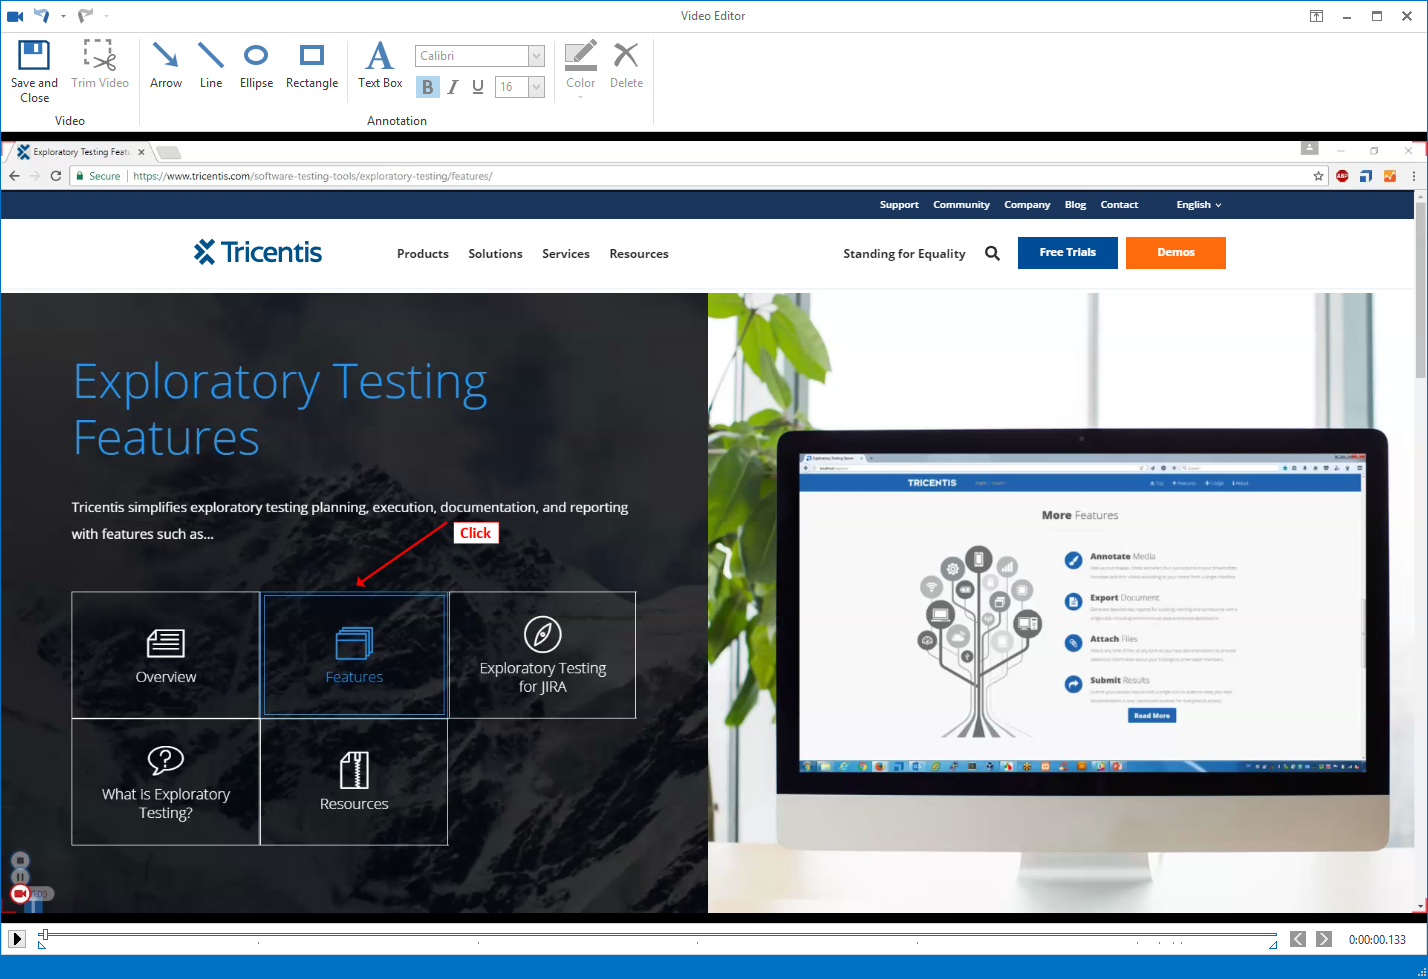
Adding annotations
The following options are available:
|
Option |
Description |
|---|---|
|
|
This saves the video and exits the Video Editor. A new TestStep is created and the video is stored in the Result column of the TestStep in the Manual Test Case Manager window. |
|
|
Cuts the video according to the selected area. Define the starting and end points by using the following icons: All sections located beyond the marked area are deleted. An according message will be shown if annotations exist beyond this area. |
|
Edit section |
Contains options for editing and deleting annotations. |
|
Annotation section |
Here you can either draw a text input box or use graphical symbols for your annotations. Positions in the video that contain annotations are marked by a dot icon |
|
|
Cancels the previous action. |
|
|
Restores the previous action. |
Exporting videos
In the Manual Test Case Manager you can export any video which is added to your TestCase.
To export a video, follow the steps below:
-
Select the video you want to export.
-
Click on
 Export in the Video tab of the Media view in the Manual Test Case Manager. You can also choose the Export option in the List view of the Manual Test Case Manager by clicking the
  icon in the Result column.