Silent Install Desktop Explorer with MSI package
In this article, we will provide the IT administrator with detailed instructions on how to silently install qTest Explorer to multiple machines in an organization.
System Requirements
-
A Windows Server with Group Policy Management installed
-
For client machines
-
OS: Windows 7/8/10 with .NET Framework 4.6 installed
-
RAM: At least 2 GB
-
Hard disk space: At least 500 MB available
-
Step-by-step guide
MSI Installation Package
The latest qTest Explorer MSI installation package can be downloaded here. After downloading, make sure to copy the file to a network share folder that can be accessed by client machines that need qTest Explorer installed.
Setting up silent installation process
Step 1: Create installation script file
-
Open a text editor and create a new text file.
-
Copy and pass the script below to the content of the file.
msiexec.exe /i "[\\path\to\MSI package]" ALLUSERS=1 /m MSISPQJA /qn /l*v "C:\Explorer_install.log" APPLICATIONFOLDER="%PROGRAMFILES(X86)%\QASymphony\qTest Explorer Integrated" LaunchAPPONEXIT=1 INSTALLDESKTOPSHORTCUT=1 ARPNOMODIFY=1
Make sure you change the [\\path\to\MSI package] portion of the script with the real UNC path to the downloaded MSI package
Below is an example of the script:
msiexec.exe /i "\\192.168.74.81\share\qTestExplorer.msi" ALLUSERS=1 /m MSISPQJA /qn /l*v "C:\Explorer_install.log" APPLICATIONFOLDER="%PROGRAMFILES(X86)%\QASymphony\qTest Explorer Integrated" LaunchAPPONEXIT=1 INSTALLDESKTOPSHORTCUT=1 ARPNOMODIFY=1
-
Save the script file and name it install.cmd. Make sure you put the file in a network share folder that can be accessed from client machines.
Step 2: Configure Startup script using Group Policy Management console
-
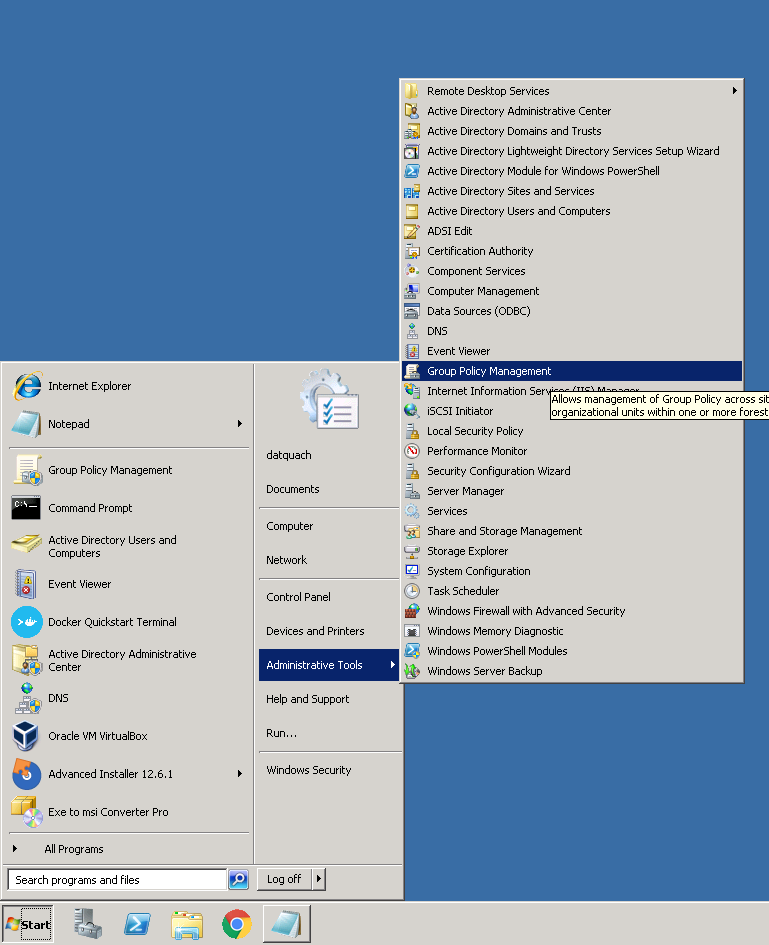
From Windows Server, open the Group Policy Management console.
-
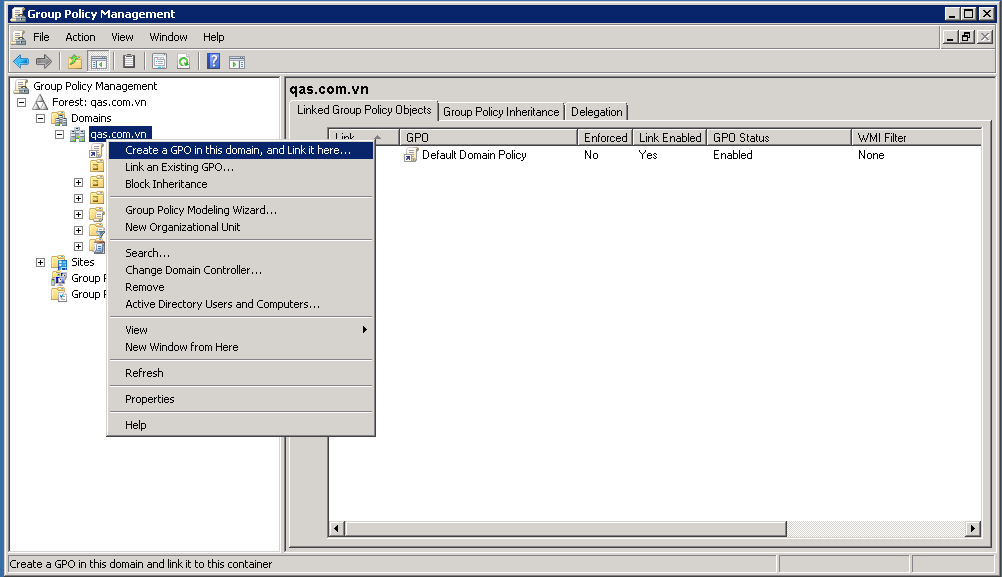
From the Group Policy Management console, navigate to your domain. Then right-click the domain name and select Create a GPO in this domain and Link it here from the pop-up menu.
-
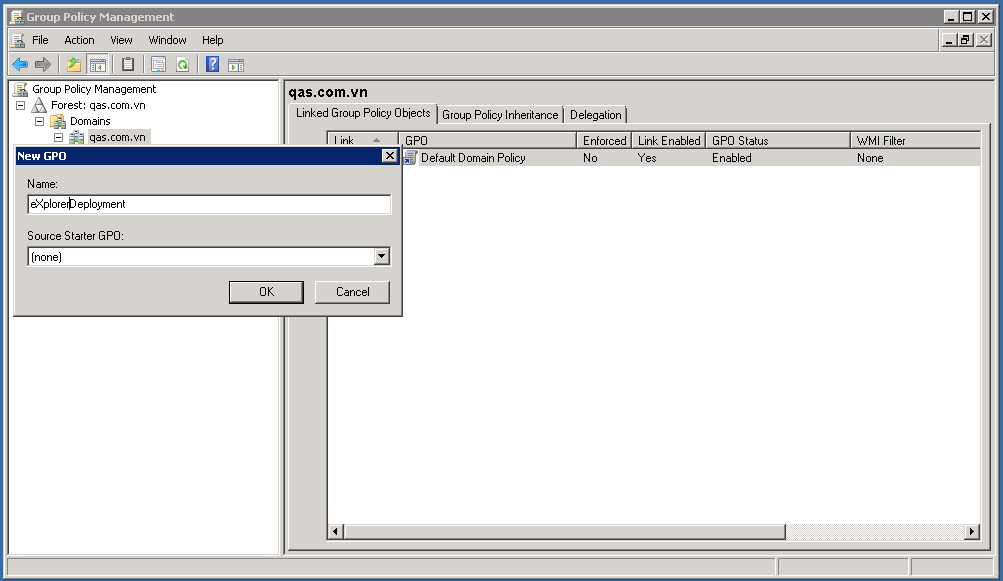
The New GPO dialog is now displayed. Enter ExplorerDeployment into the Name text box. Then click OK. This Group Policy Object will be created under the selected domain.
-
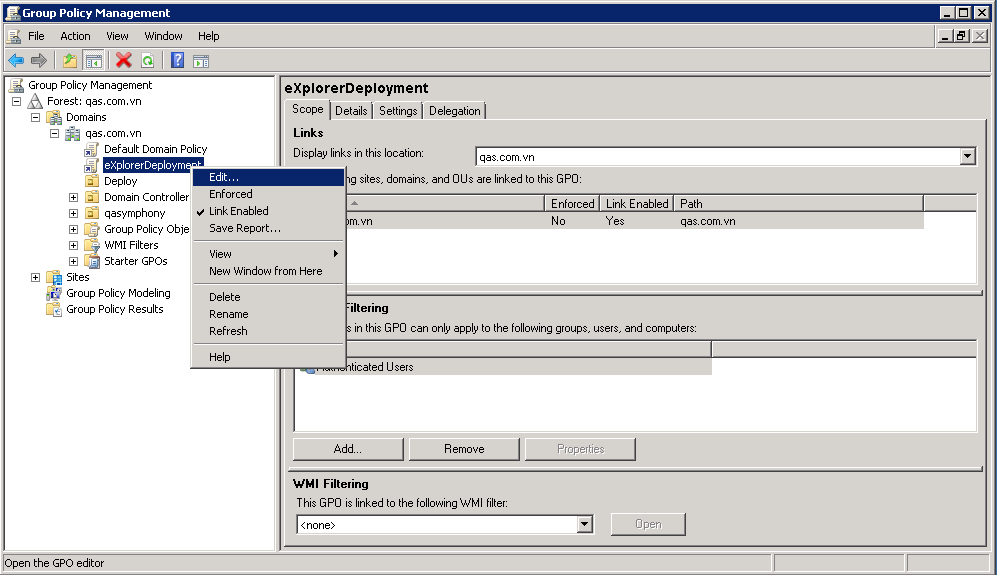
Right-click the new Group Policy Object named ExplorerDeployment. Then select Edit from the context menu.
-
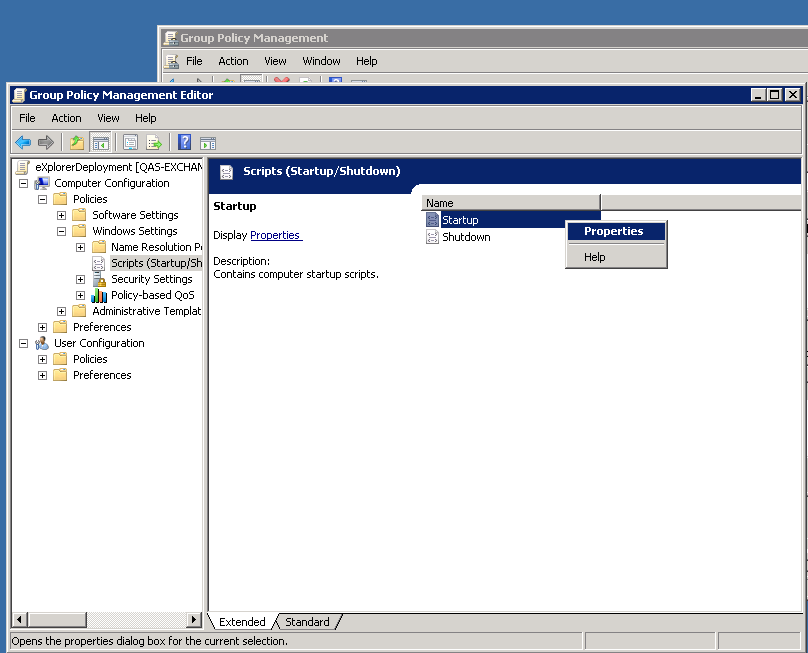
From the Group Policy Management Editor, browse to Computer Configuration > Policies > Windows Settings. Then select Scripts (Startup/Shutdown).
-
On the right pane, right-click the Startup item. Then select Properties.
-
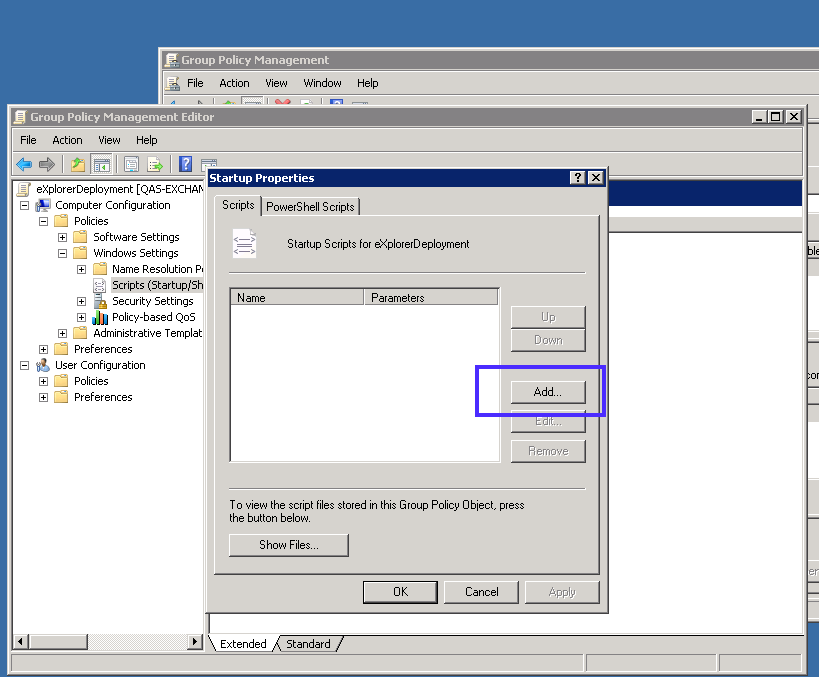
On the Startup Properties window, click the Add button.
-
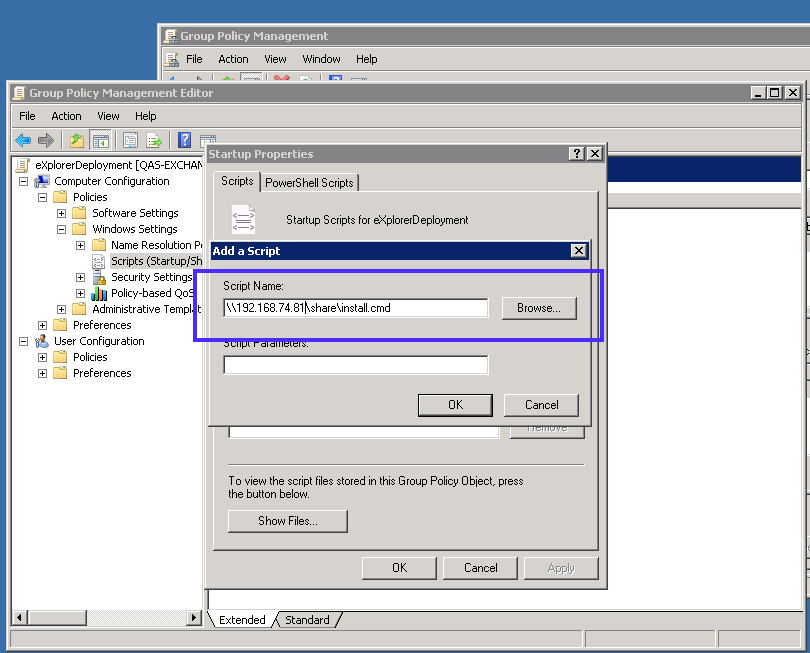
On the Add a Script dialog, click the Browse button. Then select the installation script file (install.cmd) created in the previous procedure. Make sure you change the file path portion to UNC, as shown in the example below. Then click OK.
Step 3: Verify
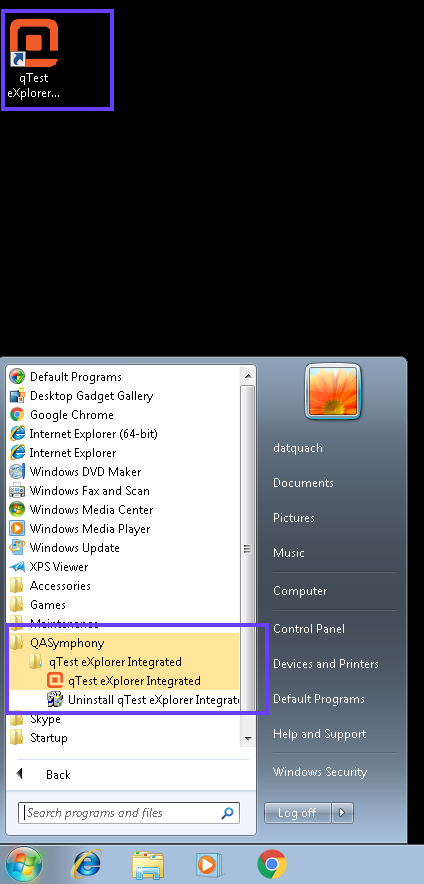
Start a client machine in your network and verify that Explorer is installed after logging in to the system.