Install NFS Client for Windows
The NFS Client should be installed on any server that is sending qTest data to a shared directory. If you are using the Multiple Servers or Multiple Servers: Load Balanced deployment model, you will need to install the NFS Client before you install an application node.
You will use the NFS Client to mount to the shared folder, which you have set up in your Shared Server, to a local drive. The local drive will be used to configure qTest Manager/Sessions when you install.
A Shared Directory is used anytime you are deploying qTest applications on more than one server where you have files that may need to be shared among services. These files can be supported by a distributed file system like NFS or SMB. The instructions below include setting up a NFS Client.
Install NFS Client
First, log in to the Windows Server where you are going to install either qTest Manager or Sessions.
-
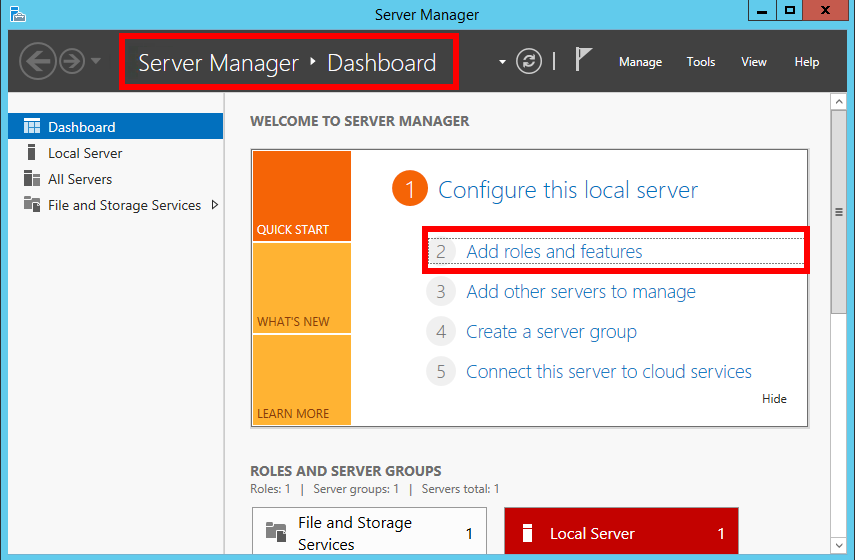
Open Server Manager, and navigate to the Dashboard.
-
Select Add Roles and Features.
-
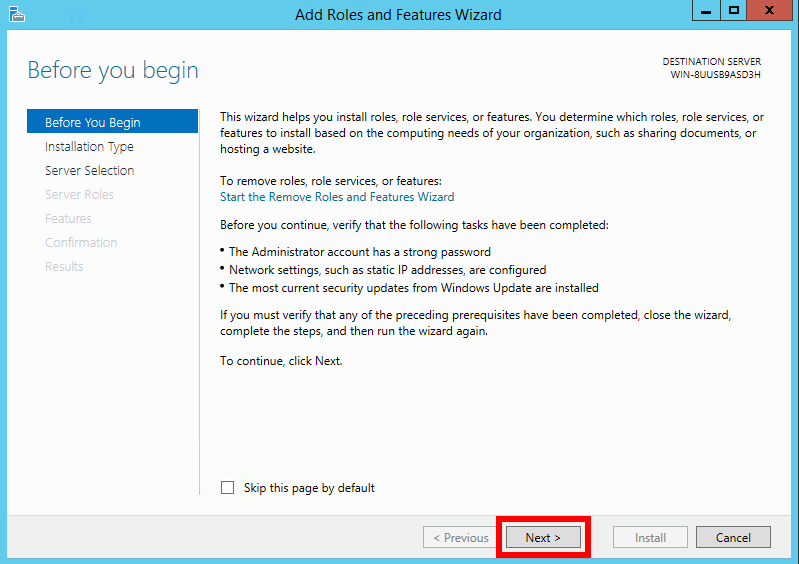
Click Next on the Before you begin window.
-
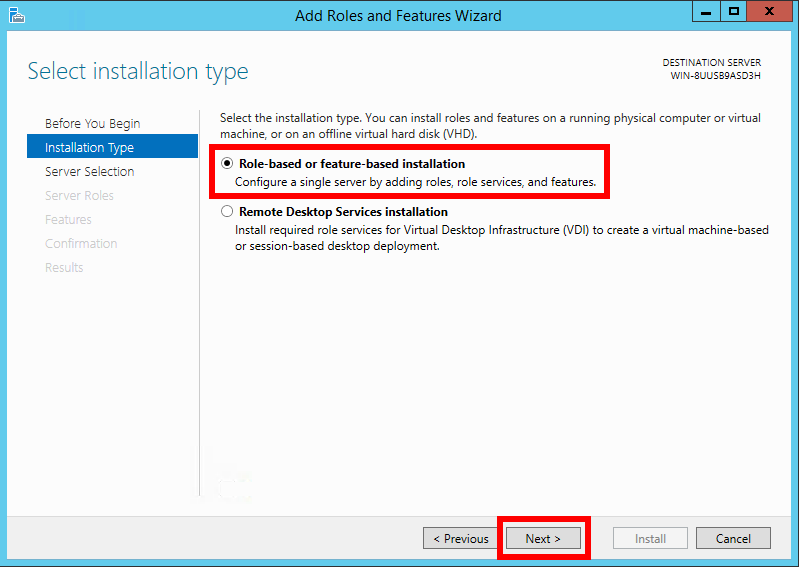
On the Select installation type screen, make sure the option Role-based or feature-based installation is selected, then click Next.
-
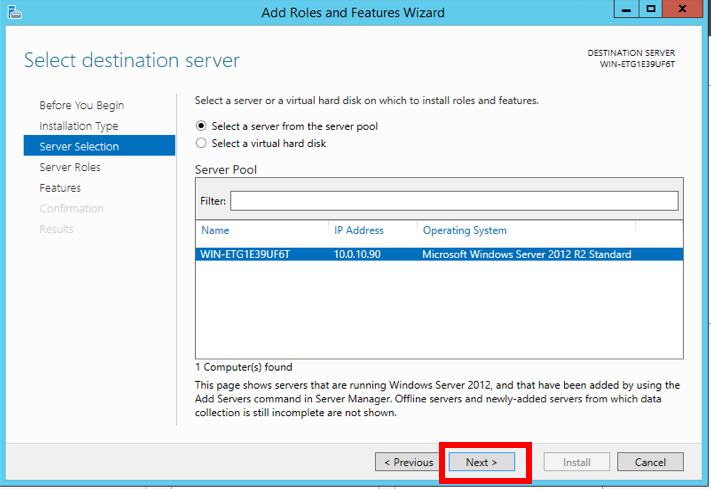
On the Select destination server screen, make sure the option Select server from the server pool is selected, and click Next.
-
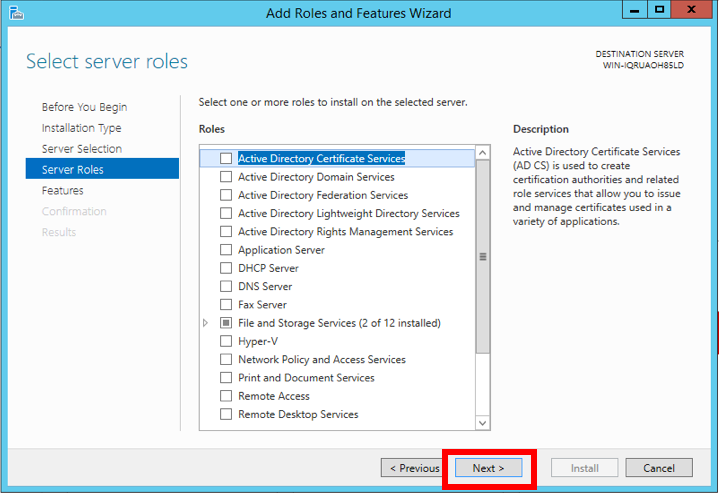
On the Select server roles screen, click Next.
-
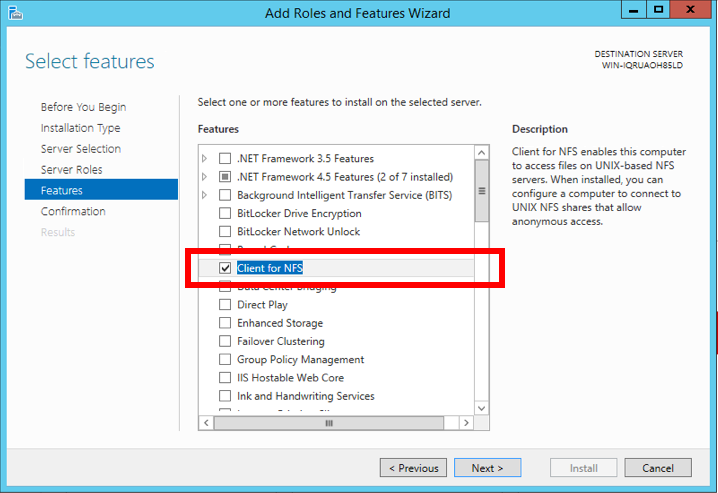
On the Select features screen, select Client for NFS, then click Next.
-
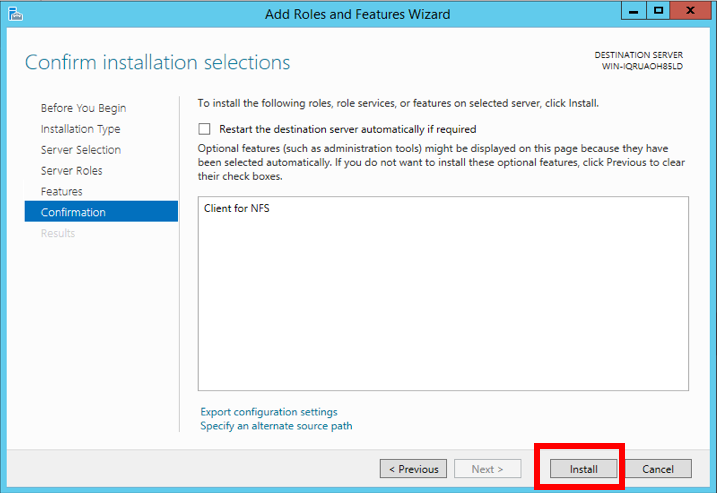
On the Confirm installation selections screen, click Install.
-
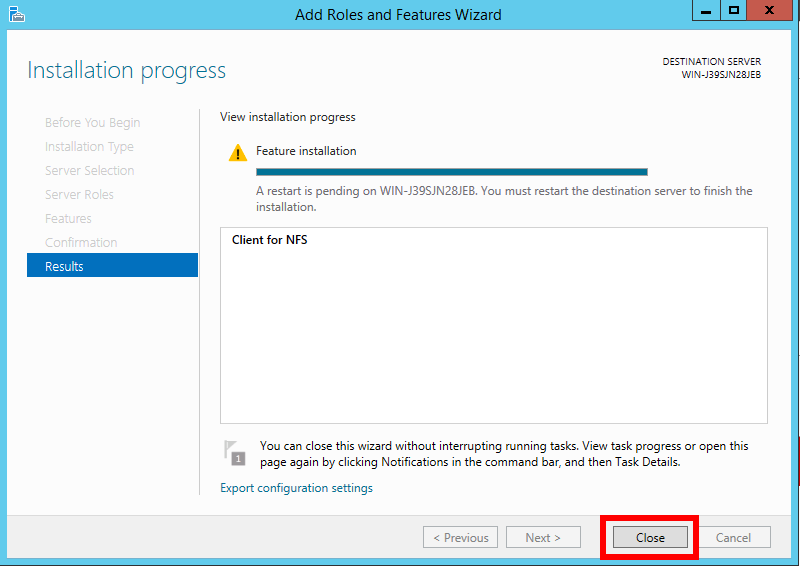
On the Installation progress screen, wait for the installation to complete, and click Close.
Automatically Mount Local Drive to the Shared Server Folder upon System Start up
The next step is to automatically mount the shared folder in the Shared Server to your local drive upon system start up.
Create a Script
-
Create a batch file and put it in C:\mount.bat.
-
Open the file in a text editor and enter the following commands that mount the sessions-storage or manager-storage folder in the shared server, whose IP address is 10.0.10.230, This folder is configured when setting up your Shared Server Directory to a local drive name S:
Examples:
mount -o fileaccess=777 10.0.10.230:/sessions-storage S:mount -o fileaccess=777 10.0.10.230:/manager-storage S: -
Save and close the file when you are done.
Create a Task to Execute the Batch File at System Start up
Next, you will create a task from the Task Scheduler that will execute your batch file at system start up.
-
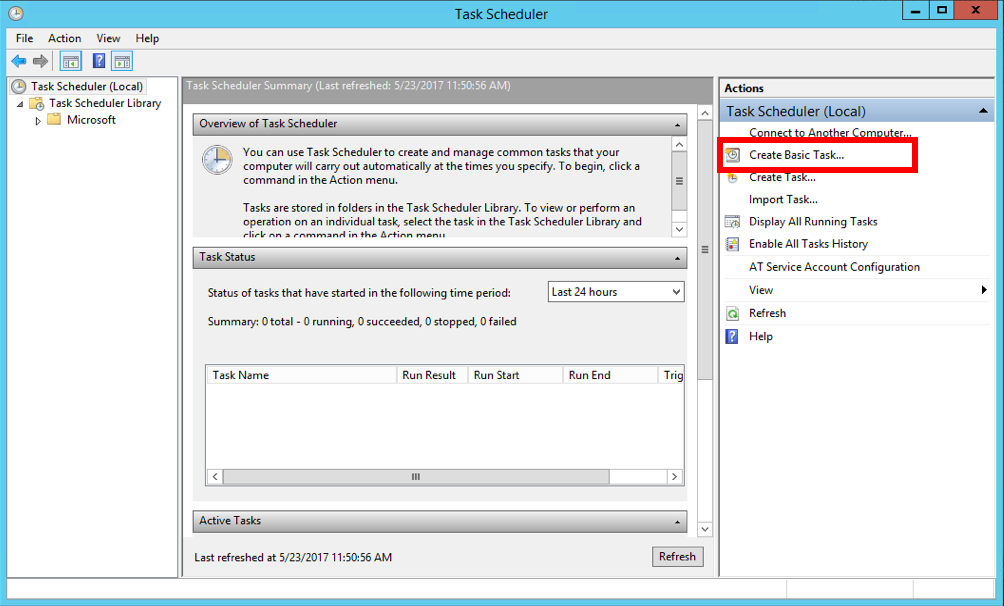
Open the Task Scheduler application and select Create Basic Task in the right panel.
-
On the Create a Basic Task screen, enter a name for our task, such as "Mount shared storage to S drive", and then click Next.

-
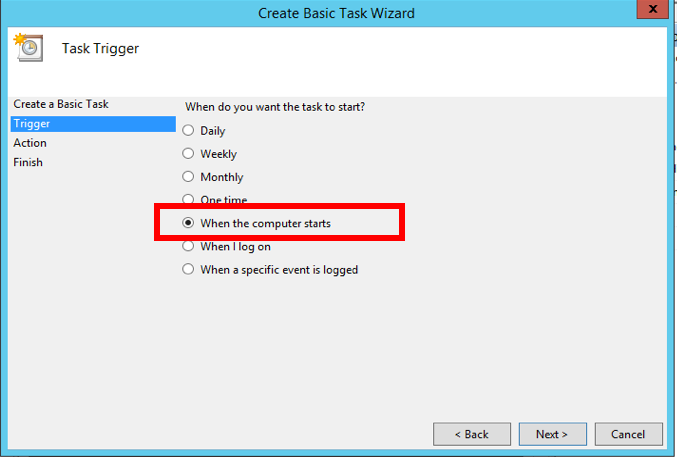
On the Task Trigger screen, select option When the computer starts, and then click Next.
-
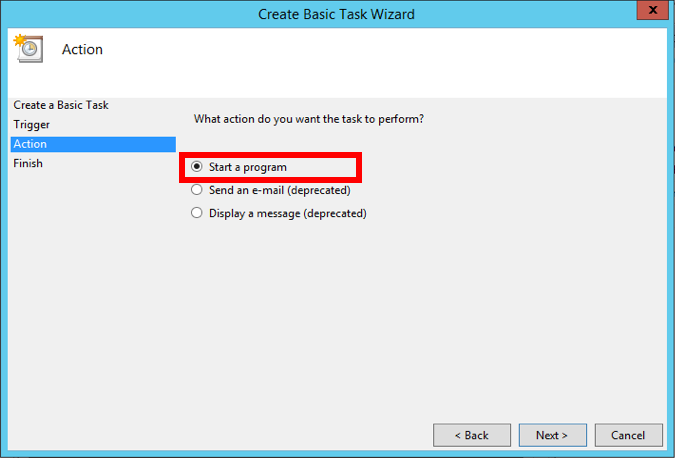
On the Action screen, select the option Start a program, and then click Next.
-
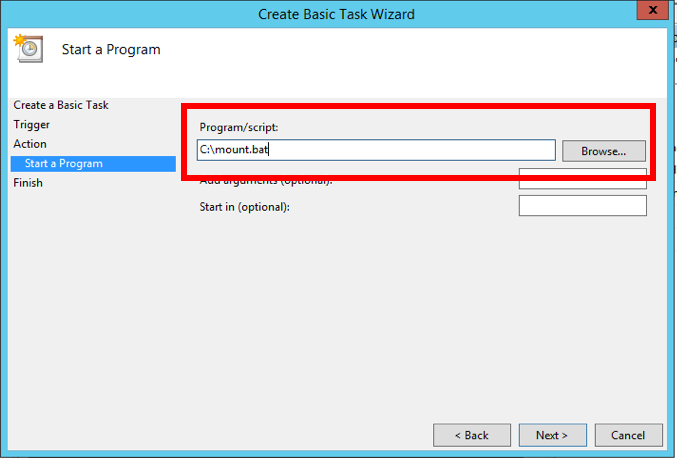
On the Start a Program screen, enter C:\mount.bat in the Program/script field, and then click Next.
-
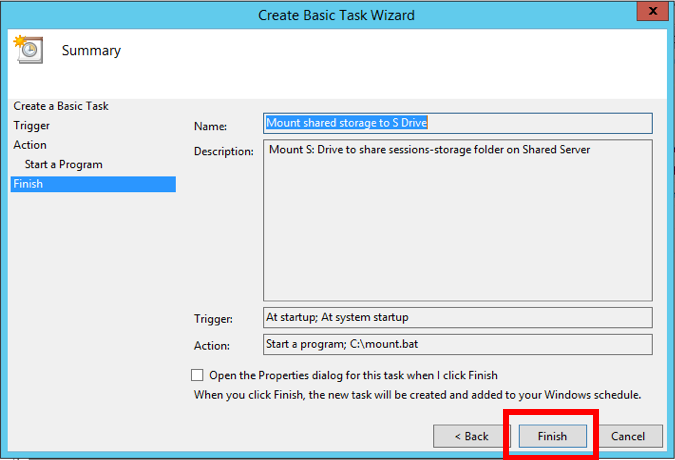
On the Summary screen, click Finish.
Edit the Task Properties
-
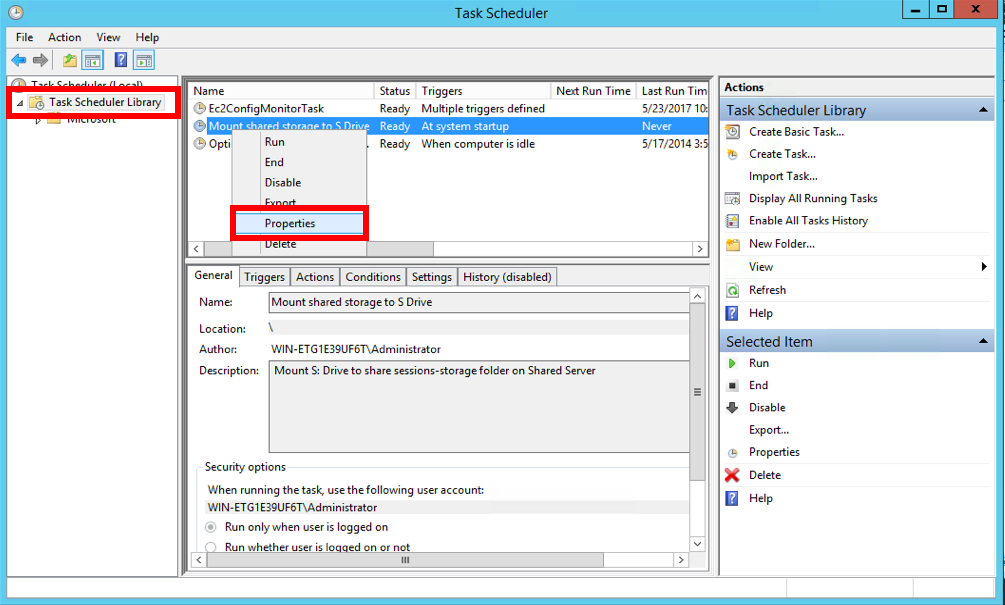
From Task Scheduler, select the ask Scheduler Library folder in the left panel.
-
Look for your newly created task in the middle panel, and right click on it.
-
Select Properties in the pop-up menu.
-
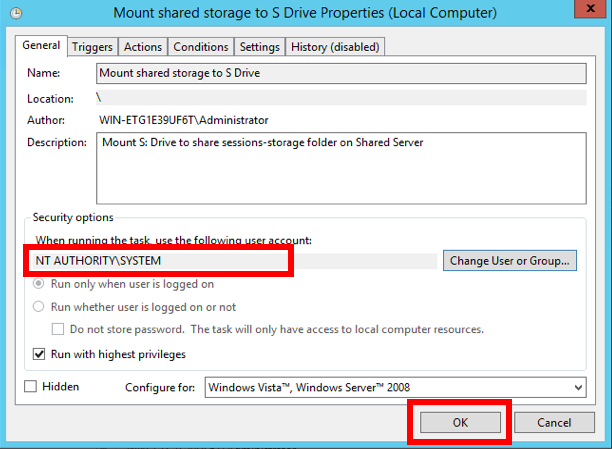
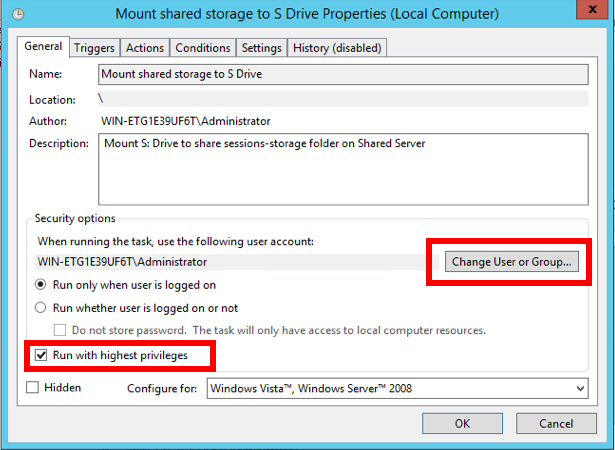
On the Properties window, perform following actions:
-
Check the check box Run with highest privileges.
-
Click Change User or Group.
-
-
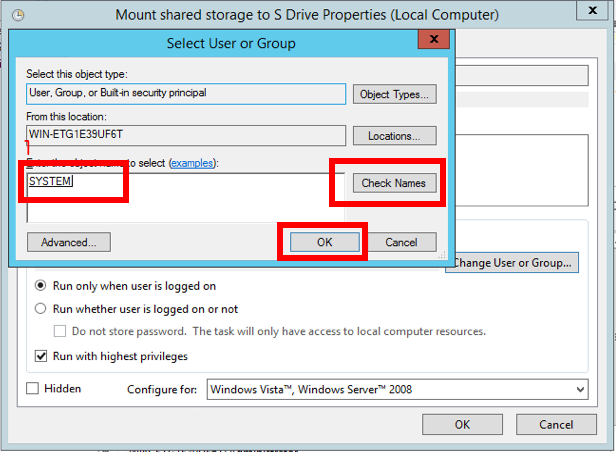
On the Select User or Group window:
-
Enter system in the field Enter the object to select.
-
Select Check Names.
-
Select OK.
-
The property window now will look like below. Click OK to finish setting up the task property.