Proxies (on-premise only)
The Proxies tab of the Settings view allows managing the proxies of an Account in an on-premise environment.
This chapter describes how to create, configure and administer proxies in NeoLoad Web.
Create a proxy
As the Administrator of an on-premise environment, you can create one or as many proxies as you need in order to create a pool of proxies. From that pool, you will then be able to select a proxy that suits your needs.
Note: When no proxy is available in the Proxies tab, creating one is an easy process with a click on the CREATE A PROXY button. After creating your first proxy, adding one is possible with a click on the ADD A PROXY button  .
.
To create a proxy, follow these steps:
-
In the left navigation panel, click Settings and select the Proxies tab.
-
Click the CREATE A PROXY button.
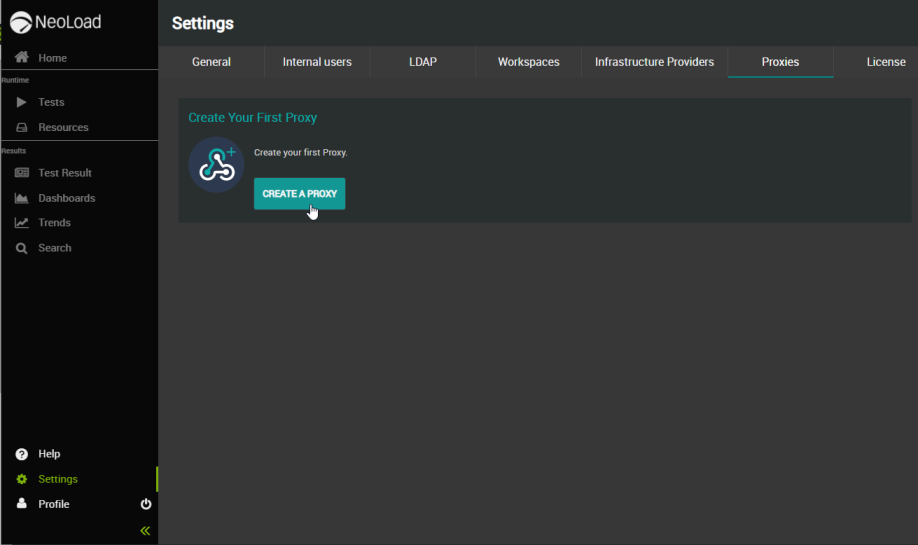
The Create a new Proxy screen pops up.
-
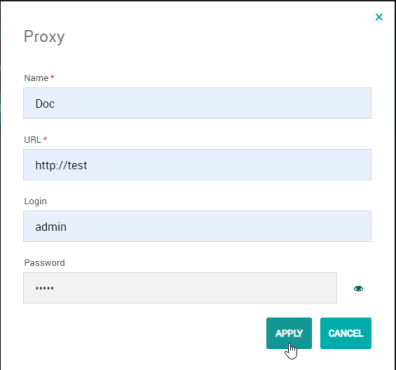
In the Name field, enter a name, function, location or context information in order to identify the proxy.
-
In the URL field, enter the address (hostname and port) of the HTTP or HTTPS proxy.
-
In the Login field, specify the user ID required for identification on the proxy.
-
In the Password field, specify the password required for identification on the proxy.
Once you click Apply, the new proxy is added to the proxies list in chronological order.
Edit a proxy
As the Administrator of an on-premise environment, you can modify all details of a proxy.
To edit a proxy's details, follow these steps:
-
In the left navigation panel, click Settings and select the Proxies tab.
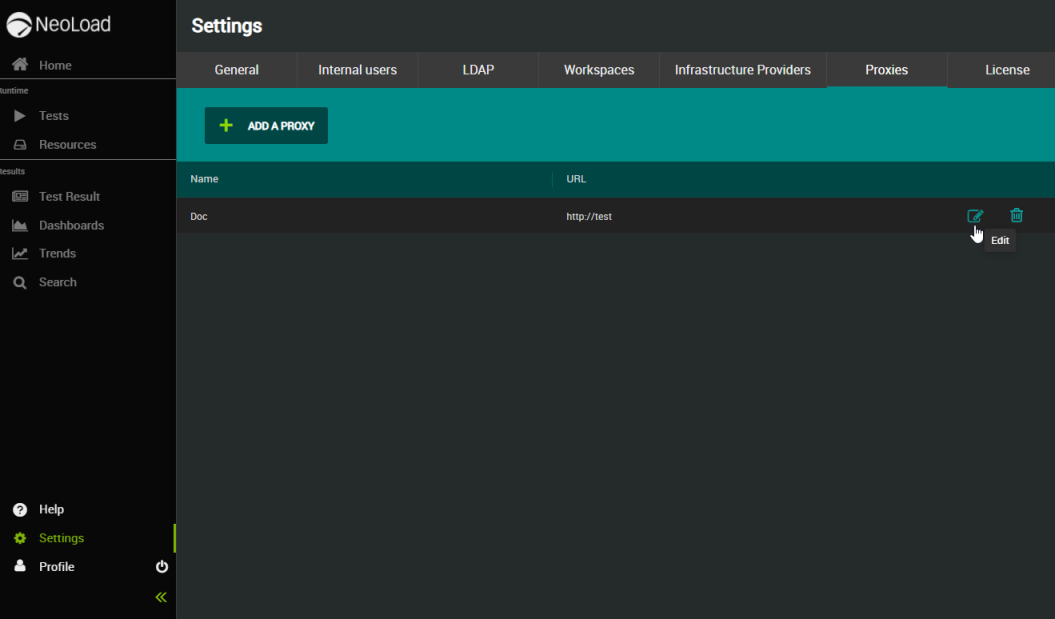
All proxies of your Account are listed in the central panel, along with their names and URLs.
-
In the Proxies list, locate the proxy you want to edit and click the Edit button on the right of the row.
-
In the Edit a proxy dialog, modify the fields you need and click the Apply button to validate your change.
The proxy is modified.
Delete a proxy
As the Administrator of an on-premise environment, you can permanently delete proxies created in an Account with NeoLoad Web.
Caution: Deleting a proxy cannot be undone.
Note: It is not possible to delete a proxy that is selected for use by the licensing platform. You need to unselect it first in the General tab. See Set a proxy on the licensing platform for more information.
To delete a proxy, follow these steps:
-
In the left navigation panel, click Settings and select the Proxies tab.
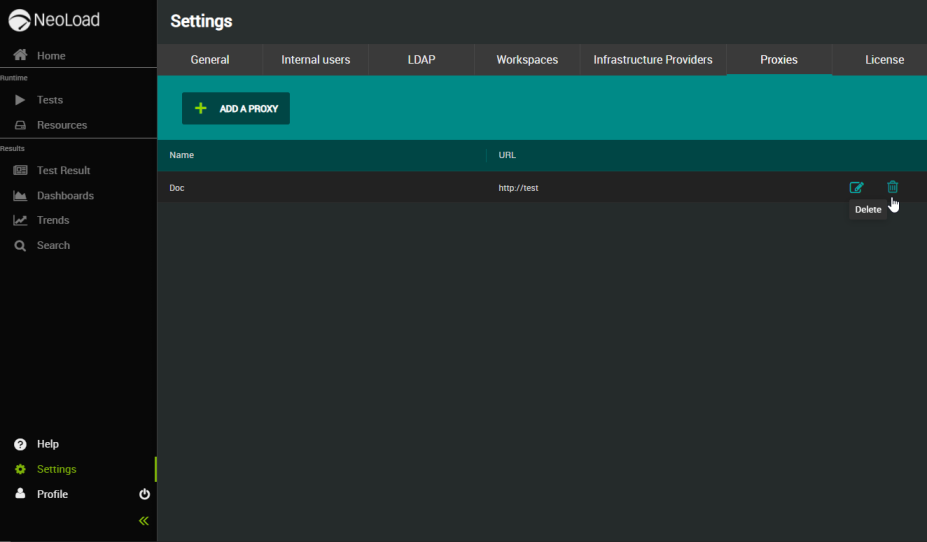
All proxies of your Account are listed in the central panel, along with their names and URLs.
-
In the Proxies list, locate the proxy you want to delete and click the Delete button on the right of the row.
-
In the Deleting Proxy dialog, click the Delete button to delete the proxy.
The proxy is deleted.
Set a proxy on the licensing platform
As the Administrator of an on-premise environment, you can specify the proxy that will be used to connect to the licensing platform.
To set a proxy to connect to the licensing platform, follow these steps:
-
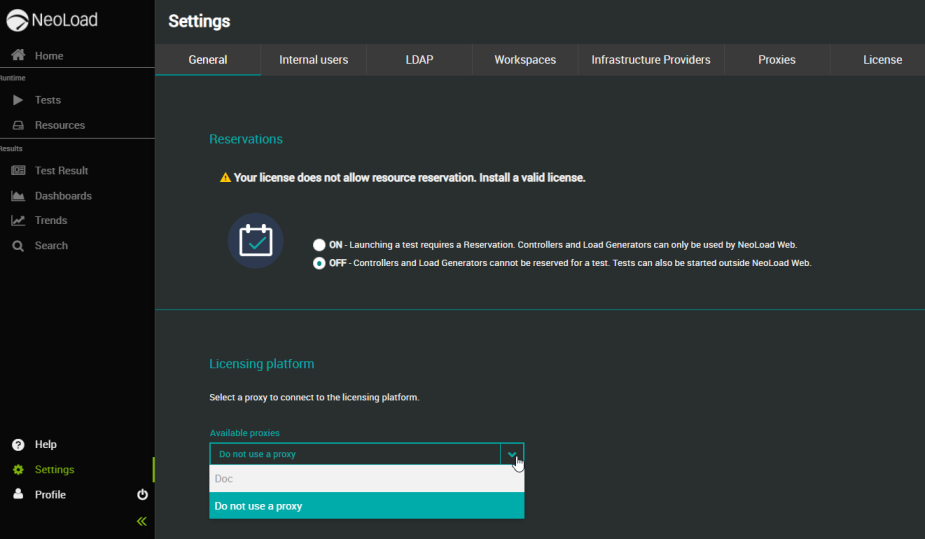
In the left navigation panel, click Settings and stay on the General tab.
In the Licensing platform section, the proxies created in the Proxies tab (see Create a proxy) are listed in the Available proxies drop-down menu.
-
Click on a proxy to select it.
-
When you refresh the page, you can view the proxy selected to be used to connect to the licensing platform.
Tip: To connect to the licensing platform without going through a proxy, select the option "Do not use a proxy" in the drop-down menu.