Update Dashboards
The Replace function makes it possible to update the Dashboard structure by providing the same graphs and curves for a different Tests Result. When your Dashboard includes all the necessary graphs and curves, you can click the Replace button to update it with data from a different Tests Result.
Caution: It is recommended to replace a Test Result with one sharing the same project. Otherwise, no data will be displayed.
Caution: You must first select the new Test Result in the Test Result drop-down list before clicking the Replace button.
Caution: When the Dashboard contains curves related to distinct Test Results, the Replace a Test Result dialog box helps you select the Test Result to replace.
Tip: To make the most of the Replace function, it is recommended to first duplicate your Dashboard (See Duplicate a Dashboard), and, in the newly duplicated Dashboard, click the Replace button after selecting a new Test Result.
To replace a test result, follow these steps:
-
Select a Workspace as described in Workspace selector.
-
In the left navigation panel, select the Dashboards view.
The table lists the Dashboards in your Workspace.
-
Locate the Dashboard you want to update with data from a different Test Result and select it by clicking on its name in green.
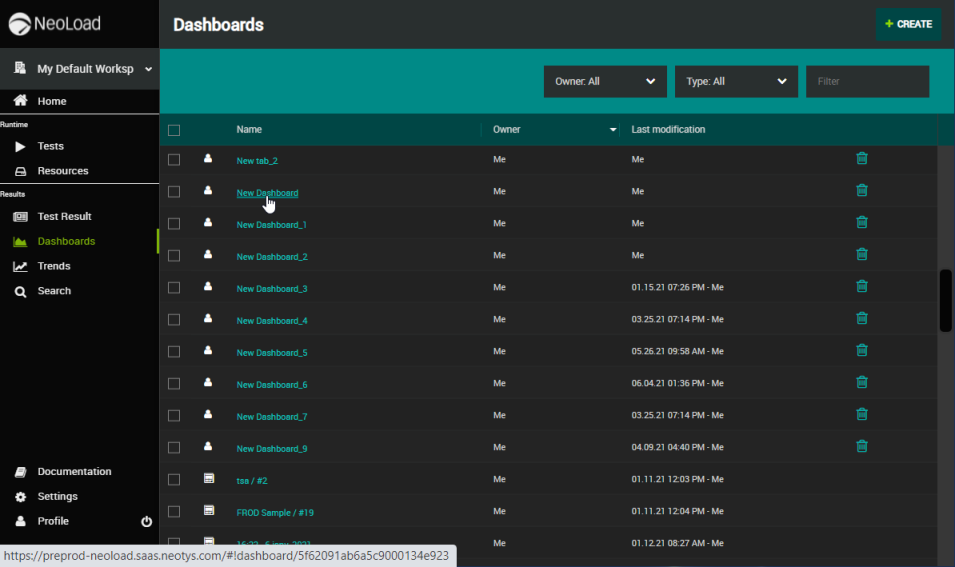
The view changes to display the selected Dashboard.
-
In the Dashboard header, click the Replace source test by another one button.

-
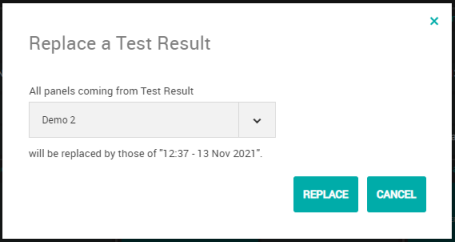
In the Replace a Test Result dialog box, select the Test Result to replace by the new one.
-
Click the Replace button.
The Dashboard data is replaced with the data coming from the Test Result selected.