Manage IP addresses
IP addresses can be managed in the Online Cloud Console.
To view and generally manage reserved IP addresses, follow these steps:
Log in to the Online Cloud Console.
In the Cloud Console, choose IP addresses > Manage my IP addresses.
Select the workgroup using the IP addresses you want to manage.
You can find the following information about each IP address reserved:
The IP address
The zone that you want to use for the IP address
The last day of the reservation
The status of the IP address: it can be Reserving, Reserved, Assigned, Releasing, Released or Error
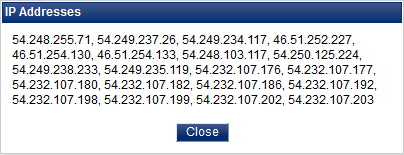
Note: To easily copy and paste the IP addresses you have reserved to set up your firewall, you can click the View as plain text button. It opens a window containing the list with the IP addresses separated by a comma.
Modify an IP address reservation
To modify an IP address reservation, follow these steps:
Log in to the Online Cloud Console.
In the Cloud Console, choose IP addresses > Manage my IP addresses.
Select the workgroup using the IP addresses you want to modify.
Click Edit.
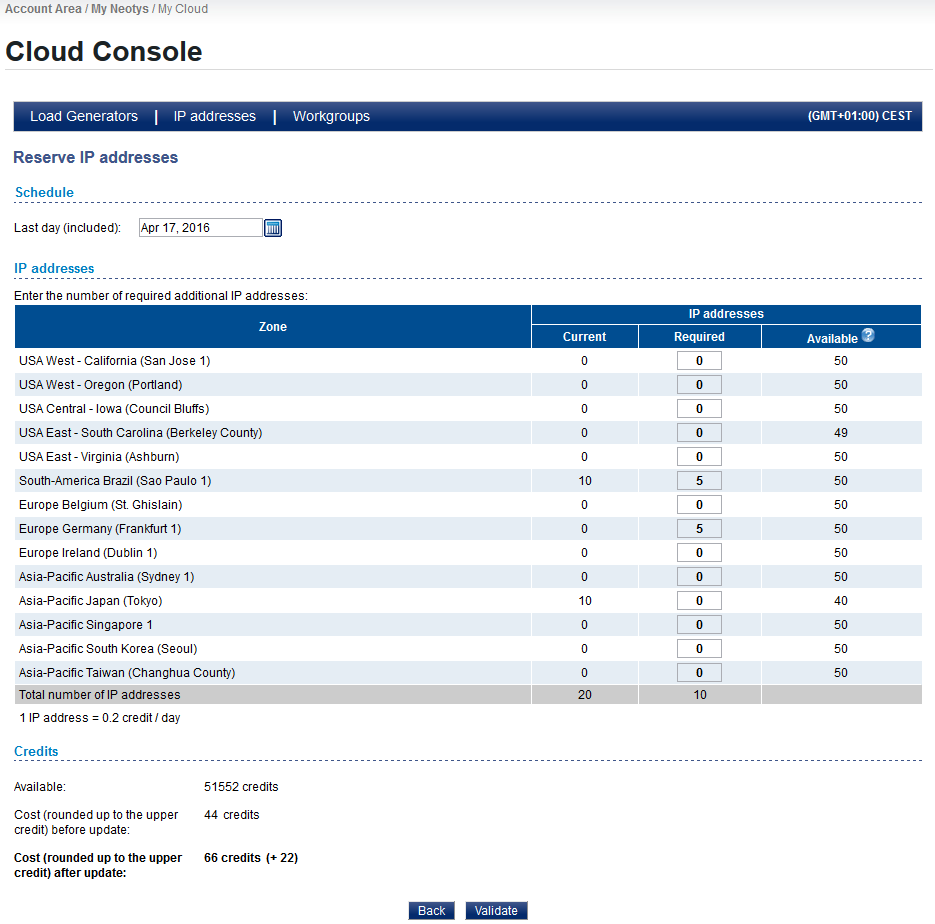
In the IP addresses section, the Current column of the table indicates the number of IP addresses that are already reserved in this campaign for each zone.
For each zone where you want to deploy tests, enter the number of additional IP addresses you need in the Required column.
The last line of the table shows the total number of IP addresses requested and the cost per day and per IP address.
Note: Cloud credits are rounded up to the upper credit.
You can change the Last day of the IP addresses reservation, by either entering the date directly or clicking the calendar icon and selecting the day then clicking Apply.
Update the reservation as required.
Check the Cost section to see how many credits you have left in the Available line as well as the Cost before update and Cost after update of the reservation which depend on the duration and number of IP addresses selected above.
If any credits/VUHs are missing for the IP addresses selected, the information is displayed in red, and a link gives access to the Neotys Online Store to add more credits/VUHs on the fly.
Click Validate to modify the IP address reservation and then Yes to confirm.
The screen refreshes after a few seconds to My IP addresses of the Cloud Console.
Release an IP address reservation
To release an IP address reservation, follow these steps:
Log in to the Online Cloud Console.
In the Cloud Console, choose IP addresses > Manage my IP addresses.
Select the workgroup using the IP addresses you want to release.
In the IP addresses section, select the row of the IP address you want to release.
Click Release.
Click Yes to confirm the release of the selected IP address reservation.
The screen refreshes after a few seconds to My IP addresses of the Cloud Console.