Create a Custom action using a Maven archetype
This tutorial describes how to create a custom Advanced Action from an archetype. Using a Maven archetype allows you to easily and quickly develop Custom actions since Action and Engine Classes are automatically created and linked.
For more information about how to implement the Custom action API in NeoLoad, see Advanced actions.
Use case environment
The use case presented in this tutorial was performed in the following environment:
-
Computer on Windows 7 with an Administrator account
-
Java Development Kit version 7
-
Eclipse for Java developers launched with Administrator privileges
-
NeoLoad 5.0 and above
Prerequisites
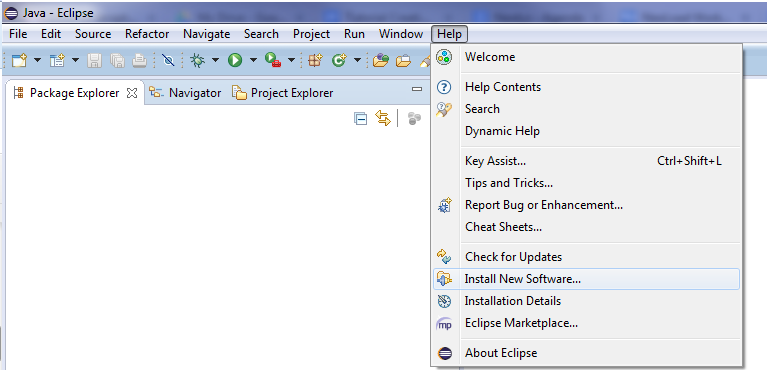
In order to create a Maven project, you need to add a connector to your Eclipse environment.
-
In the Help Menu, select Install New Software...
-
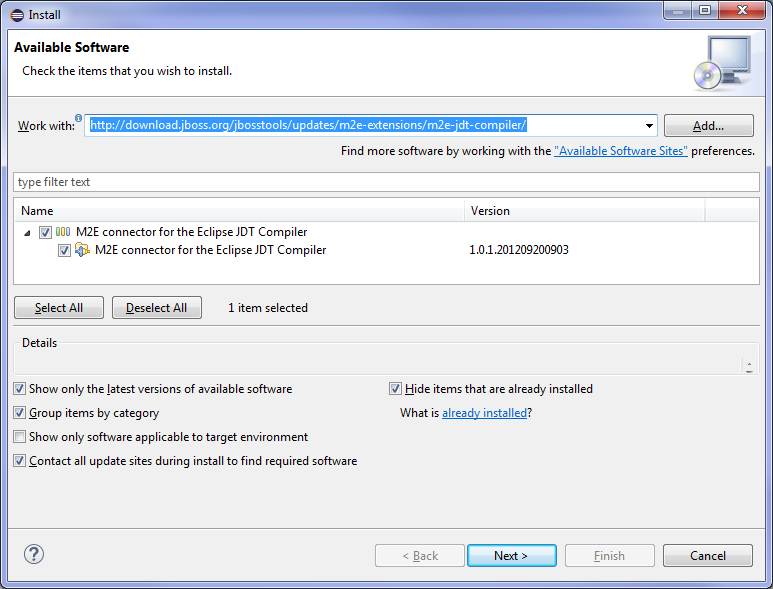
In the Work with: field, enter http://download.jboss.org/jbosstools/updates/m2e-extensions/m2e-jdt-compiler/.
-
Select M2E connector for the Eclipse JDT Compiler.
-
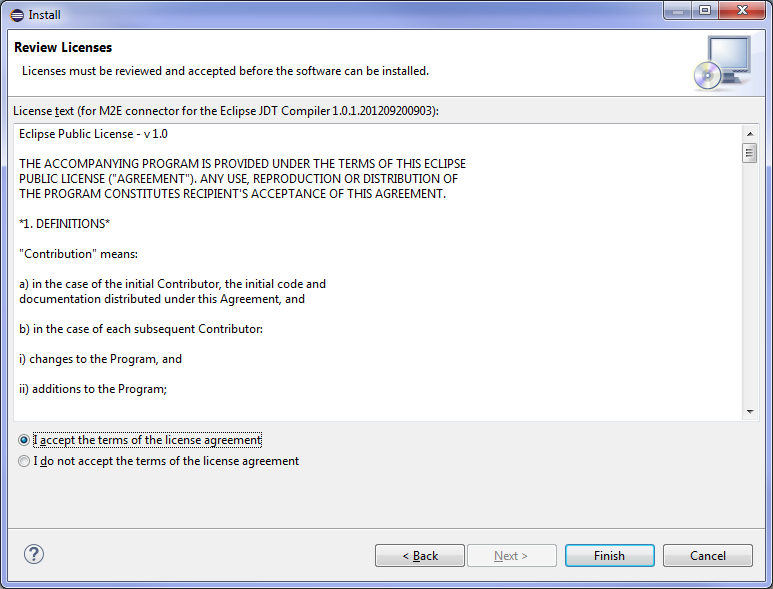
Click Next> twice, accept the terms of the license and click Finish.
Create a Maven project
This section describes how to create a Maven project with Eclipse. To do so, follow these steps:
-
Create a workspace in Eclipse or use an existing one.
-
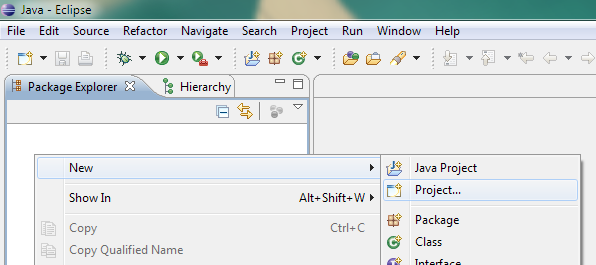
In the Java perspective, select File -> New -> Project….
-
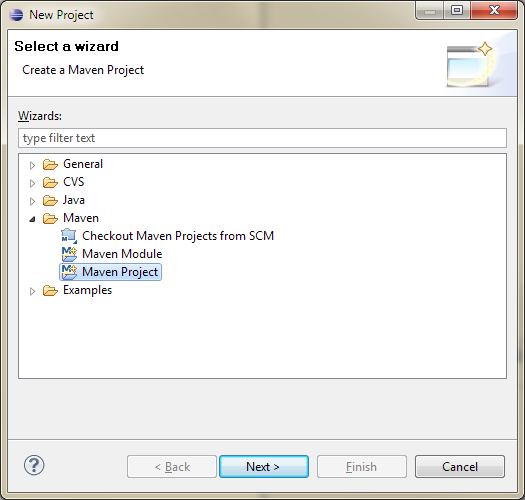
In the New Project dialog, select Maven -> Maven Project and click Next>.
-
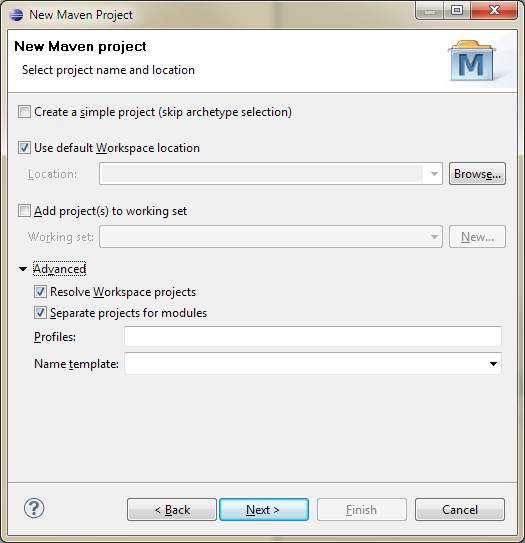
Make sure Create a simple project is not selected in the first screen of the New Maven Project wizard and click Next >.
-
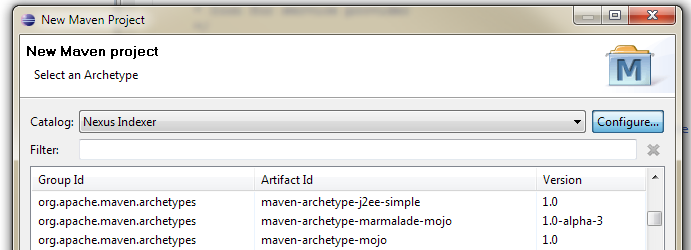
In the Select an Archetype step, click Configure….
-
Click Add Remote Catalog... and add the neotys archetype catalog.
-
Enter "
http://maven.neotys.com/content/groups/public/archetype-catalog.xml" in the Catalog File field. -
Enter
neotysin the Description.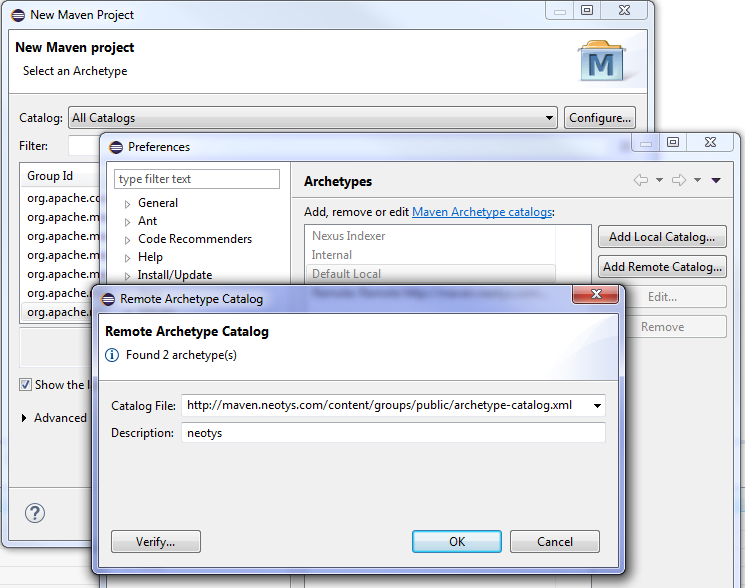
-
Click Verify... and then OK to add the catalog.
-
Click OK in the Preferences dialog.
Now you should be able to find neotys in the Catalog list.
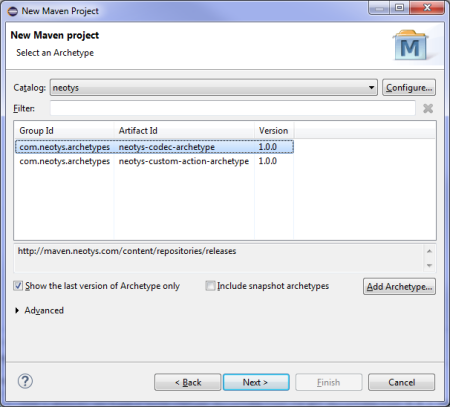
-
Select
neotys--codec-archetypefrom the archetypes list and click Next >. -
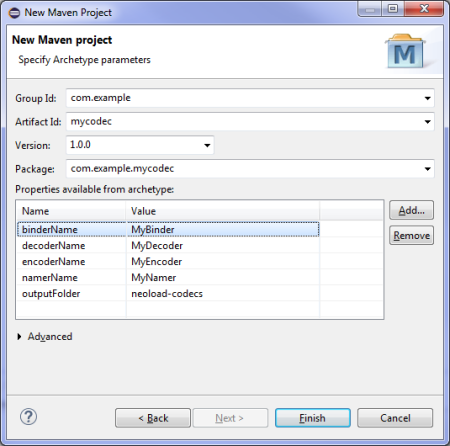
Fill out the details for Group Id, Artifact Id, Version number, Package name, binderName, decoderName, encoderName, namerName and outputFolder.
-
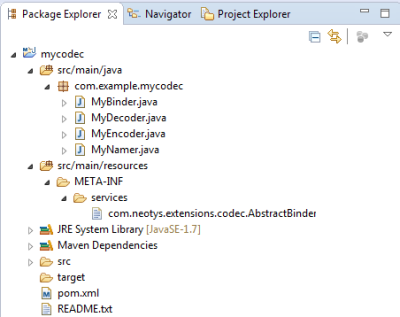
Click Finish so that Maven downloads the necessary dependencies.
You have now a Java project with the structure illustrated below:
The default parameters, icon and description can be filled in the Action class. The execute method of the ActionEngine class can be implemented.
Install the Custom action in NeoLoad
Eclipse might need to be launched with Administrator privileges (right-click on eclipse.exe and run as Administrator).
To install the Custom action in NeoLoad, you need to copy your Custom Action:
-
in the
lib/extlibdirectory of the NeoLoad project if the project is collaborative -
in the
extlibdirectory of your<install-dir>folder if the Custom action will be used in several projects
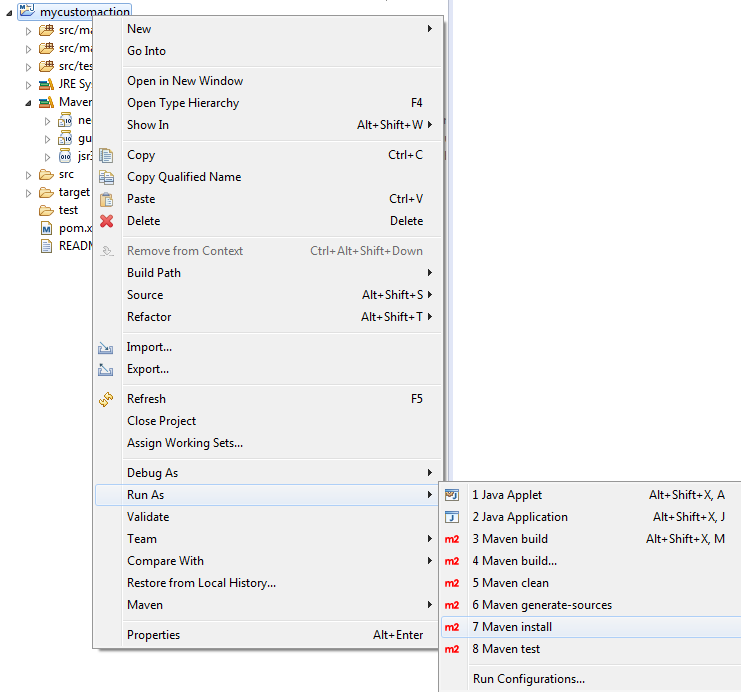
To install the Custom action in the extlib directory of the <install-dir> folder, right-click on your Java project and select Run As > Maven install.